Chocolate Mug Cake – A Quick, Cozy Treat in Minutes
If you’re craving something sweet and warm but don’t want to turn on the oven, a chocolate mug cake is the answer. It comes together in minutes, uses pantry staples, and delivers soft, fudgy comfort in a single serving. No special equipment, no fuss—just a spoon, a mug, and a microwave.
It’s perfect for late-night cravings, study breaks, or when you want dessert without leftovers. Once you try it, you’ll keep these ingredients on hand for emergencies.
Ingredients
Method
- Pick the right mug: Use a microwave-safe mug that holds at least 12 ounces.A wider mug cooks more evenly than a tall, narrow one.
- Combine dry ingredients: Add 4 tablespoons flour, 2 tablespoons sugar, 2 tablespoons cocoa powder, 1/4 teaspoon baking powder, and a small pinch of salt to the mug. Stir with a fork until the color is even and no cocoa clumps remain.
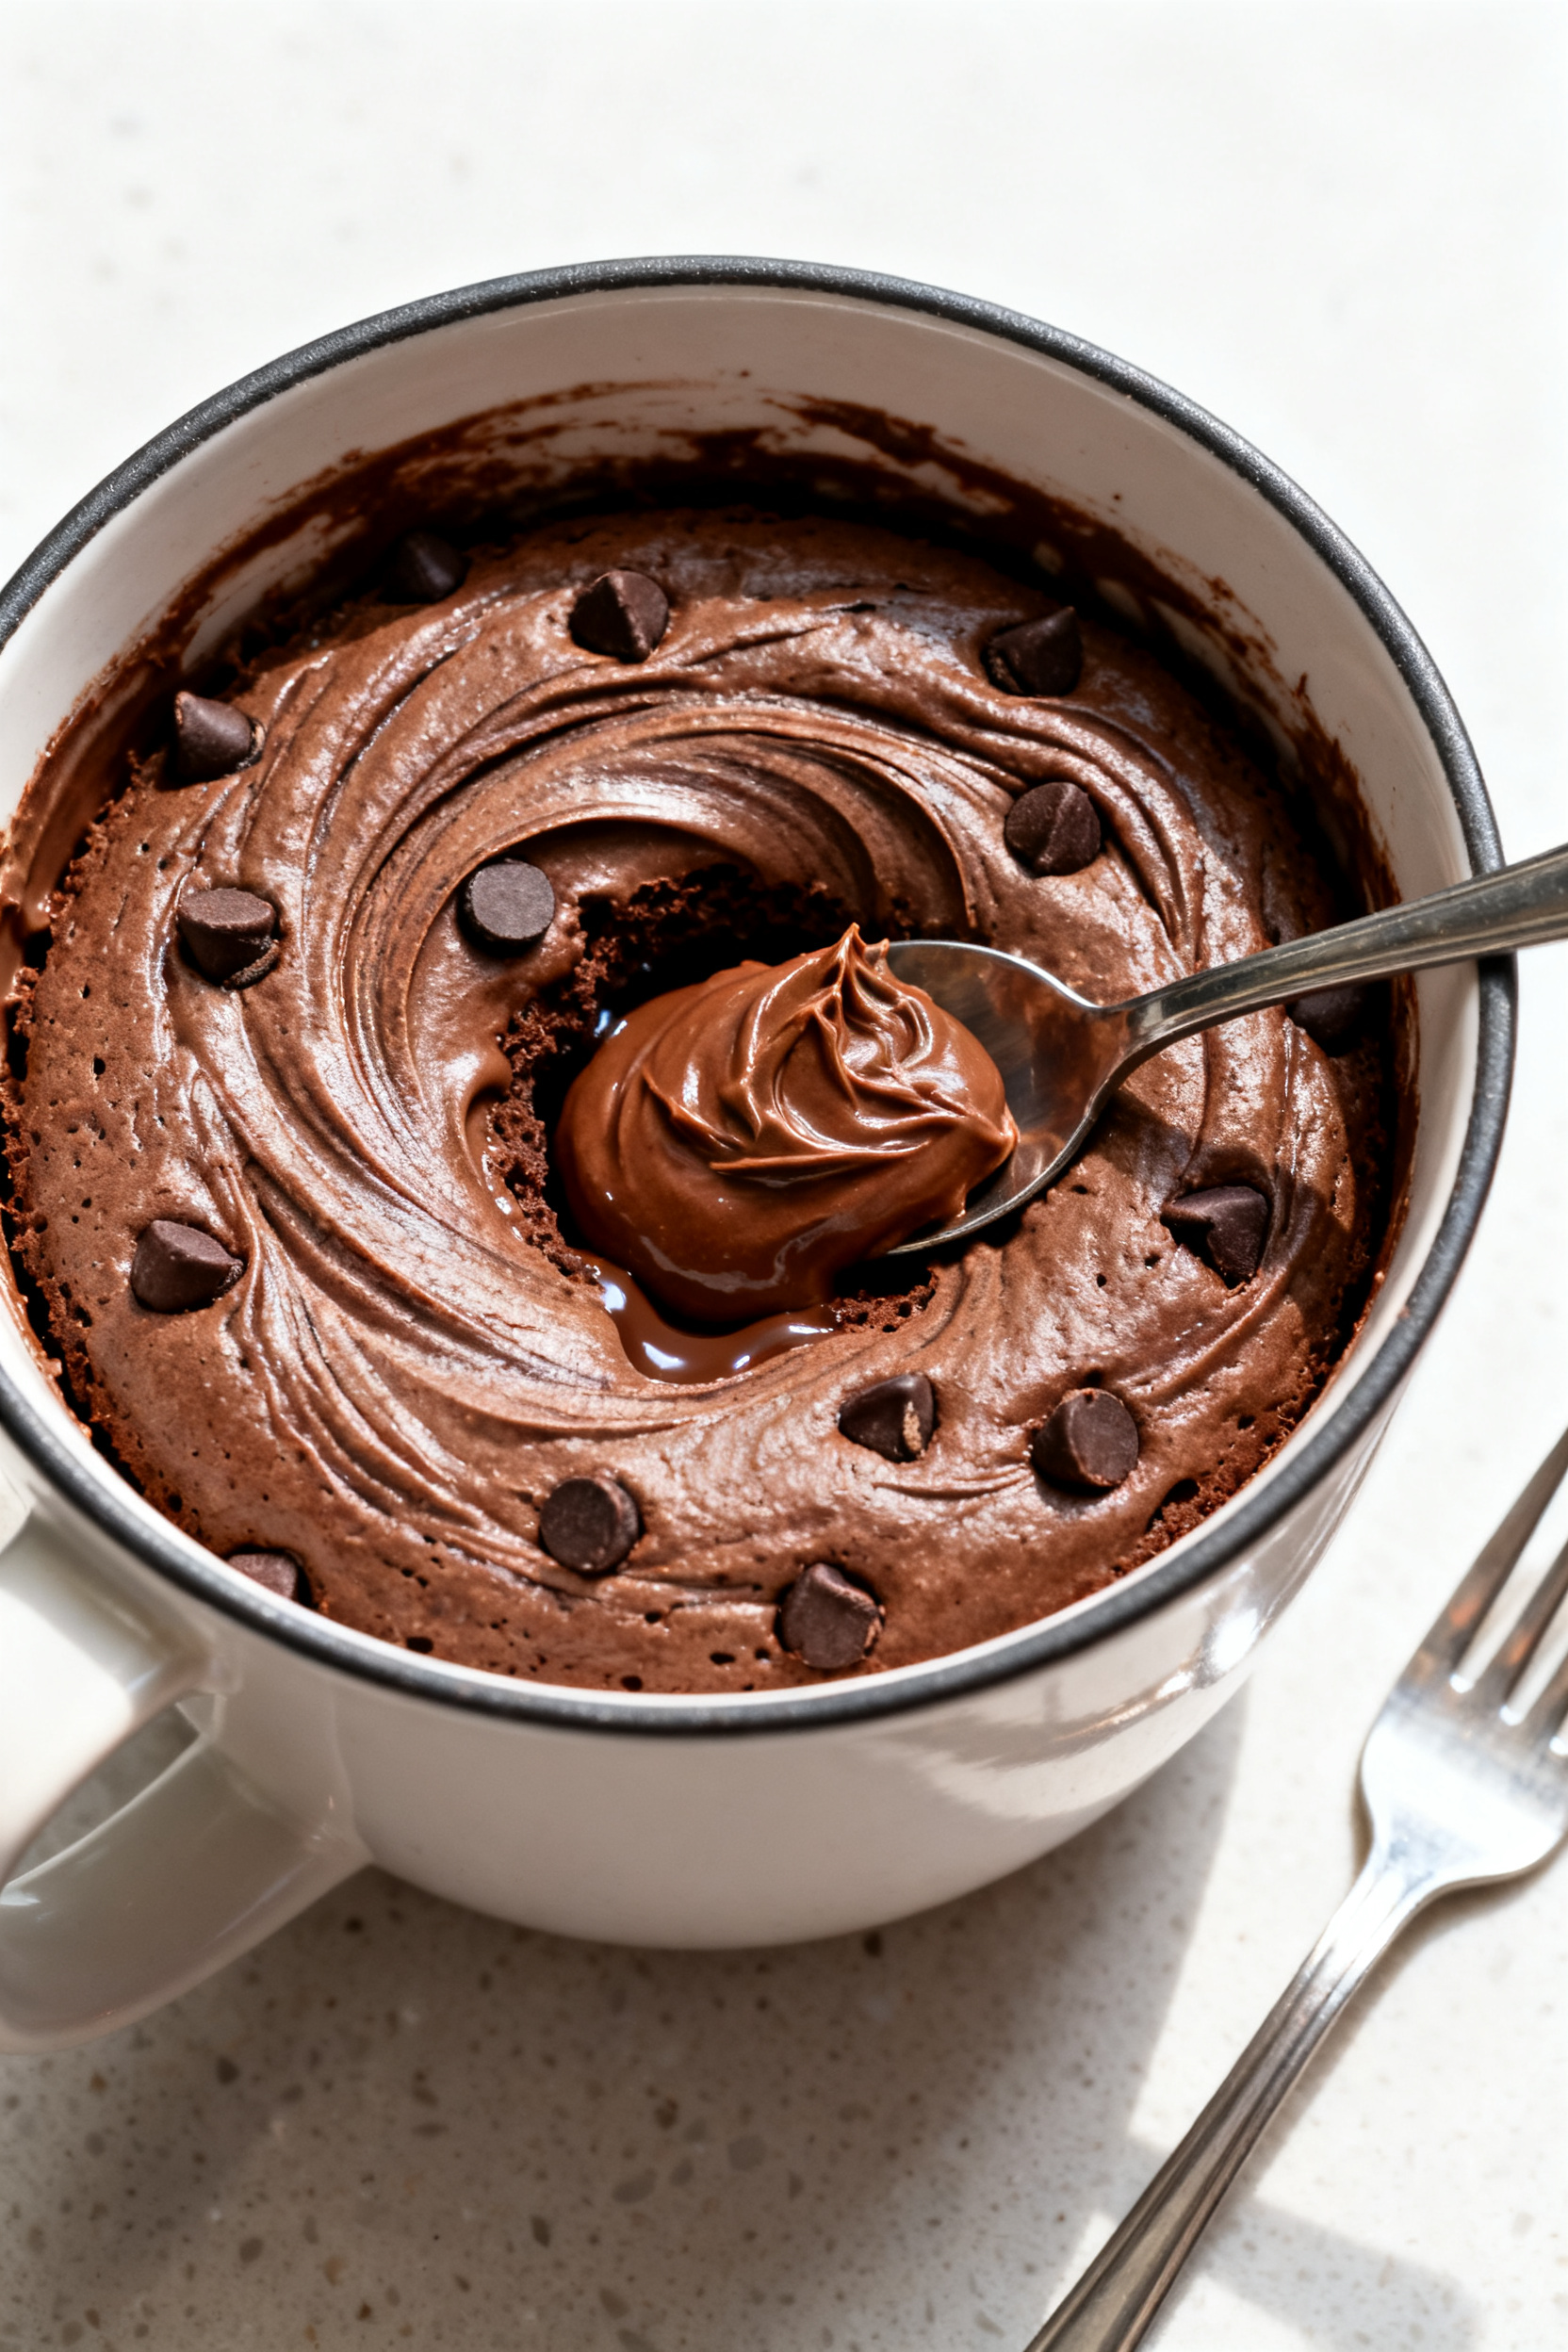
- Add wet ingredients: Pour in 3 tablespoons milk, 2 tablespoons oil, and 1/4 teaspoon vanilla. If you like, add a small pinch (about 1/8 teaspoon) of espresso powder.Mix until smooth, scraping the bottom and sides of the mug. The batter should be thick but pourable.
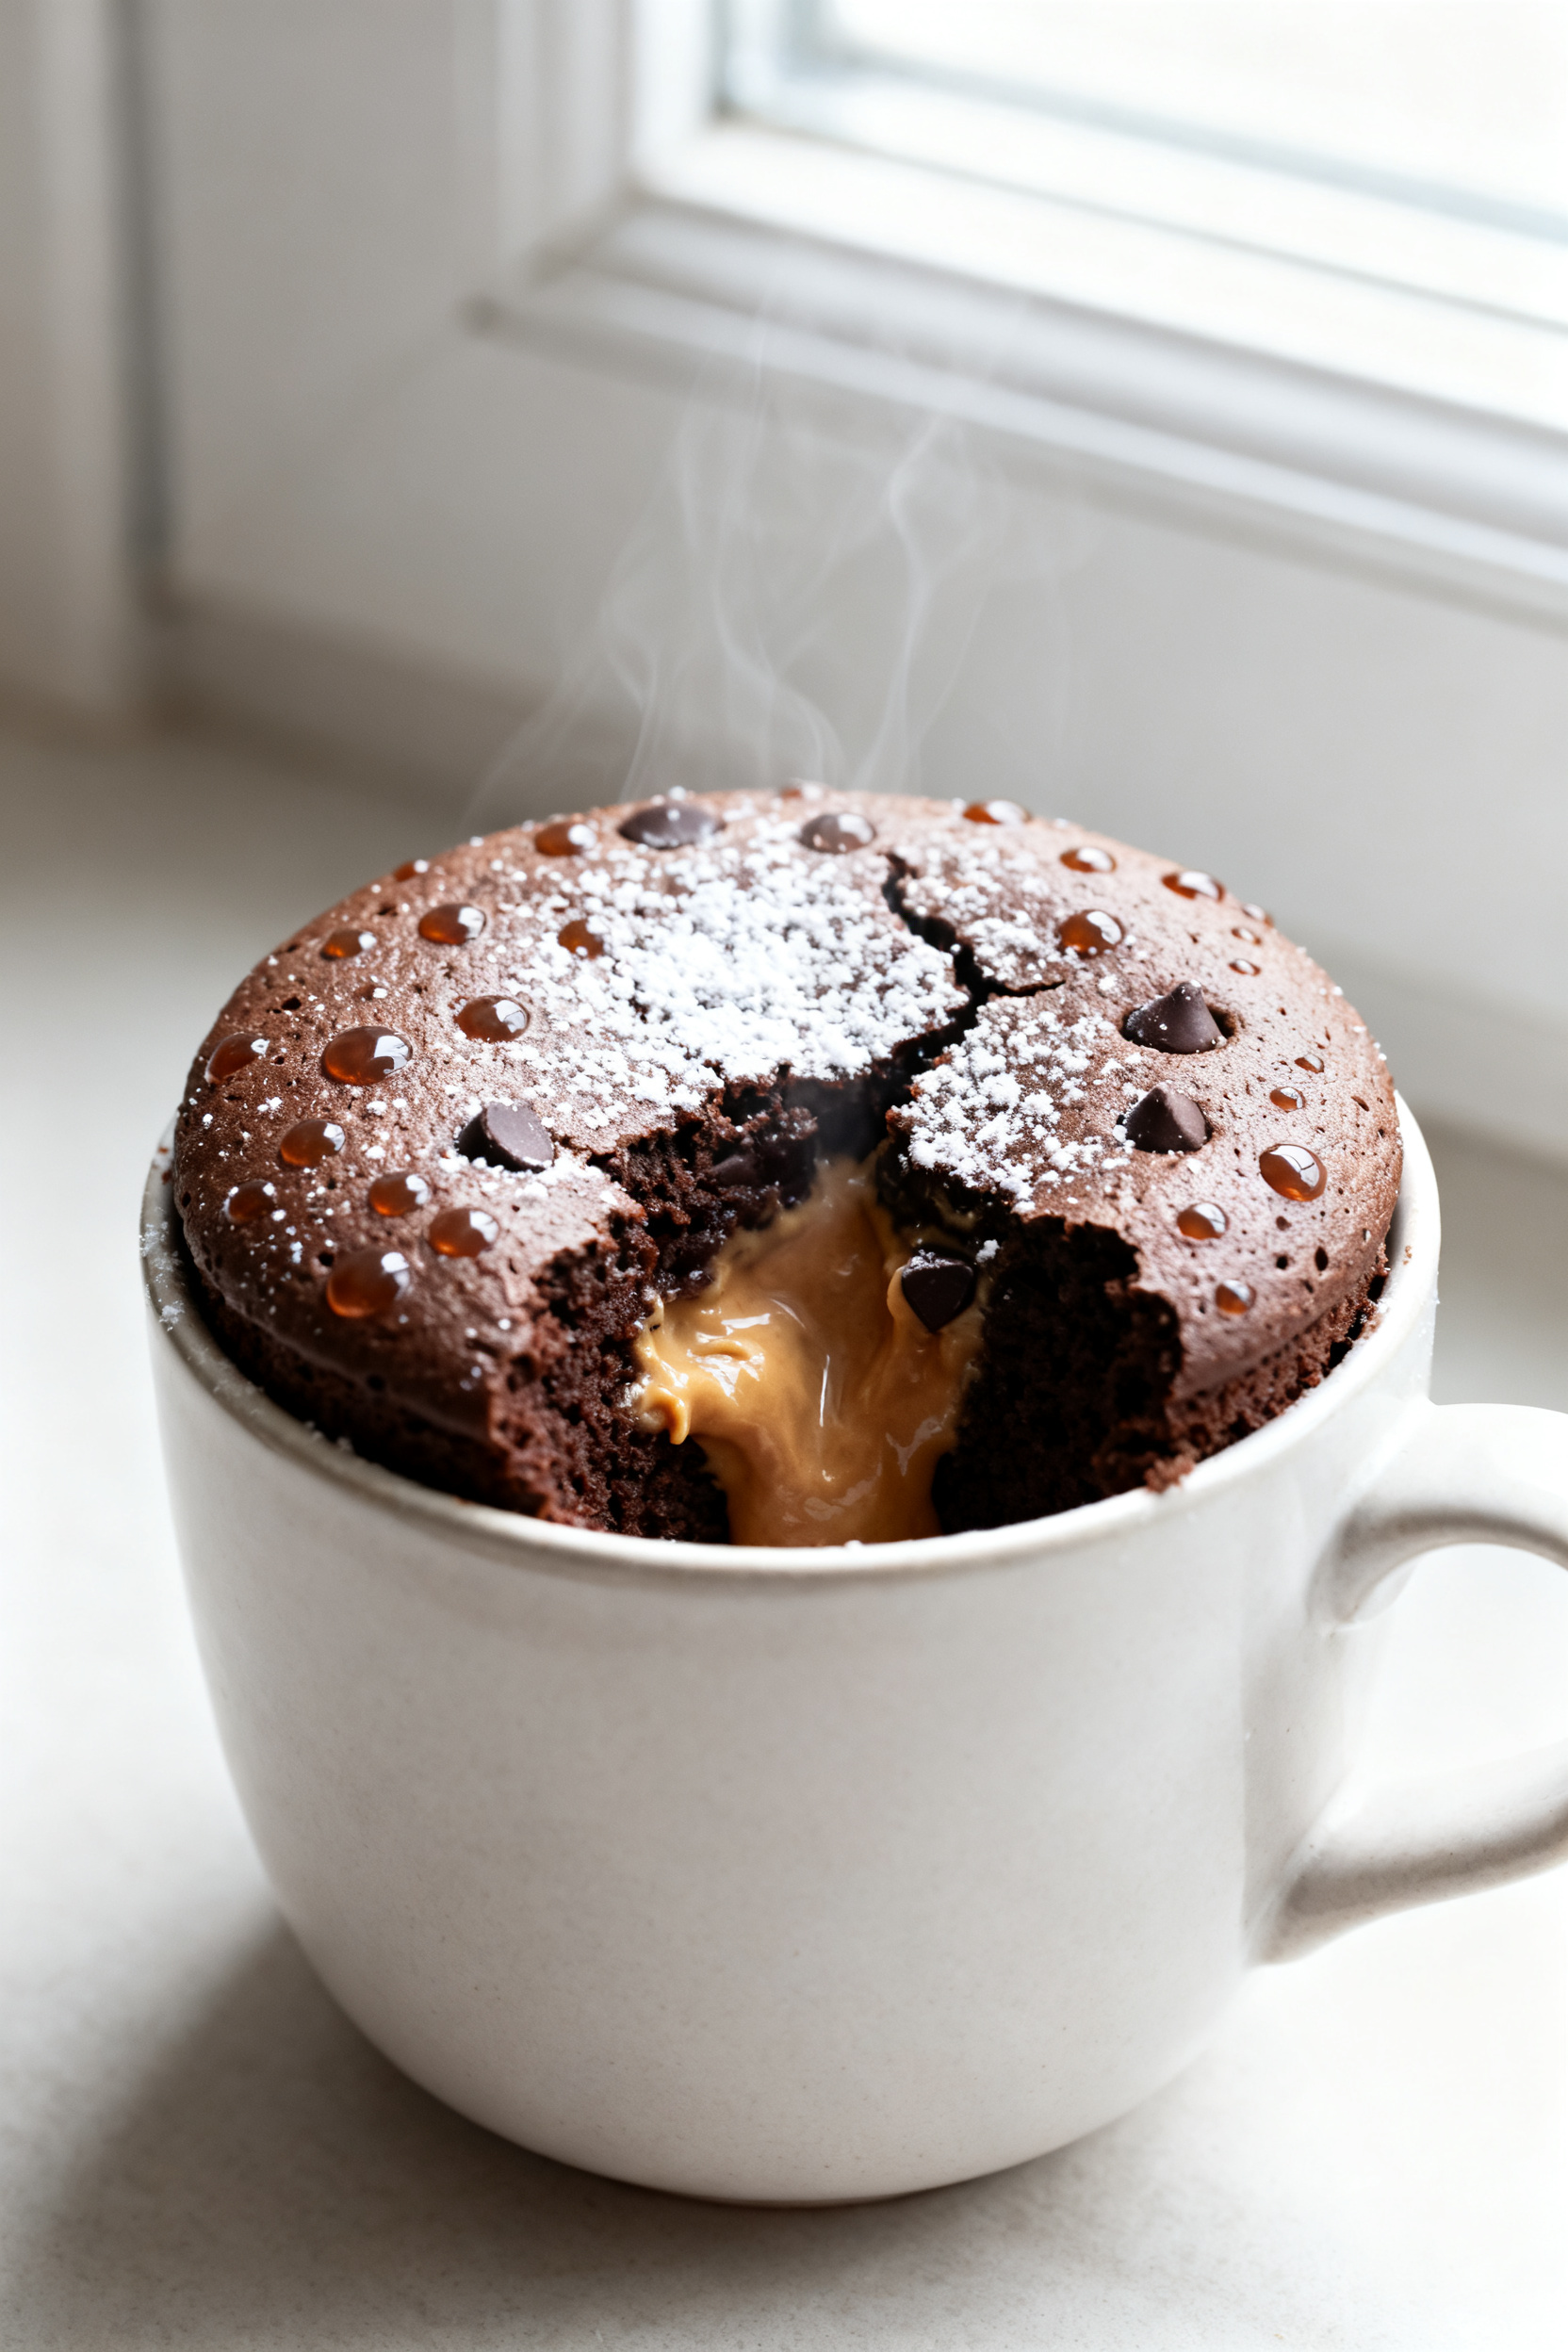
- Optional extras: Fold in 1 tablespoon chocolate chips. For a molten center, add 1 teaspoon peanut butter or Nutella on top and gently press it down into the batter.
- Microwave carefully: Microwave on high for 50–70 seconds, depending on your microwave’s power.Start with 60 seconds. The cake should rise, look set on top, and feel soft when gently pressed. If it’s wet in the center, heat in 5–10 second bursts until just done.
- Let it rest: Allow the cake to sit for 1–2 minutes.It will finish cooking with the residual heat. This short rest also improves texture.
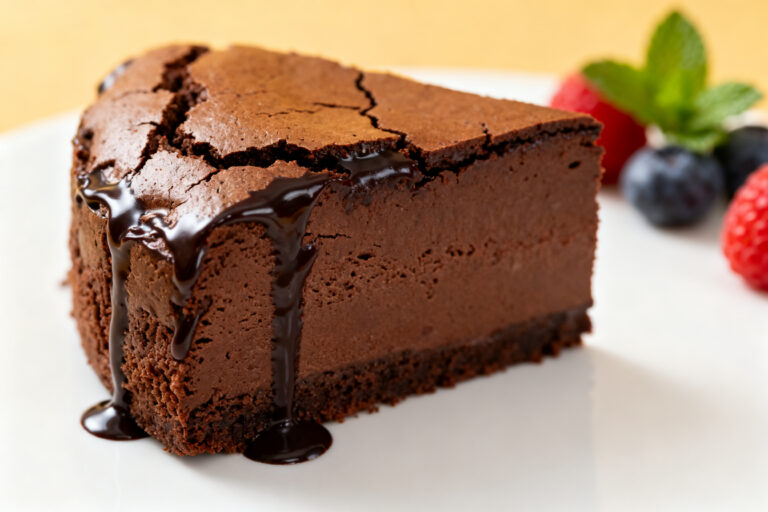
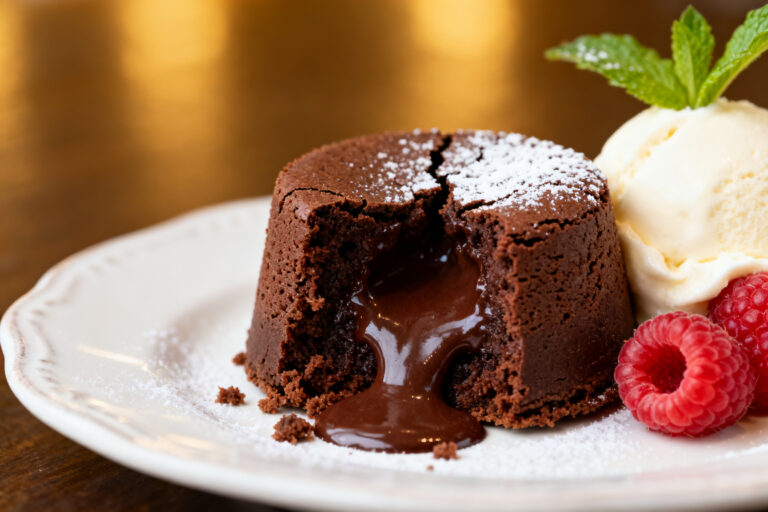
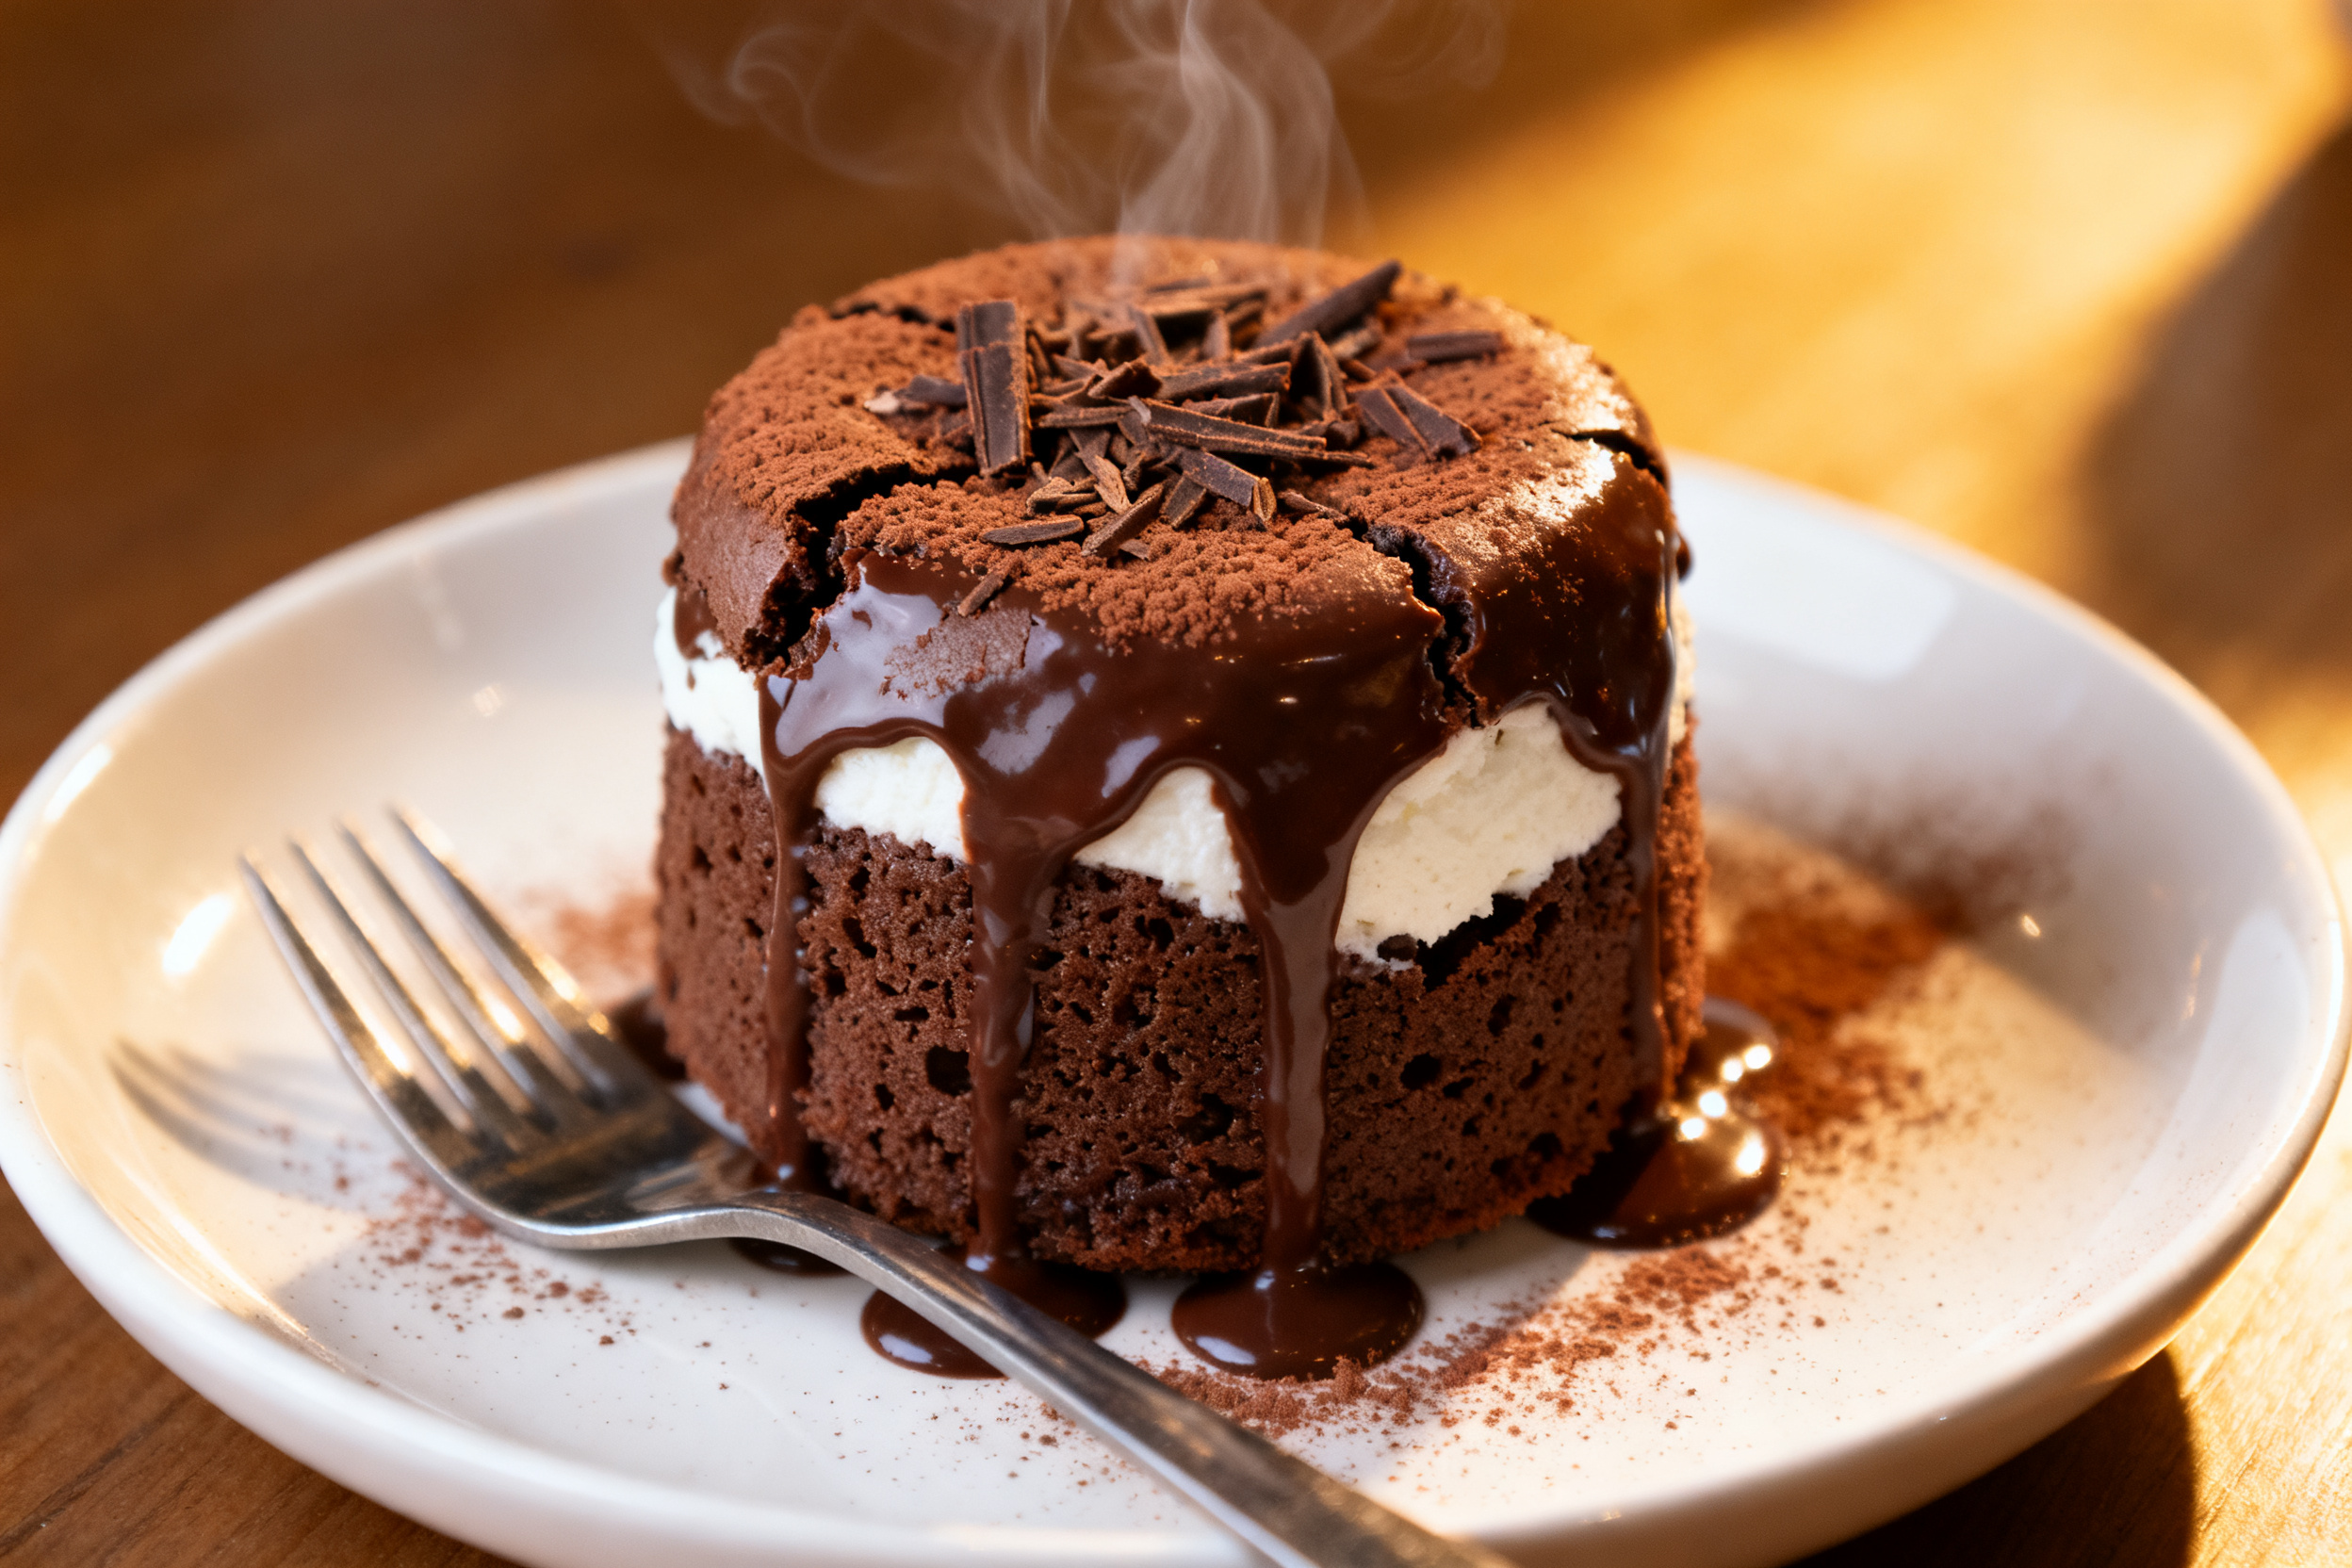
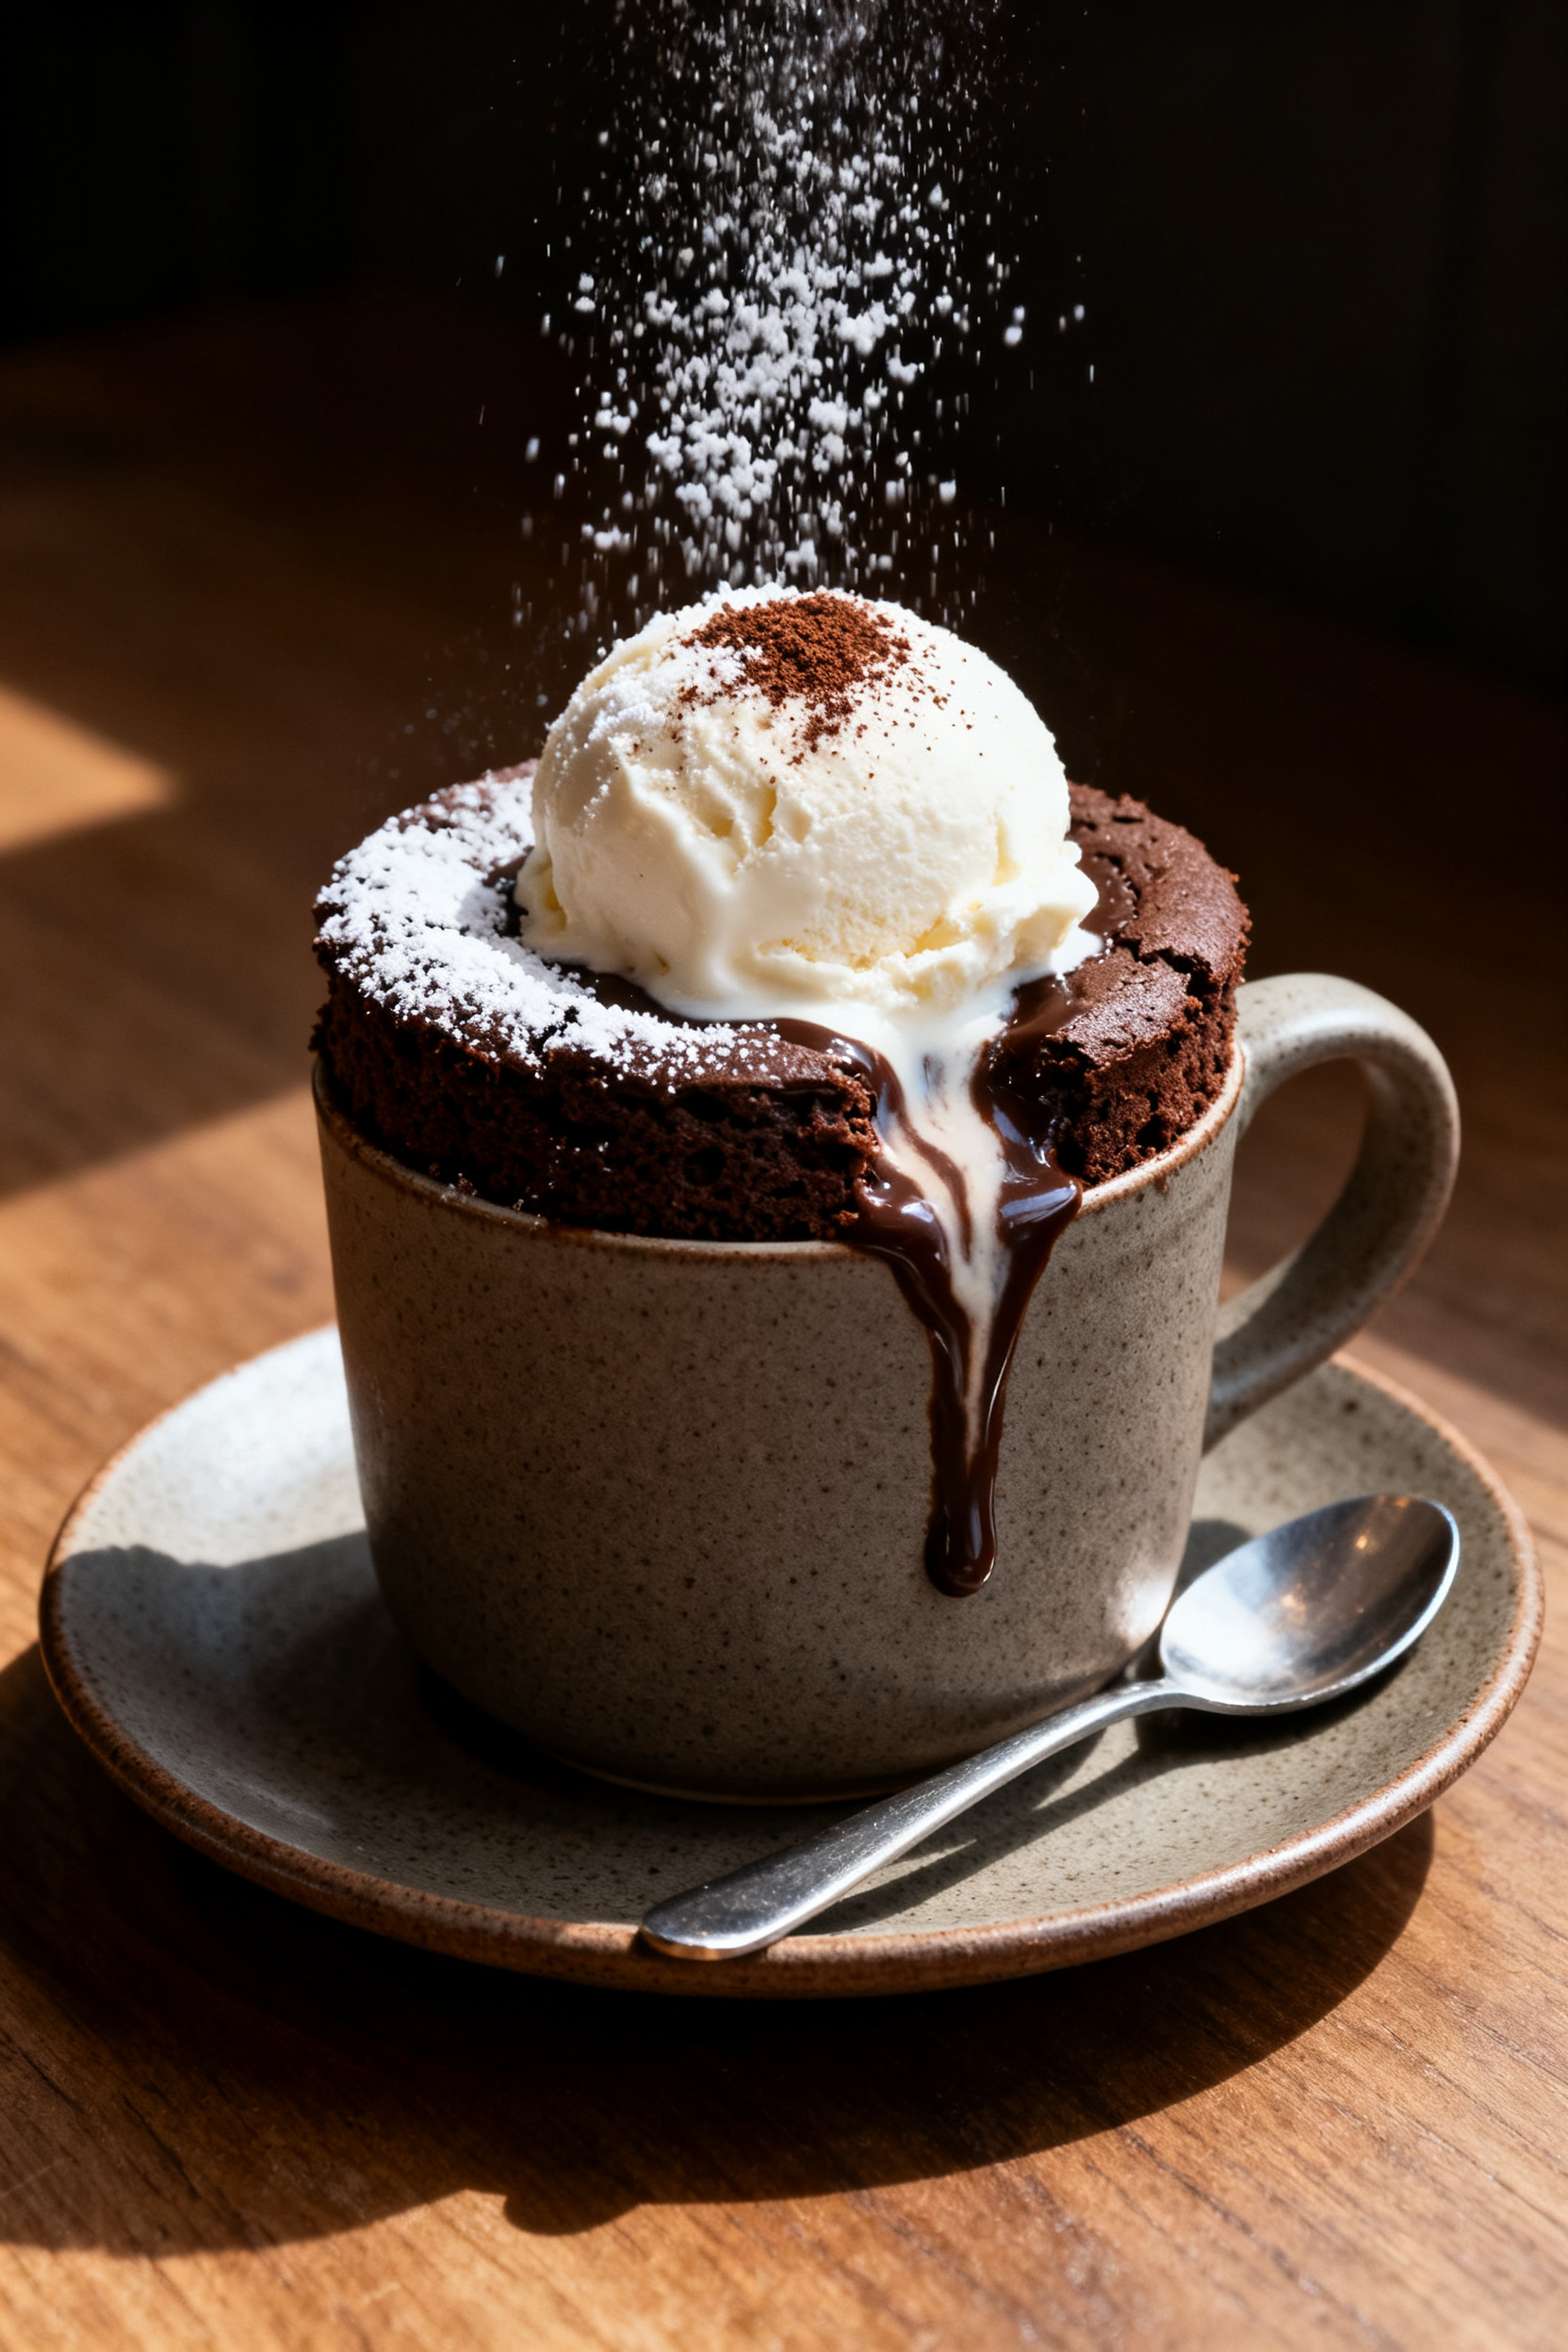
- Top and serve: Dust with powdered sugar, add a scoop of ice cream, or drizzle with chocolate sauce. Enjoy straight from the mug while warm.
What Makes This Special
This chocolate mug cake is all about balance. It’s rich but not heavy, sweet but not cloying, and soft with a touch of gooey in the middle.
The batter mixes right in the mug, so there’s almost no cleanup. You can customize it easily with add-ins like chocolate chips, peanut butter, or a pinch of espresso powder. Best of all, it’s ready in about 5 minutes from start to finish.
Shopping List (Ingredients)
- All-purpose flour – for structure
- Granulated sugar – for sweetness
- Unsweetened cocoa powder – the chocolate base
- Baking powder – to help it rise
- Salt – just a pinch to balance flavors
- Milk (dairy or unsweetened non-dairy) – for moisture
- Neutral oil (vegetable, canola, or light olive oil) – keeps it tender
- Vanilla extract – boosts flavor
- Chocolate chips (optional) – for extra gooey bits
- Peanut butter or Nutella (optional) – a spoonful in the center
- Espresso powder (optional) – enhances chocolate flavor
- Powdered sugar or ice cream (optional) – for topping
Step-by-Step Instructions
- Pick the right mug: Use a microwave-safe mug that holds at least 12 ounces.
A wider mug cooks more evenly than a tall, narrow one.
- Combine dry ingredients: Add 4 tablespoons flour, 2 tablespoons sugar, 2 tablespoons cocoa powder, 1/4 teaspoon baking powder, and a small pinch of salt to the mug. Stir with a fork until the color is even and no cocoa clumps remain.
- Add wet ingredients: Pour in 3 tablespoons milk, 2 tablespoons oil, and 1/4 teaspoon vanilla. If you like, add a small pinch (about 1/8 teaspoon) of espresso powder.
Mix until smooth, scraping the bottom and sides of the mug. The batter should be thick but pourable.
- Optional extras: Fold in 1 tablespoon chocolate chips. For a molten center, add 1 teaspoon peanut butter or Nutella on top and gently press it down into the batter.
- Microwave carefully: Microwave on high for 50–70 seconds, depending on your microwave’s power.
Start with 60 seconds. The cake should rise, look set on top, and feel soft when gently pressed. If it’s wet in the center, heat in 5–10 second bursts until just done.
- Let it rest: Allow the cake to sit for 1–2 minutes.
It will finish cooking with the residual heat. This short rest also improves texture.
- Top and serve: Dust with powdered sugar, add a scoop of ice cream, or drizzle with chocolate sauce. Enjoy straight from the mug while warm.
Keeping It Fresh
This dessert is meant to be eaten right away.
The texture is best within the first 10 minutes. If you need to hold it, cover the mug and keep it at room temperature for up to 2 hours. Reheat in the microwave for 10–15 seconds to soften.
If you want to prep ahead, you can pre-measure the dry mix. Combine flour, sugar, cocoa, baking powder, and salt in a small jar. When you’re ready, pour the mix into a mug, add milk, oil, and vanilla, then cook.
It’s like a DIY single-serve cake mix without additives.
Benefits of This Recipe
- Fast and easy: From craving to cake in minutes, with just one mug to clean.
- Flexible: Works with dairy or non-dairy milk, and you can adjust sweetness or add mix-ins.
- Portion-controlled: A single serving helps prevent overbaking or overeating a full cake.
- Budget-friendly: Uses basic pantry items—no need for special ingredients.
- Kid-friendly: Safe and simple enough for supervised young bakers to try.
Common Mistakes to Avoid
- Overcooking: Microwaves vary. Stop cooking when the top looks set but still moist. Overcooking leads to a dry, rubbery cake.
- Skipping the stir: Dry pockets of cocoa or flour ruin the bite.
Mix until the batter is completely smooth.
- Using the wrong mug: A small mug can overflow. A very tall, narrow mug can cook unevenly. Choose a wide, microwave-safe mug.
- Packing the flour: Scooping flour with the measuring spoon can compact it.
Fluff the flour, then spoon and level for accurate measuring.
- Too much leavener: More baking powder doesn’t mean more rise. It can cause collapse and a bitter taste. Stick to the measured amount.
- Cold add-ins: Large, cold chunks (like a big scoop of peanut butter) can affect cooking.
Keep add-ins small and at room temperature.
Alternatives
- Dairy-free: Use almond, oat, or soy milk. Choose dairy-free chocolate chips if adding them.
- Gluten-free: Swap in a 1:1 gluten-free baking blend. Avoid almond flour alone; it won’t set the same way.
- Lower sugar: Reduce sugar to 1–1.5 tablespoons.
The texture may be slightly less tender but still tasty.
- Richer flavor: Add 1 teaspoon of strong brewed coffee or a pinch of cinnamon for depth.
- Extra fudgy: Mix in 1 teaspoon of chocolate chips and undercook by 5 seconds for a gooier center.
- No oil version: Replace oil with 2 tablespoons unsweetened applesauce. The cake will be a bit lighter and less rich.
- Double chocolate: Stir in cocoa plus mini chips, then top with a quick chocolate glaze made from melted chips and a splash of milk.
FAQ
Can I bake this in an oven instead of a microwave?
Yes. Preheat your oven to 350°F (175°C), pour the batter into an oven-safe ramekin or small baking dish, and bake for 10–14 minutes.
It’s done when the center looks set but still soft.
Why did my mug cake turn rubbery?
It was likely overcooked or stirred too much. Microwave in short bursts and stop as soon as the top sets. Mix until smooth, but don’t beat the batter aggressively.
Can I use hot cocoa mix instead of cocoa powder?
You can, but the cake will be sweeter and less chocolatey.
If using hot cocoa mix, reduce the granulated sugar slightly to avoid an overly sweet result.
How do I make it vegan?
Use plant-based milk and skip any dairy-based add-ins. Most cocoa powders are vegan; just check your chocolate chips or topping to be sure.
What if I don’t have baking powder?
Use 1/8 teaspoon baking soda and add 1/2 teaspoon vinegar to the wet ingredients. The reaction will help it rise similarly.
Can I add protein powder?
Yes, replace 1 tablespoon of flour with 1 tablespoon of chocolate or vanilla protein powder.
Add a splash more milk if the batter gets too thick, and be careful not to overcook.
Why did it overflow?
Your mug was too small or too narrow, or there was too much leavener. Use a larger, wider mug and stick to the measurements.
How can I make it less sweet?
Reduce the sugar by 1/2 to 1 tablespoon and use dark chocolate chips if adding them. You can also add a pinch more salt to balance the sweetness.
Can I make two at once?
Yes, but cook them separately for even results.
If you cook both together, they may need more time and could heat unevenly.
Is it safe to eat if it’s slightly gooey in the middle?
A slightly gooey texture is fine and often desirable, but make sure the batter is no longer liquid. If it looks raw, give it another 5–10 seconds.
Wrapping Up
A chocolate mug cake is the kind of dessert you make on instinct—quick, cozy, and satisfying with minimal effort. Once you learn the base recipe, you can tweak it for your mood, your pantry, or your dietary needs.
Keep a wide mug handy, a jar of pre-mixed dry ingredients in the cupboard, and you’re always five minutes away from warm, chocolatey comfort.
Printable Recipe Card
Want just the essential recipe details without scrolling through the article? Get our printable recipe card with just the ingredients and instructions.