Flourless Chocolate Cake – Rich, Fudgy, and Naturally Gluten-Free
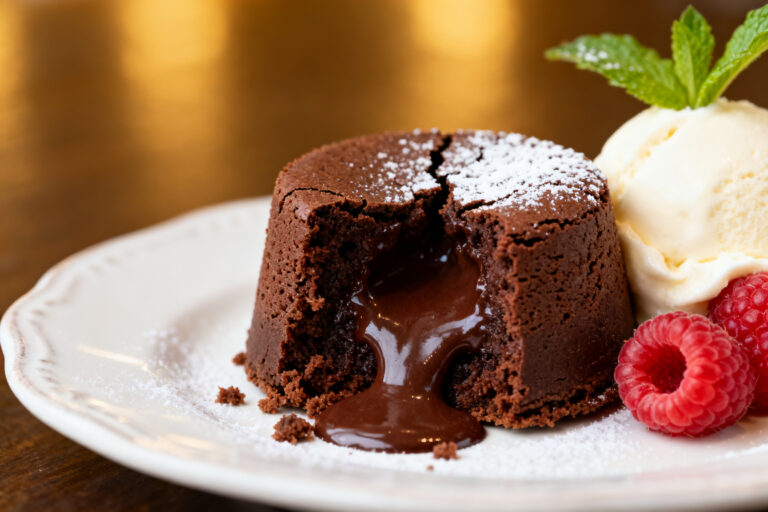
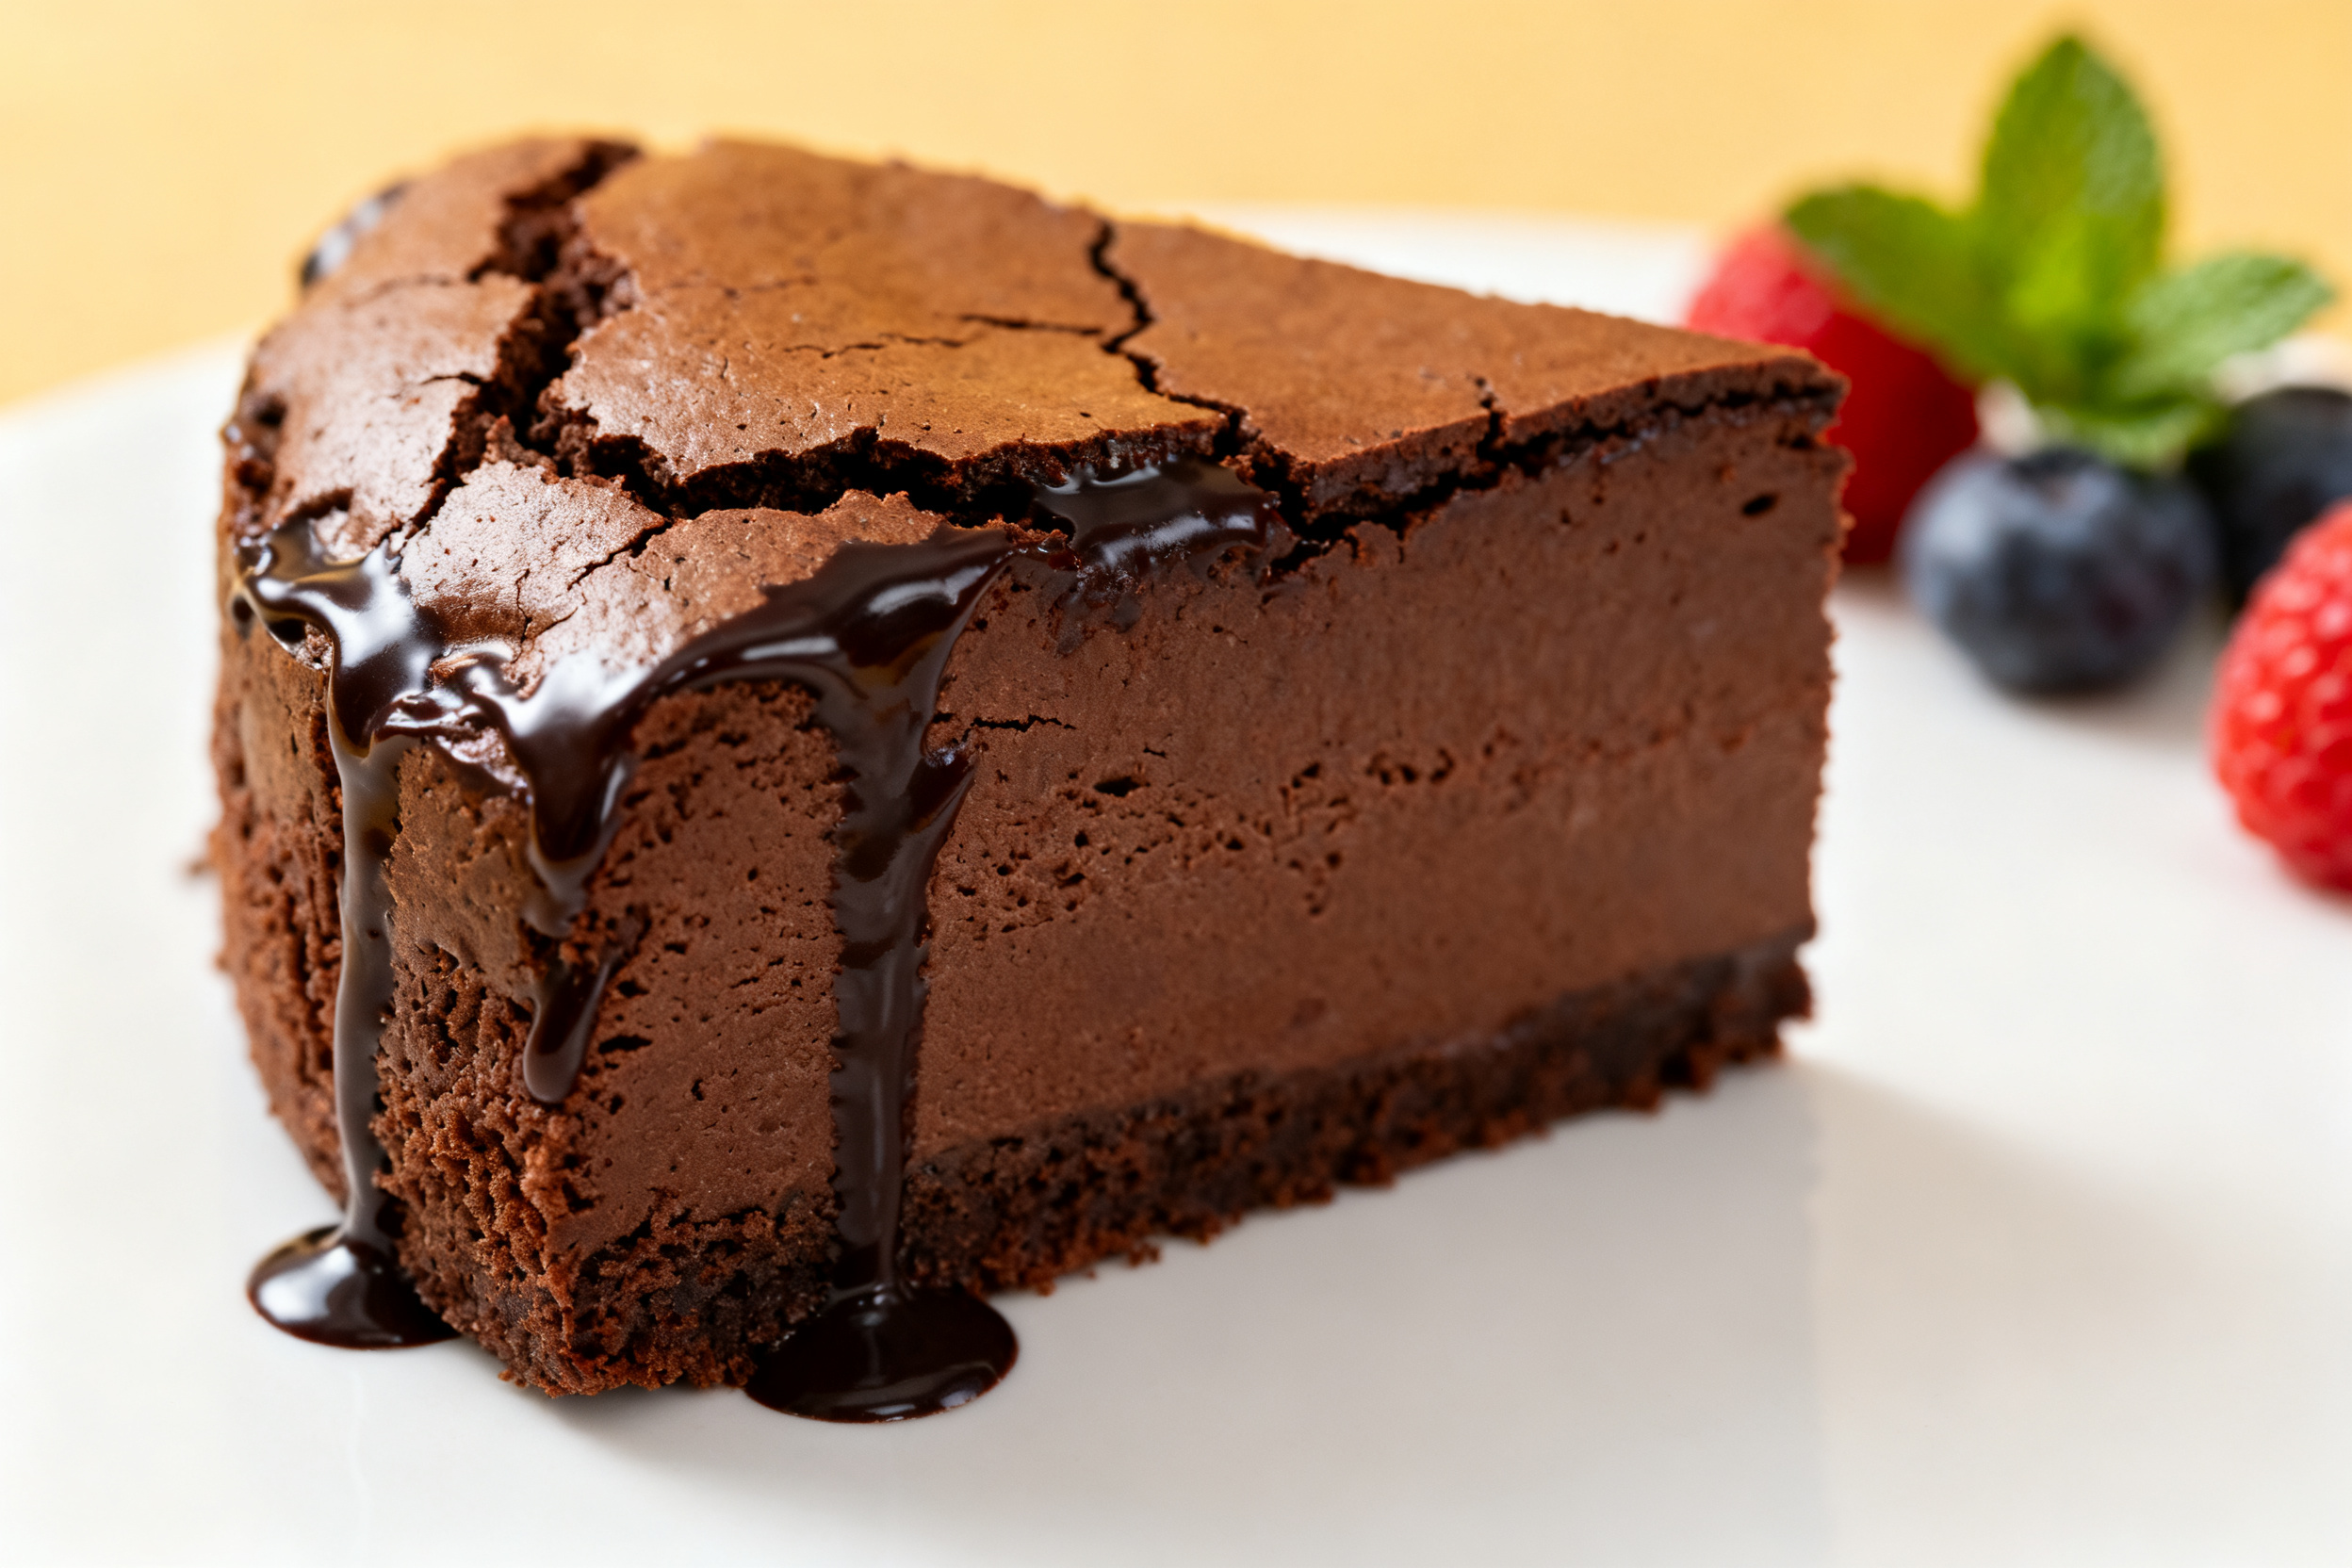
This flourless chocolate cake is the kind of dessert that makes people stop talking mid-bite. It’s dense, fudgy, and melts on your tongue like a truffle. You don’t need fancy techniques or special equipment—just good chocolate and a few pantry staples.
Serve it with a dusting of cocoa or a spoonful of whipped cream, and it feels instantly special. Whether you’re baking for a celebration or a quiet night in, this is a recipe that never lets you down.
Flourless Chocolate Cake – Rich, Fudgy, and Naturally Gluten-Free
Ingredients
Method
- Prepare the pan: Heat the oven to 325°F (165°C).Grease a 9-inch springform pan or cake pan. Line the bottom with parchment and grease the parchment. If using a cake pan, line the sides as well for easier release.
- Optional water bath prep: For an extra silky texture, wrap the outside of the pan with foil to prevent leaks.Set a kettle of water to boil and place a larger roasting pan on the middle oven rack. You can skip the bath if you prefer; just keep a close eye on doneness.
- Melt the chocolate and butter: In a heatproof bowl, combine the chopped chocolate and butter. Set over a saucepan of barely simmering water (or microwave in 20–30 second bursts), stirring until smooth.Remove from heat and let it cool slightly for 5 minutes.
- Whisk in sugar and flavorings: Whisk the granulated sugar, vanilla, salt, and espresso powder (if using) into the warm chocolate mixture until glossy and combined.
- Add the eggs: Whisk in the eggs one at a time, mixing fully after each addition. The batter should look thick and shiny. Sprinkle in the cocoa powder and whisk just until no dry streaks remain.
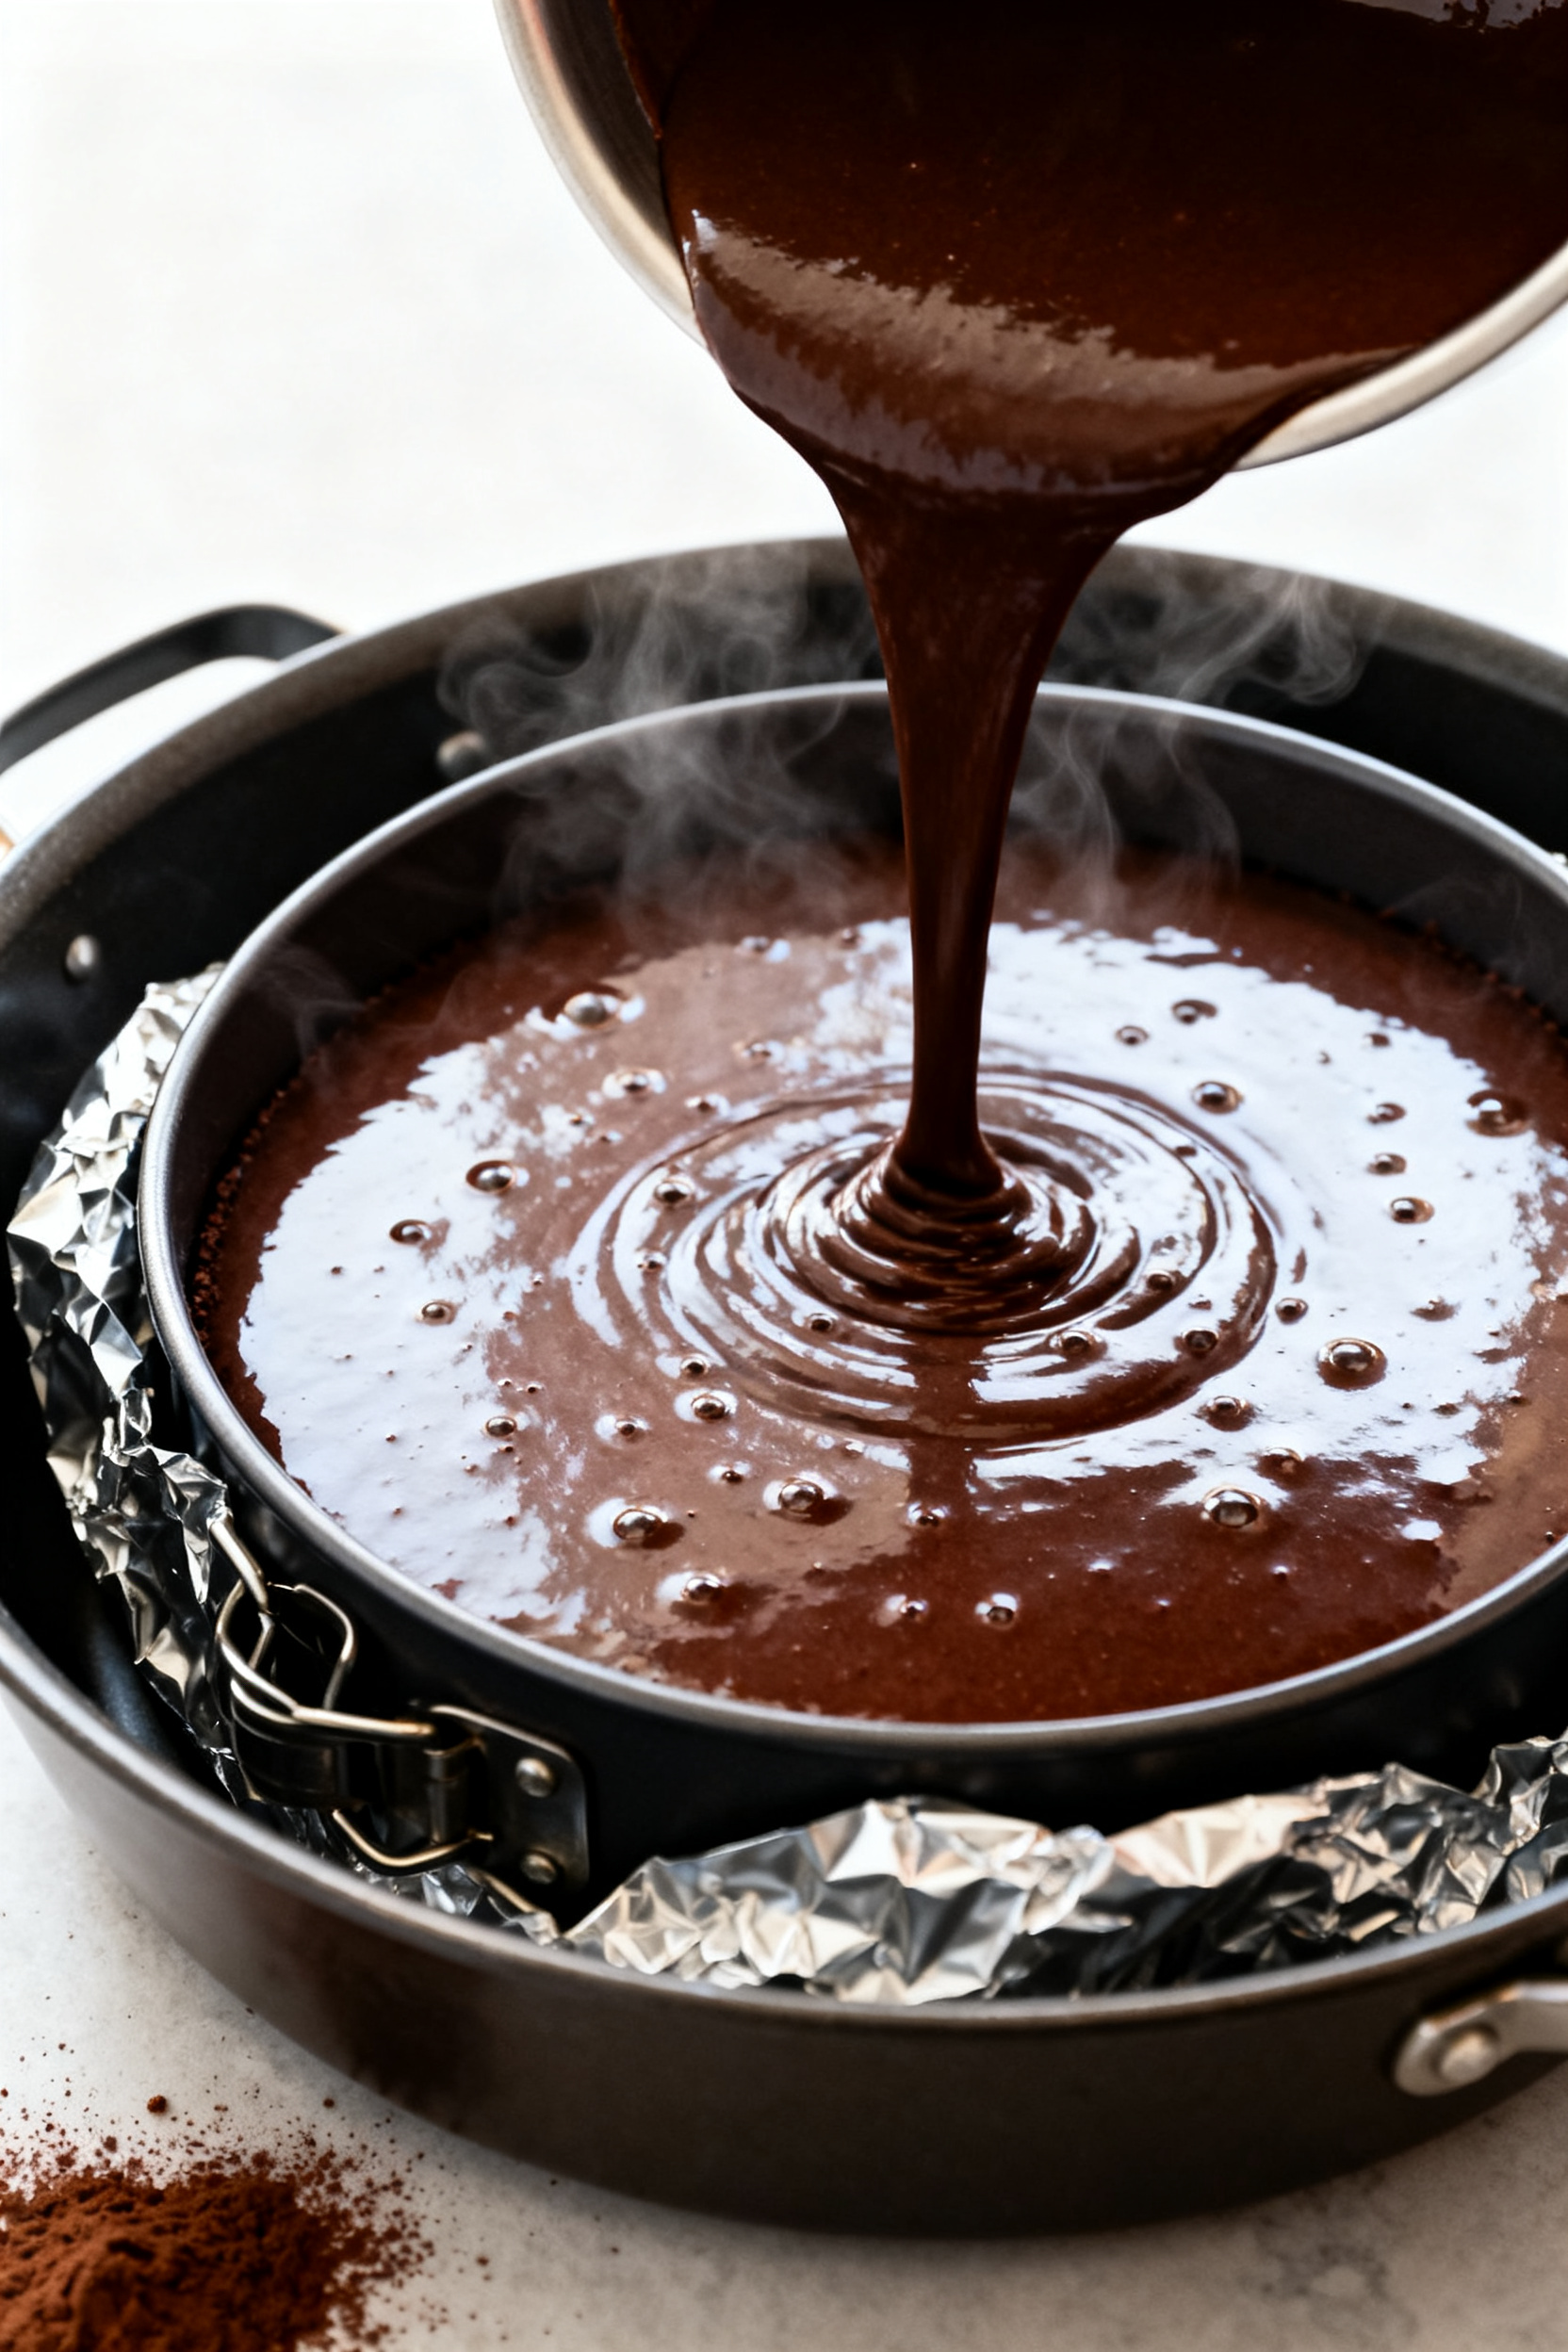
- Pour and smooth: Scrape the batter into the prepared pan and smooth the top with a spatula.Tap the pan gently on the counter to release any large air bubbles.
- Bake: If using the water bath, set the foil-wrapped pan into the roasting pan and pour in hot water to come halfway up the sides. Bake for 30–35 minutes until the edges look set and the center wobbles slightly like set custard. Without a water bath, check around 25–30 minutes and tent with foil if the top darkens too fast.
- Cool and chill: Remove from the oven and let the cake cool in the pan for 15 minutes.Run a thin knife around the edge, then let it cool to room temperature. Cover and chill for at least 3 hours (overnight is best) to set and develop flavor.
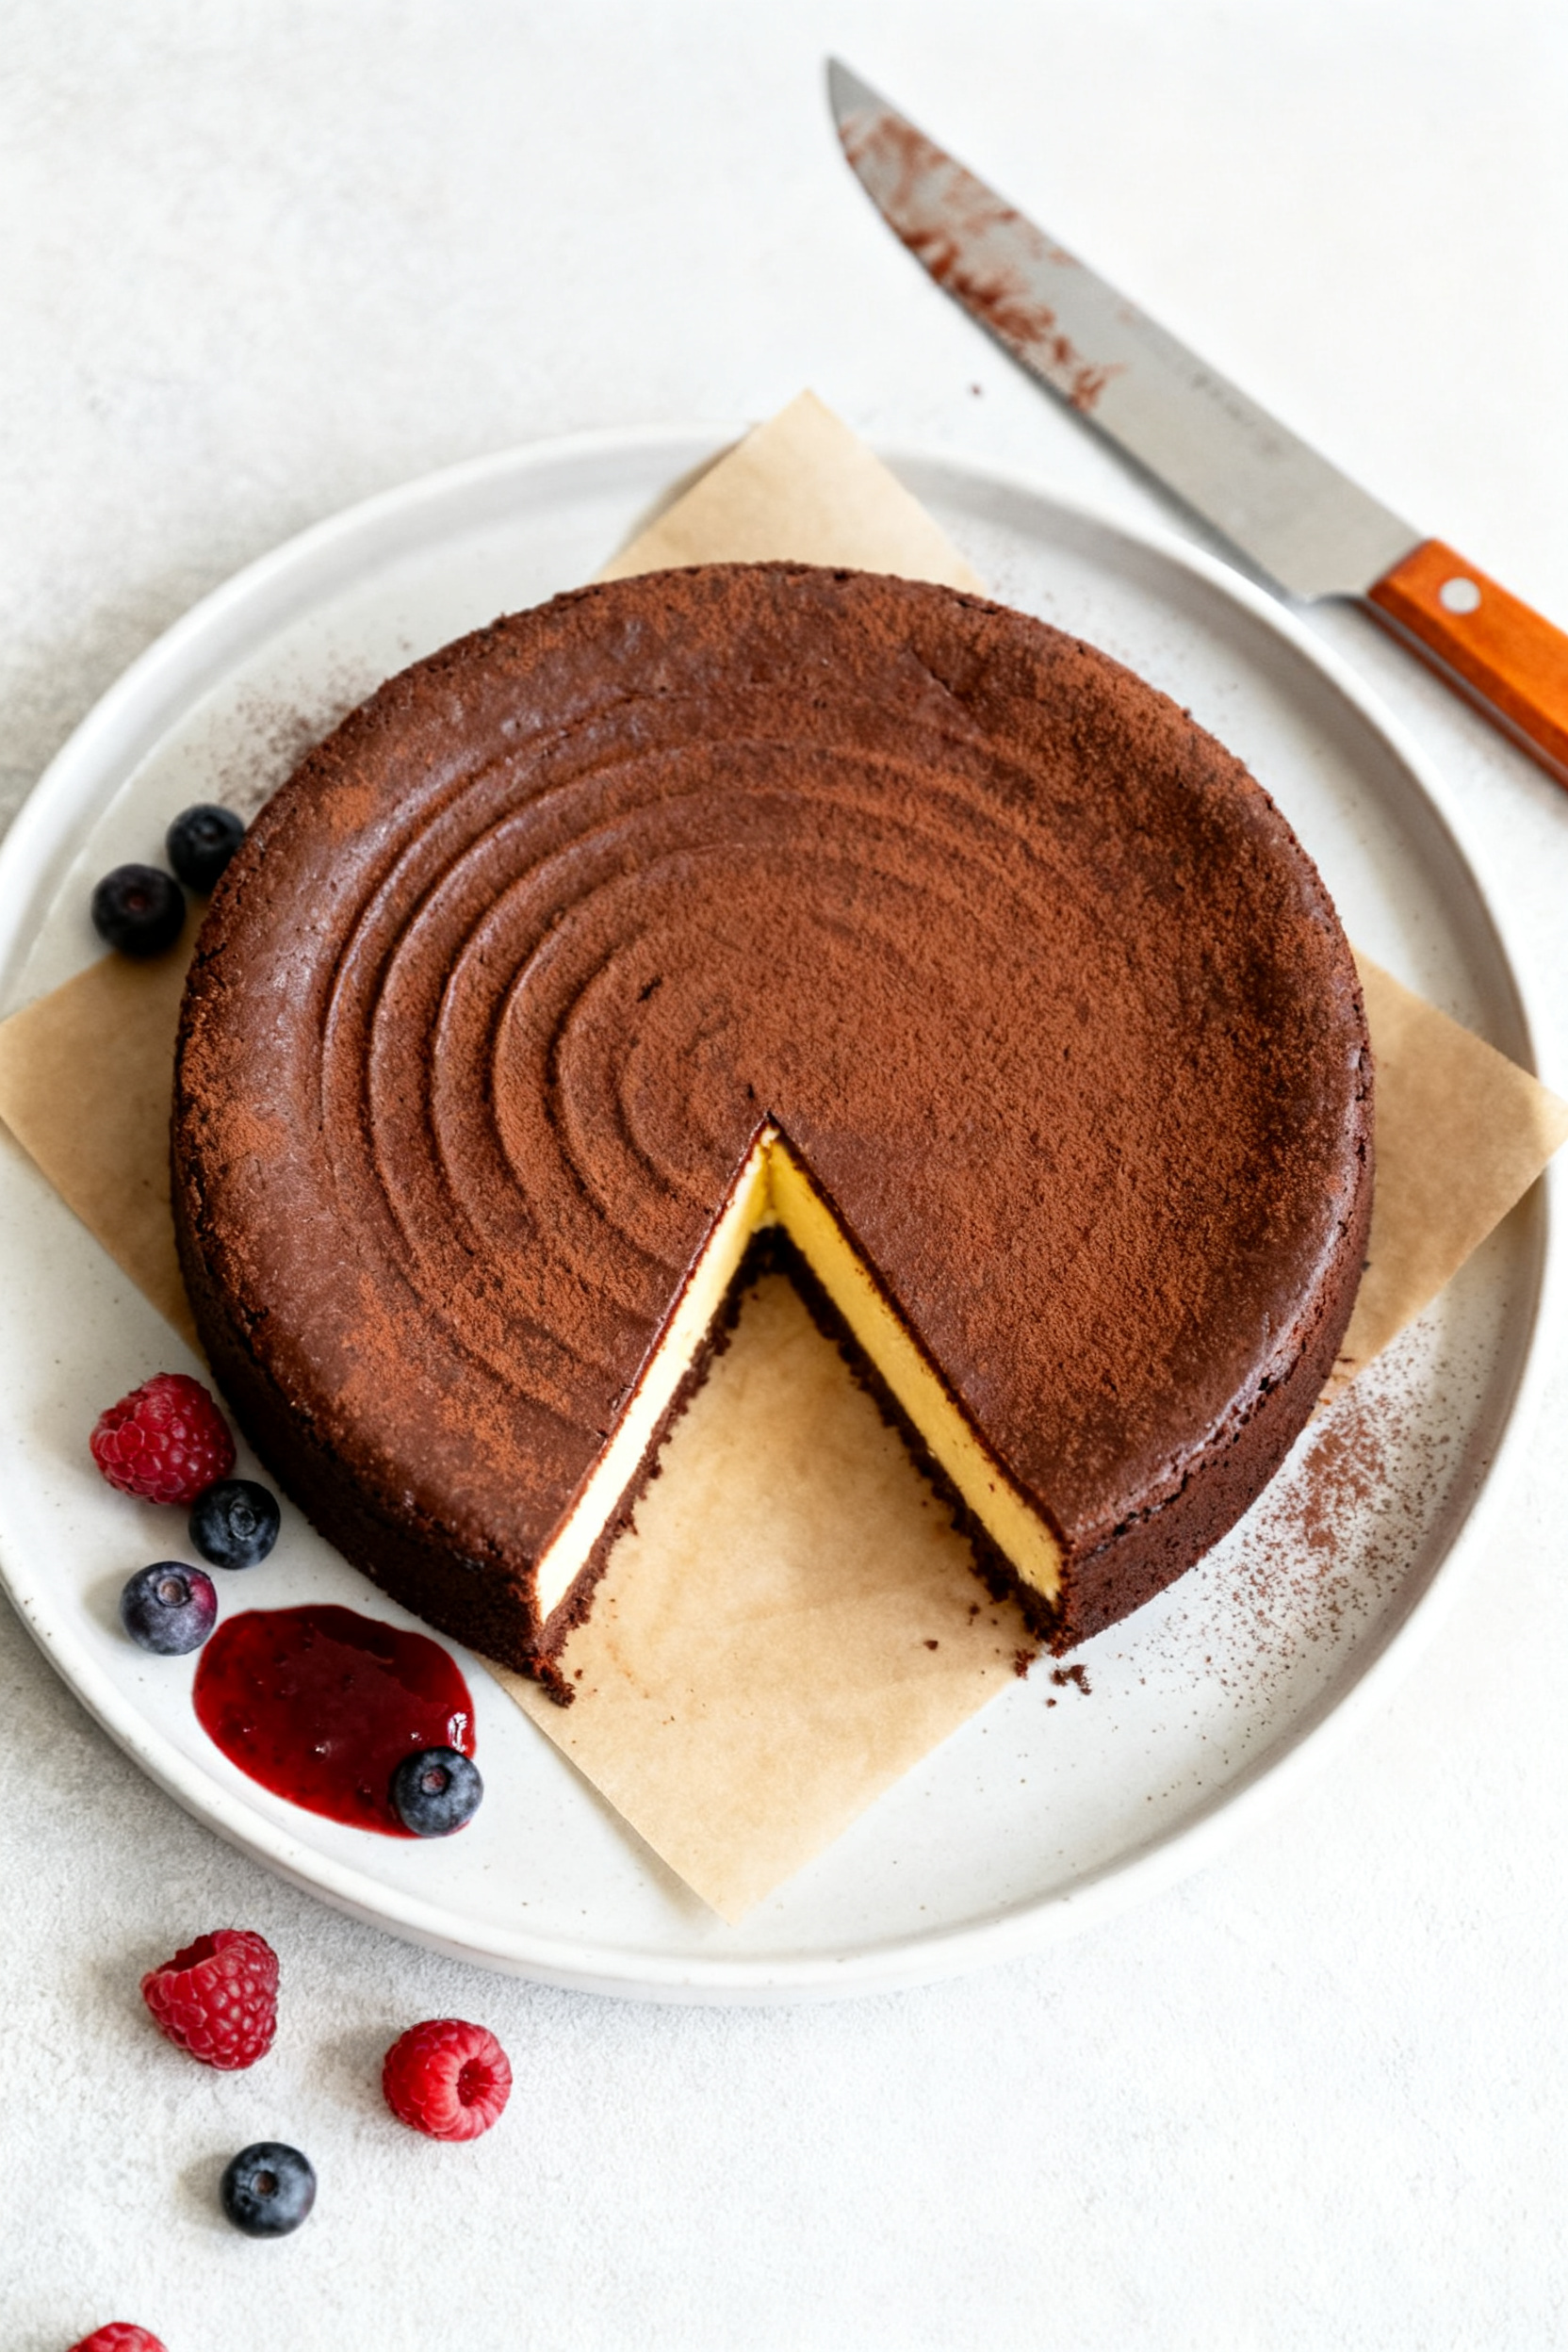
- Unmold and finish: If using a springform, release the sides. If using a cake pan, invert onto a plate lined with parchment, then flip again onto a serving plate.Dust with cocoa powder or powdered sugar. Slice with a warm knife for clean cuts.
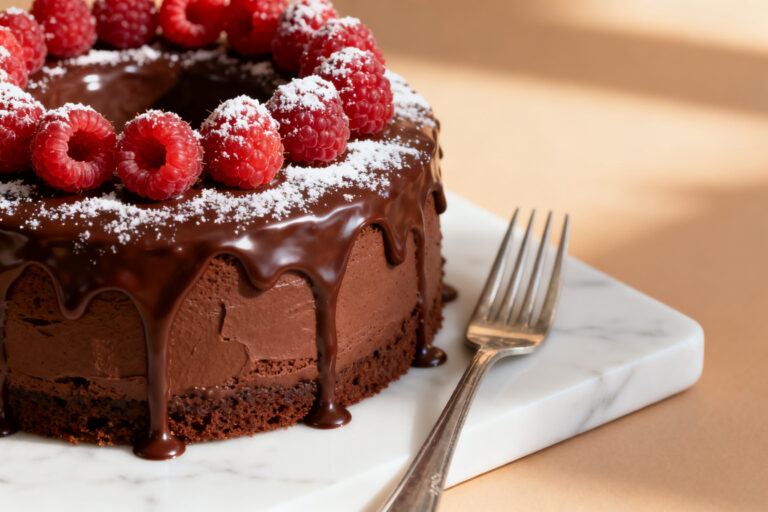
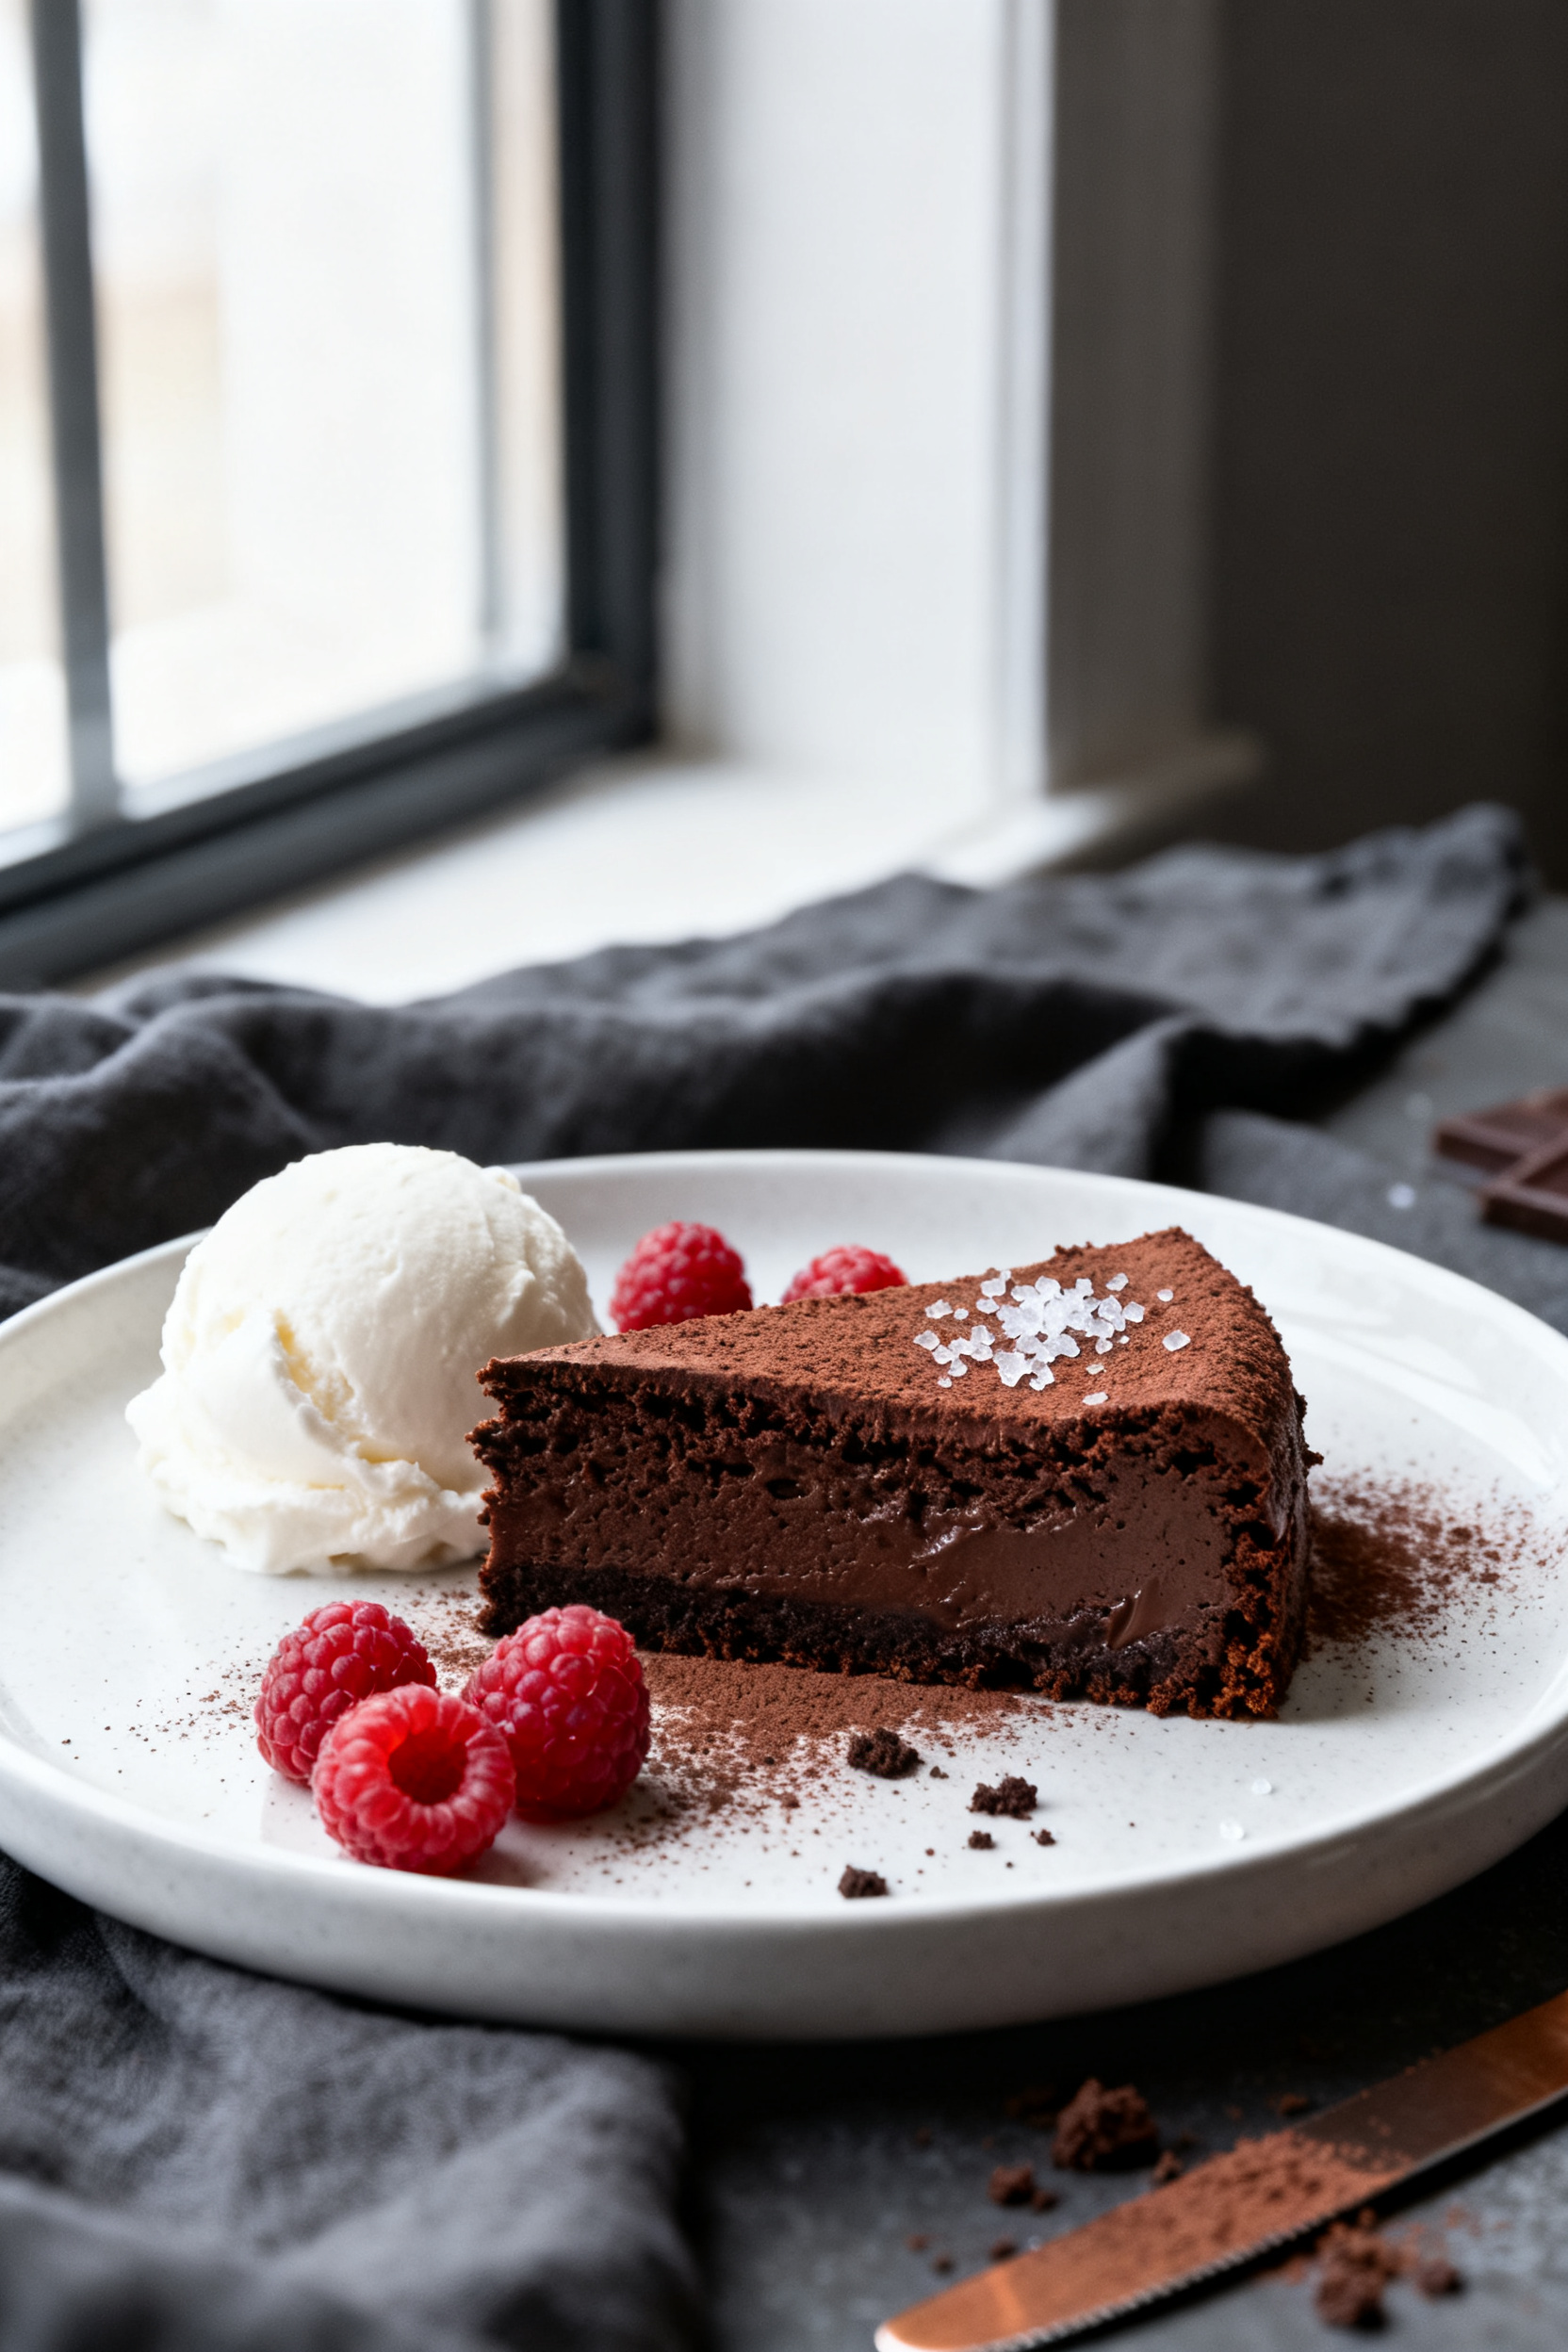
- Serve: Pair with lightly sweetened whipped cream, a drizzle of raspberry sauce, or fresh berries. A sprinkle of flaky salt on each slice is a nice touch.
Why This Recipe Works
This cake gets its structure from eggs instead of flour, which makes the interior custardy and decadent. Because there’s no flour, every bite is pure chocolate, amplified by butter for richness and espresso (optional) for depth.
A touch of salt balances the sweetness and sharpens the chocolate flavor. Baking it in a water bath or at a slightly lower temperature keeps the texture smooth, not dry or crumbly. Chill time helps it set, so you end up with clean slices and a silky bite.
Shopping List (Ingredients)
- Bittersweet or semisweet chocolate (10 ounces / about 285 g), chopped
- Unsalted butter (1 cup / 225 g), cut into pieces
- Granulated sugar (3/4 cup / 150 g)
- Eggs (5 large), at room temperature
- Unsweetened cocoa powder (1/4 cup / 25 g), plus more for dusting
- Vanilla extract (2 teaspoons)
- Fine sea salt (1/2 teaspoon)
- Instant espresso powder (1 teaspoon, optional)
- Whipped cream or fresh berries (for serving, optional)
- Nonstick spray or butter (for greasing the pan)
- Parchment paper
Instructions
- Prepare the pan: Heat the oven to 325°F (165°C).
Grease a 9-inch springform pan or cake pan. Line the bottom with parchment and grease the parchment. If using a cake pan, line the sides as well for easier release.
- Optional water bath prep: For an extra silky texture, wrap the outside of the pan with foil to prevent leaks.
Set a kettle of water to boil and place a larger roasting pan on the middle oven rack. You can skip the bath if you prefer; just keep a close eye on doneness.
- Melt the chocolate and butter: In a heatproof bowl, combine the chopped chocolate and butter. Set over a saucepan of barely simmering water (or microwave in 20–30 second bursts), stirring until smooth.
Remove from heat and let it cool slightly for 5 minutes.
- Whisk in sugar and flavorings: Whisk the granulated sugar, vanilla, salt, and espresso powder (if using) into the warm chocolate mixture until glossy and combined.
- Add the eggs: Whisk in the eggs one at a time, mixing fully after each addition. The batter should look thick and shiny. Sprinkle in the cocoa powder and whisk just until no dry streaks remain.
- Pour and smooth: Scrape the batter into the prepared pan and smooth the top with a spatula.
Tap the pan gently on the counter to release any large air bubbles.
- Bake: If using the water bath, set the foil-wrapped pan into the roasting pan and pour in hot water to come halfway up the sides. Bake for 30–35 minutes until the edges look set and the center wobbles slightly like set custard. Without a water bath, check around 25–30 minutes and tent with foil if the top darkens too fast.
- Cool and chill: Remove from the oven and let the cake cool in the pan for 15 minutes.
Run a thin knife around the edge, then let it cool to room temperature. Cover and chill for at least 3 hours (overnight is best) to set and develop flavor.
- Unmold and finish: If using a springform, release the sides. If using a cake pan, invert onto a plate lined with parchment, then flip again onto a serving plate.
Dust with cocoa powder or powdered sugar. Slice with a warm knife for clean cuts.
- Serve: Pair with lightly sweetened whipped cream, a drizzle of raspberry sauce, or fresh berries. A sprinkle of flaky salt on each slice is a nice touch.
Storage Instructions
Keep the cake covered in the fridge for up to 5 days.
The texture stays dense and truffle-like and the flavor deepens over time. For longer storage, wrap slices well and freeze for up to 2 months. Thaw in the fridge overnight, then let stand at room temperature for 20–30 minutes before serving.
Benefits of This Recipe
- Naturally gluten-free: No flour needed, so it’s a safe and satisfying option for gluten-free guests.
- Simple ingredient list: You only need chocolate, butter, eggs, sugar, cocoa, and a few flavor boosters.
- Make-ahead friendly: The cake actually tastes better the next day, which makes entertaining easier.
- Restaurant-quality results: The texture is silky and luxurious with very little fuss.
- Versatile serving options: Dress it up with berries, sauces, or whipped cream, or keep it minimal.
Pitfalls to Watch Out For
- Overbaking: If the center is fully firm when you pull it, it may turn dry.
Look for a gentle wobble.
- Hot batter and eggs: Adding eggs to very hot chocolate can scramble them. Let the chocolate cool for a few minutes first.
- Skipping the chill: Cutting too soon leads to messy slices. Chill until set for clean cuts and best texture.
- Wrong chocolate: Low-quality or overly sweet chocolate dulls the flavor.
Use good bittersweet (60–70% cocoa) for balance.
- Pan sticking: Don’t forget to grease and line with parchment. This cake is dense and needs help releasing cleanly.
Alternatives
- Dairy-free: Use a high-quality dairy-free dark chocolate and swap butter for refined coconut oil or a dairy-free butter alternative. Add a pinch more salt to balance.
- Less sweet: Reduce sugar to 1/2 cup for a darker, more intense cake.
Taste varies by chocolate brand, so adjust to your preference.
- Spiked version: Stir in 1–2 tablespoons of bourbon, rum, or coffee liqueur with the vanilla for a grown-up twist.
- Spiced chocolate:</-strong> Add 1/2 teaspoon cinnamon and a pinch of cayenne or chili powder for a subtle warmth.
- Orange-chocolate: Add 1 tablespoon orange zest and swap vanilla for orange liqueur for a citrus lift.
- Mini cakes: Bake in greased, lined muffin tins for 12–15 minutes. Great for portioning and faster chilling.
FAQ
Can I make this without a water bath?
Yes. Bake at 325°F and start checking at 25 minutes.
The water bath simply helps prevent cracks and keeps the texture extra silky, but the cake will still be delicious without it. If the top browns too quickly, tent with foil.
What chocolate is best?
Use good-quality bars labeled 60–70% cocoa. Avoid chocolate chips if possible, since they contain stabilizers that can affect texture.
If chips are all you have, choose a premium brand and melt gently.
Do I need a mixer?
No. A whisk and a bowl work perfectly. The batter comes together by hand and doesn’t need whipping—just mix until smooth and combined.
How do I know when it’s done?
The edges should look set and slightly puffed, and the center should still wobble a little when you nudge the pan.
A toothpick won’t come out clean—that’s okay. It firms up as it cools and chills.
Can I reduce the eggs?
Not recommended. The eggs provide structure in place of flour.
Reducing them will change the texture and may cause the cake to collapse or turn gummy.
What can I use instead of espresso powder?
You can skip it, or stir in 1 tablespoon of strong brewed coffee with the vanilla. Coffee doesn’t make the cake taste like coffee; it just enhances the chocolate.
How do I get clean slices?
Chill the cake thoroughly, then use a warm, dry knife. Dip the knife in hot water, wipe it dry, slice, and repeat between cuts.
This prevents drag and crumb buildup.
Is it very sweet?
It’s rich more than sweet, especially if you use bittersweet chocolate. If you prefer less sweetness, reduce the sugar slightly and choose a higher percentage chocolate.
Can I double the recipe?
Use a 9×13-inch pan and extend the bake time. Watch for the same visual cues: set edges with a soft wobble in the center.
Let it cool completely before chilling and slicing into squares.
Wrapping Up
This flourless chocolate cake is a reliable showstopper with minimal effort. With just a handful of ingredients, you get a silky, intensely chocolate dessert that suits both casual dinners and special occasions. Keep the ingredients simple, avoid overbaking, and give it time to chill.
Once you try it, you’ll want it in your dessert rotation year-round.
Printable Recipe Card
Want just the essential recipe details without scrolling through the article? Get our printable recipe card with just the ingredients and instructions.