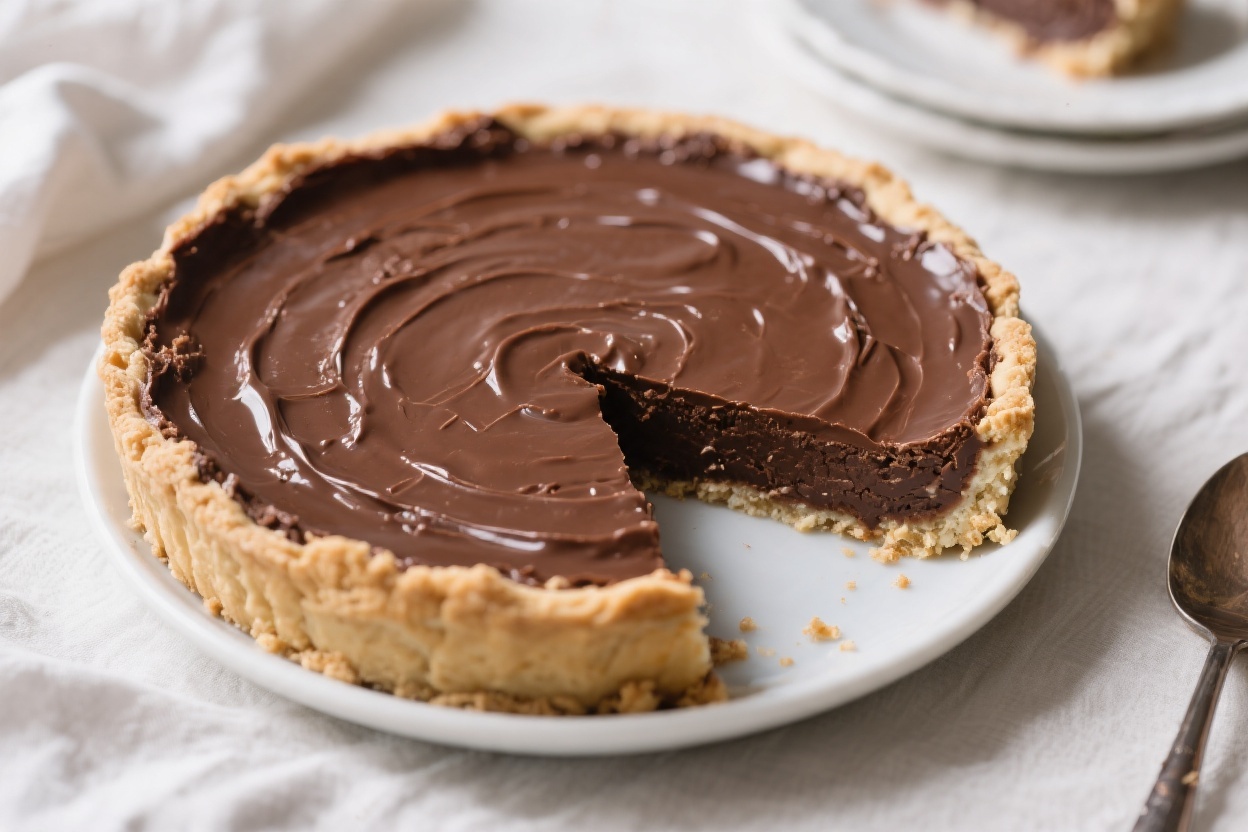
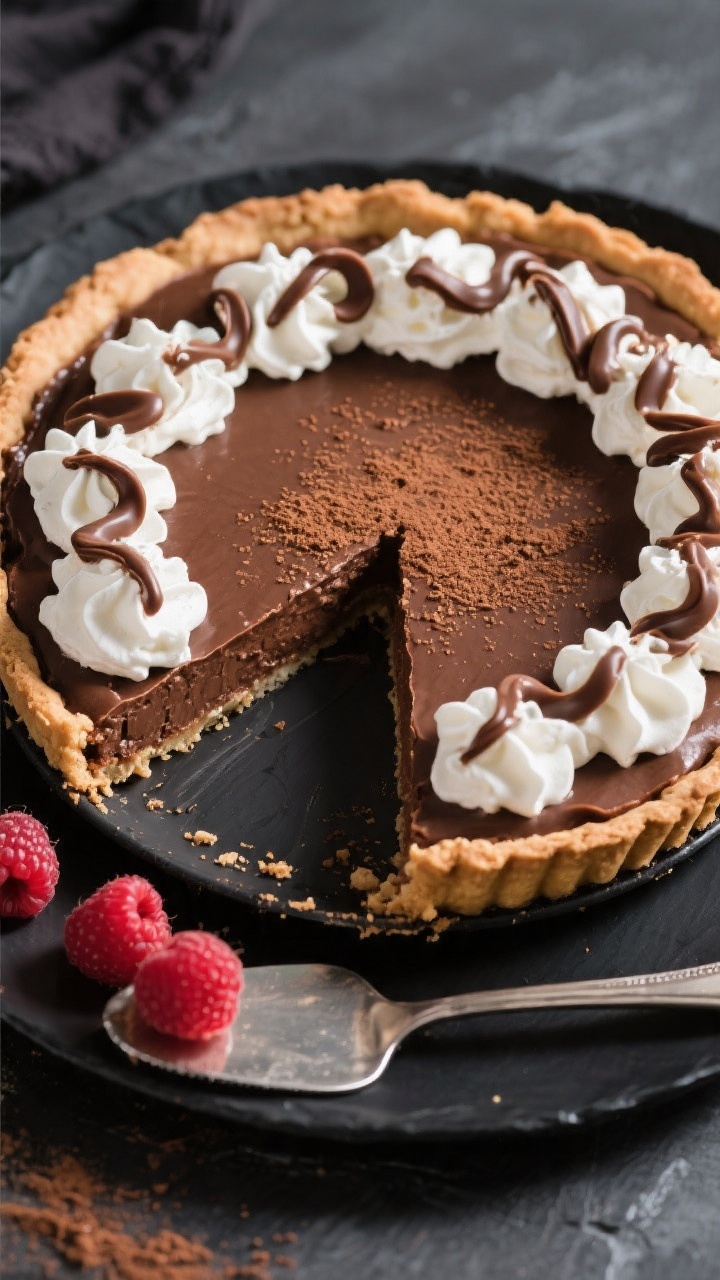
No Bake Chocolate Pie – Silky, Simple, and Always a Hit
This no bake chocolate pie is the kind of dessert you make when you want big flavor with barely any effort. It’s rich, creamy, and silky smooth, with a chocolate filling that sets up beautifully in the fridge—no oven required. The crust is buttery and crisp, and the filling tastes like a cross between chocolate mousse and pudding.
Whether you’re hosting, bringing dessert to a potluck, or just craving something chocolatey on a weeknight, this pie delivers. It’s the kind of recipe you’ll make once and then remember by heart.
No Bake Chocolate Pie - Silky, Simple, and Always a Hit
Ingredients
Method
- Prep the crust: If using a store-bought crust, keep it in its pan and set aside. If you made a homemade crust, chill it at least 20 minutes so it’s firm.
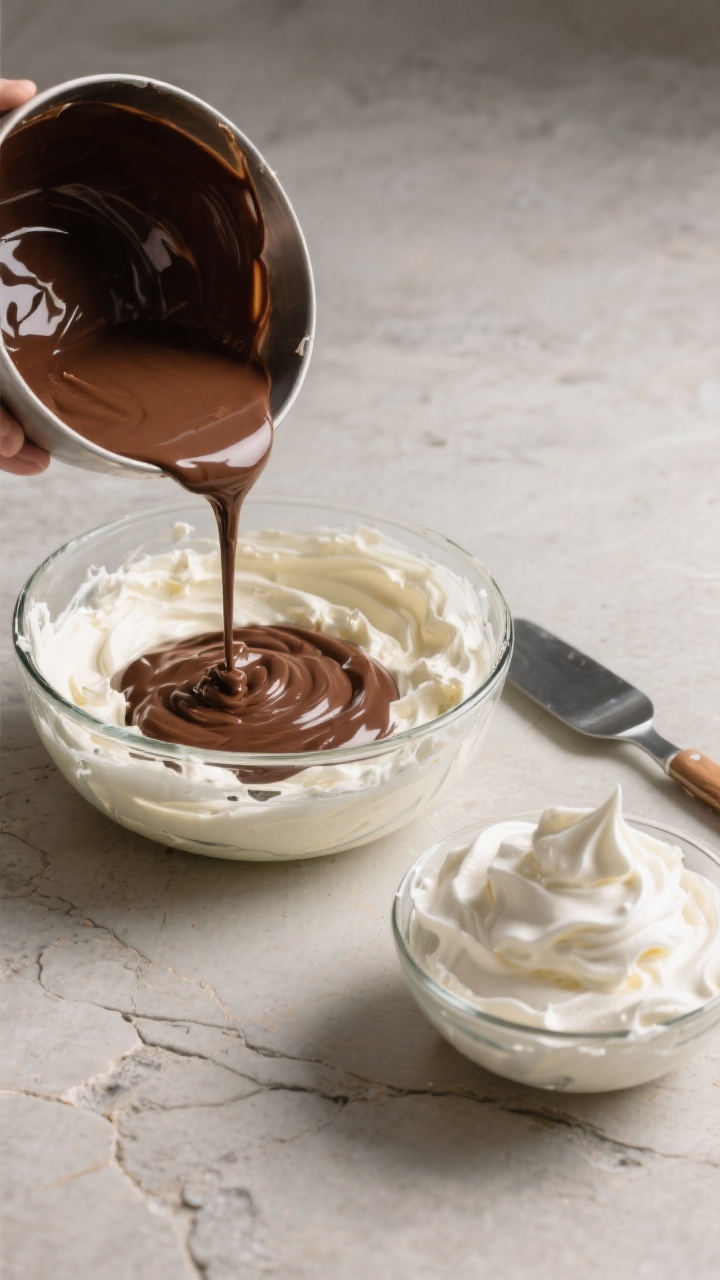
- Melt the chocolate: Place chopped chocolate and butter in a heatproof bowl.Microwave in 20–30 second bursts, stirring after each, until smooth. Or melt over a double boiler. Let it cool to lukewarm—not hot.
- Whip the cream for the filling: In a cold mixing bowl, whip 1 cup heavy cream to medium peaks.Don’t overwhip. Refrigerate while you make the base.
- Make the cream cheese base: In another bowl, beat the softened cream cheese, 1/2 cup powdered sugar, vanilla, and salt until smooth and fluffy, about 1–2 minutes. No lumps.
- Combine with chocolate: With the mixer on low, slowly stream the cooled melted chocolate into the cream cheese mixture.Beat until fully blended and silky.
- Fold in whipped cream: Using a spatula, gently fold the whipped cream into the chocolate mixture in two additions. Keep it light to maintain the airy texture.
- Fill the crust: Spoon the filling into the crust and smooth the top. Tap the pan gently on the counter to release any air pockets.
- Chill to set: Cover and refrigerate for at least 4 hours, or overnight for the cleanest slices.The pie should feel softly firm to the touch.
- Make whipped cream topping (optional): Whip 1 cup cold cream with 2 tablespoons powdered sugar to soft or medium peaks. Spread or pipe over the chilled pie.
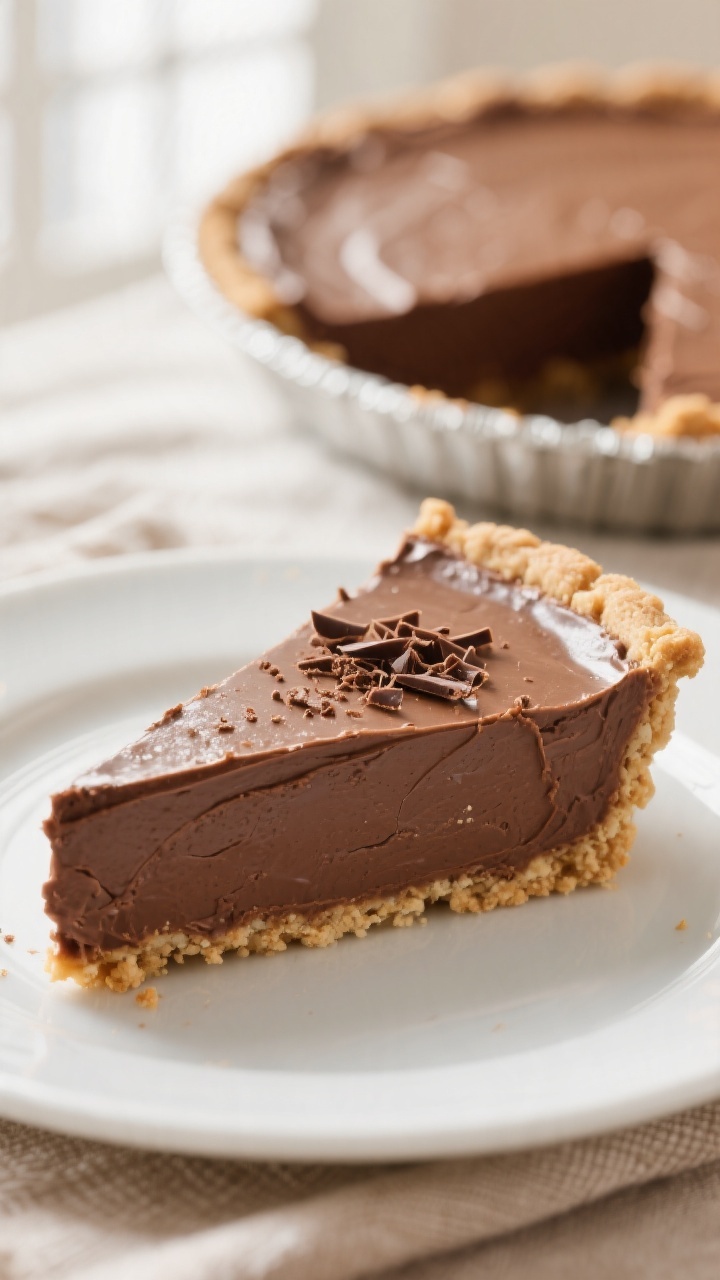
- Garnish and serve: Add chocolate shavings, a dusting of cocoa, or a few berries. Slice with a warm, dry knife for neat pieces.
What Makes This Recipe So Good
- No oven needed: Perfect for warm days or busy weeks when you don’t want to bake.
- Lusciously creamy texture: The filling sets soft and smooth, like a luxurious chocolate mousse.
- Simple ingredients: Nothing fancy—just pantry staples you probably already have.
- Fast to assemble: The hands-on time is short; the fridge does the rest.
- Easy to customize: Change the crust, tweak the chocolate, or add flavor twists.
Ingredients
- 1 store-bought 9-inch graham cracker or chocolate cookie crust (or homemade)
- 8 ounces semisweet chocolate, finely chopped (good quality)
- 2 ounces bittersweet chocolate, finely chopped (optional for deeper flavor)
- 1 cup heavy whipping cream, cold (for the filling)
- 8 ounces cream cheese, softened
- 1/2 cup powdered sugar
- 1 teaspoon pure vanilla extract
- 1/8 teaspoon fine salt
- 3 tablespoons unsalted butter
- 1 cup heavy whipping cream, cold (for topping, optional)
- 2 tablespoons powdered sugar (for whipped cream topping, optional)
- Chocolate shavings or cocoa powder, for garnish (optional)
How to Make It
- Prep the crust: If using a store-bought crust, keep it in its pan and set aside. If you made a homemade crust, chill it at least 20 minutes so it’s firm.
- Melt the chocolate: Place chopped chocolate and butter in a heatproof bowl.Microwave in 20–30 second bursts, stirring after each, until smooth. Or melt over a double boiler. Let it cool to lukewarm—not hot.
- Whip the cream for the filling: In a cold mixing bowl, whip 1 cup heavy cream to medium peaks.Don’t overwhip. Refrigerate while you make the base.
- Make the cream cheese base: In another bowl, beat the softened cream cheese, 1/2 cup powdered sugar, vanilla, and salt until smooth and fluffy, about 1–2 minutes. No lumps.
- Combine with chocolate: With the mixer on low, slowly stream the cooled melted chocolate into the cream cheese mixture.Beat until fully blended and silky.
- Fold in whipped cream: Using a spatula, gently fold the whipped cream into the chocolate mixture in two additions. Keep it light to maintain the airy texture.
- Fill the crust: Spoon the filling into the crust and smooth the top. Tap the pan gently on the counter to release any air pockets.
- Chill to set: Cover and refrigerate for at least 4 hours, or overnight for the cleanest slices.The pie should feel softly firm to the touch.
- Make whipped cream topping (optional): Whip 1 cup cold cream with 2 tablespoons powdered sugar to soft or medium peaks. Spread or pipe over the chilled pie.
- Garnish and serve: Add chocolate shavings, a dusting of cocoa, or a few berries. Slice with a warm, dry knife for neat pieces.
How to Store
- Refrigerator: Cover the pie tightly and store for up to 3–4 days.Keep whipped cream topping separate until serving if you want the cleanest look.
- Freezer: Freeze, well-wrapped, for up to 1 month. For best texture, freeze without the whipped cream topping. Thaw overnight in the fridge before serving.
- Make-ahead: This pie is ideal to make the day before.It slices better after a full chill.
Health Benefits
- Antioxidants from cocoa: Dark chocolate provides flavanols that can support heart health in moderation.
- Calcium from dairy: Cream and cream cheese contribute calcium and some protein.
- Portion control: This pie is rich, so a smaller slice is satisfying. Pair with berries for fiber and freshness.
- Customizable sweetness: You control the sugar by choosing darker chocolate and adjusting the powdered sugar.
Pitfalls to Watch Out For
- Overheating the chocolate: If the chocolate is too hot, it can melt the cream cheese or cause the mixture to seize. Let it cool to lukewarm.
- Cold cream cheese: If not softened, it forms lumps.Bring it to room temp before whipping.
- Overwhipped cream: Grainy or stiff cream won’t fold smoothly and can deflate the filling. Aim for medium peaks.
- Under-chilling: The pie needs several hours to set. Rushing leads to messy slices.
- Wet crust: If your crust is very soft, chill it longer or briefly freeze before adding the filling to keep it crisp.
Variations You Can Try
- Oreo crust: Use a chocolate cookie crust for a deeper, brownie-like vibe.
- Salted caramel swirl: Dollop a few spoonfuls of thick caramel on the filling and swirl before chilling.Finish with flaky sea salt.
- Mocha pie: Stir 1–2 teaspoons instant espresso powder into the melted chocolate for a coffee kick.
- Peanut butter chocolate: Beat 1/3 cup creamy peanut butter into the cream cheese mixture before adding chocolate.
- Mint chocolate: Replace vanilla with 1/2 teaspoon peppermint extract. Garnish with crushed peppermint or mint chocolates.
- Lighter version: Use reduced-fat cream cheese and swap half the chocolate for 1/3 cup unsweetened cocoa plus 2–3 tablespoons melted coconut oil. Texture will be slightly different but still creamy.
- Gluten-free: Choose a certified gluten-free crust or make your own with gluten-free cookies.
FAQ
Can I make this pie without cream cheese?
Yes.
Replace the cream cheese with 12 ounces of silken tofu (drained) or 1 1/2 cups of thick Greek yogurt. Expect a slightly tangier taste and a softer set. Chill overnight for best results.
What kind of chocolate works best?
Use good-quality semisweet or a mix of semisweet and bittersweet chocolate between 55% and 70% cacao.
Chocolate chips work in a pinch, but bars melt smoother and set silkier.
How can I fix a lumpy filling?
If lumps appear, the cream cheese was likely too cold. Let the mixture sit at room temperature for 10–15 minutes, then beat again. A quick pass with an immersion blender can also smooth it out.
Why isn’t my pie setting?
It may need more time, or the ratio of cream to chocolate was off.
Chill at least 4 hours, preferably overnight. If it’s still too soft, freeze for 30–45 minutes before slicing.
Can I make mini pies?
Absolutely. Divide the crust and filling among small tart pans or a muffin tin with liners.
Start checking set time at 2 hours; minis chill faster.
Is this safe to leave out at a party?
Keep it chilled as much as possible. Because it’s dairy-based, limit room temperature time to about 2 hours total. Store leftovers in the fridge promptly.
Can I reduce the sugar?
Yes.
Use darker chocolate and cut the powdered sugar in the filling to 1/3 cup or even 1/4 cup. Taste as you go; the chocolate is the main sweetener.
Wrapping Up
No bake chocolate pie is a simple, reliable crowd-pleaser that looks impressive and tastes like a special occasion. With a handful of ingredients and a little chill time, you get a silky, chocolatey dessert that’s easy to customize.
Keep this recipe in your back pocket for holidays, birthdays, or those nights when you just want something sweet and effortless. One slice in, and you’ll see why it becomes a go-to.
Printable Recipe Card
Want just the essential recipe details without scrolling through the article? Get our printable recipe card with just the ingredients and instructions.