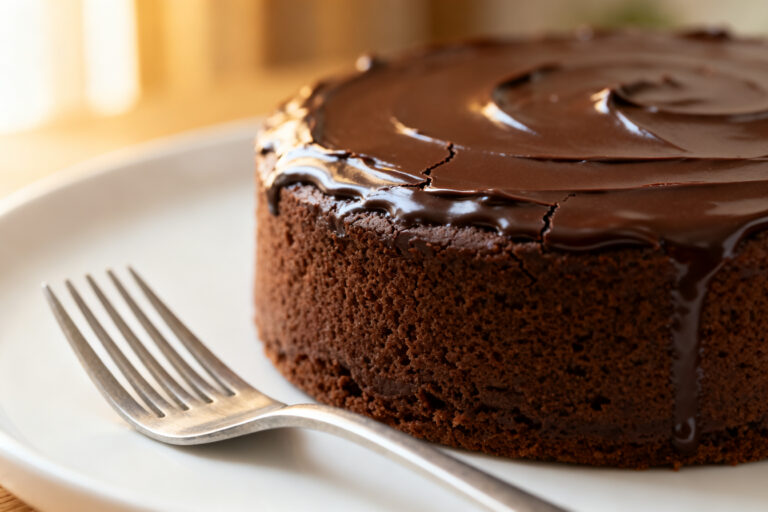
Chocolate Poke Cake – A Rich, Moist Crowd-Pleaser
Chocolate poke cake is the kind of dessert that gets quiet at the table—just the sound of forks scraping plates. It’s soft, extra chocolaty, and soaked with sweet goodness in every bite. You don’t need fancy skills or special tools to pull it off, and it never fails to impress.
Whether you’re feeding a crowd or looking for a make-ahead treat, this cake shows up big. It’s simple, indulgent, and always gone by the end of the night.
Chocolate Poke Cake - A Rich, Moist Crowd-Pleaser
Ingredients
Method
- Preheat and prep: Heat your oven to 350°F (175°C). Grease a 9x13-inch baking pan or line it with parchment for easy lifting.
- Make the cake: Prepare the chocolate cake mix according to the box, or use your homemade batter. Spread it evenly in the pan.
- Bake: Bake for the time listed on the box or recipe, usually 25–35 minutes, until a toothpick comes out clean or with a few moist crumbs.
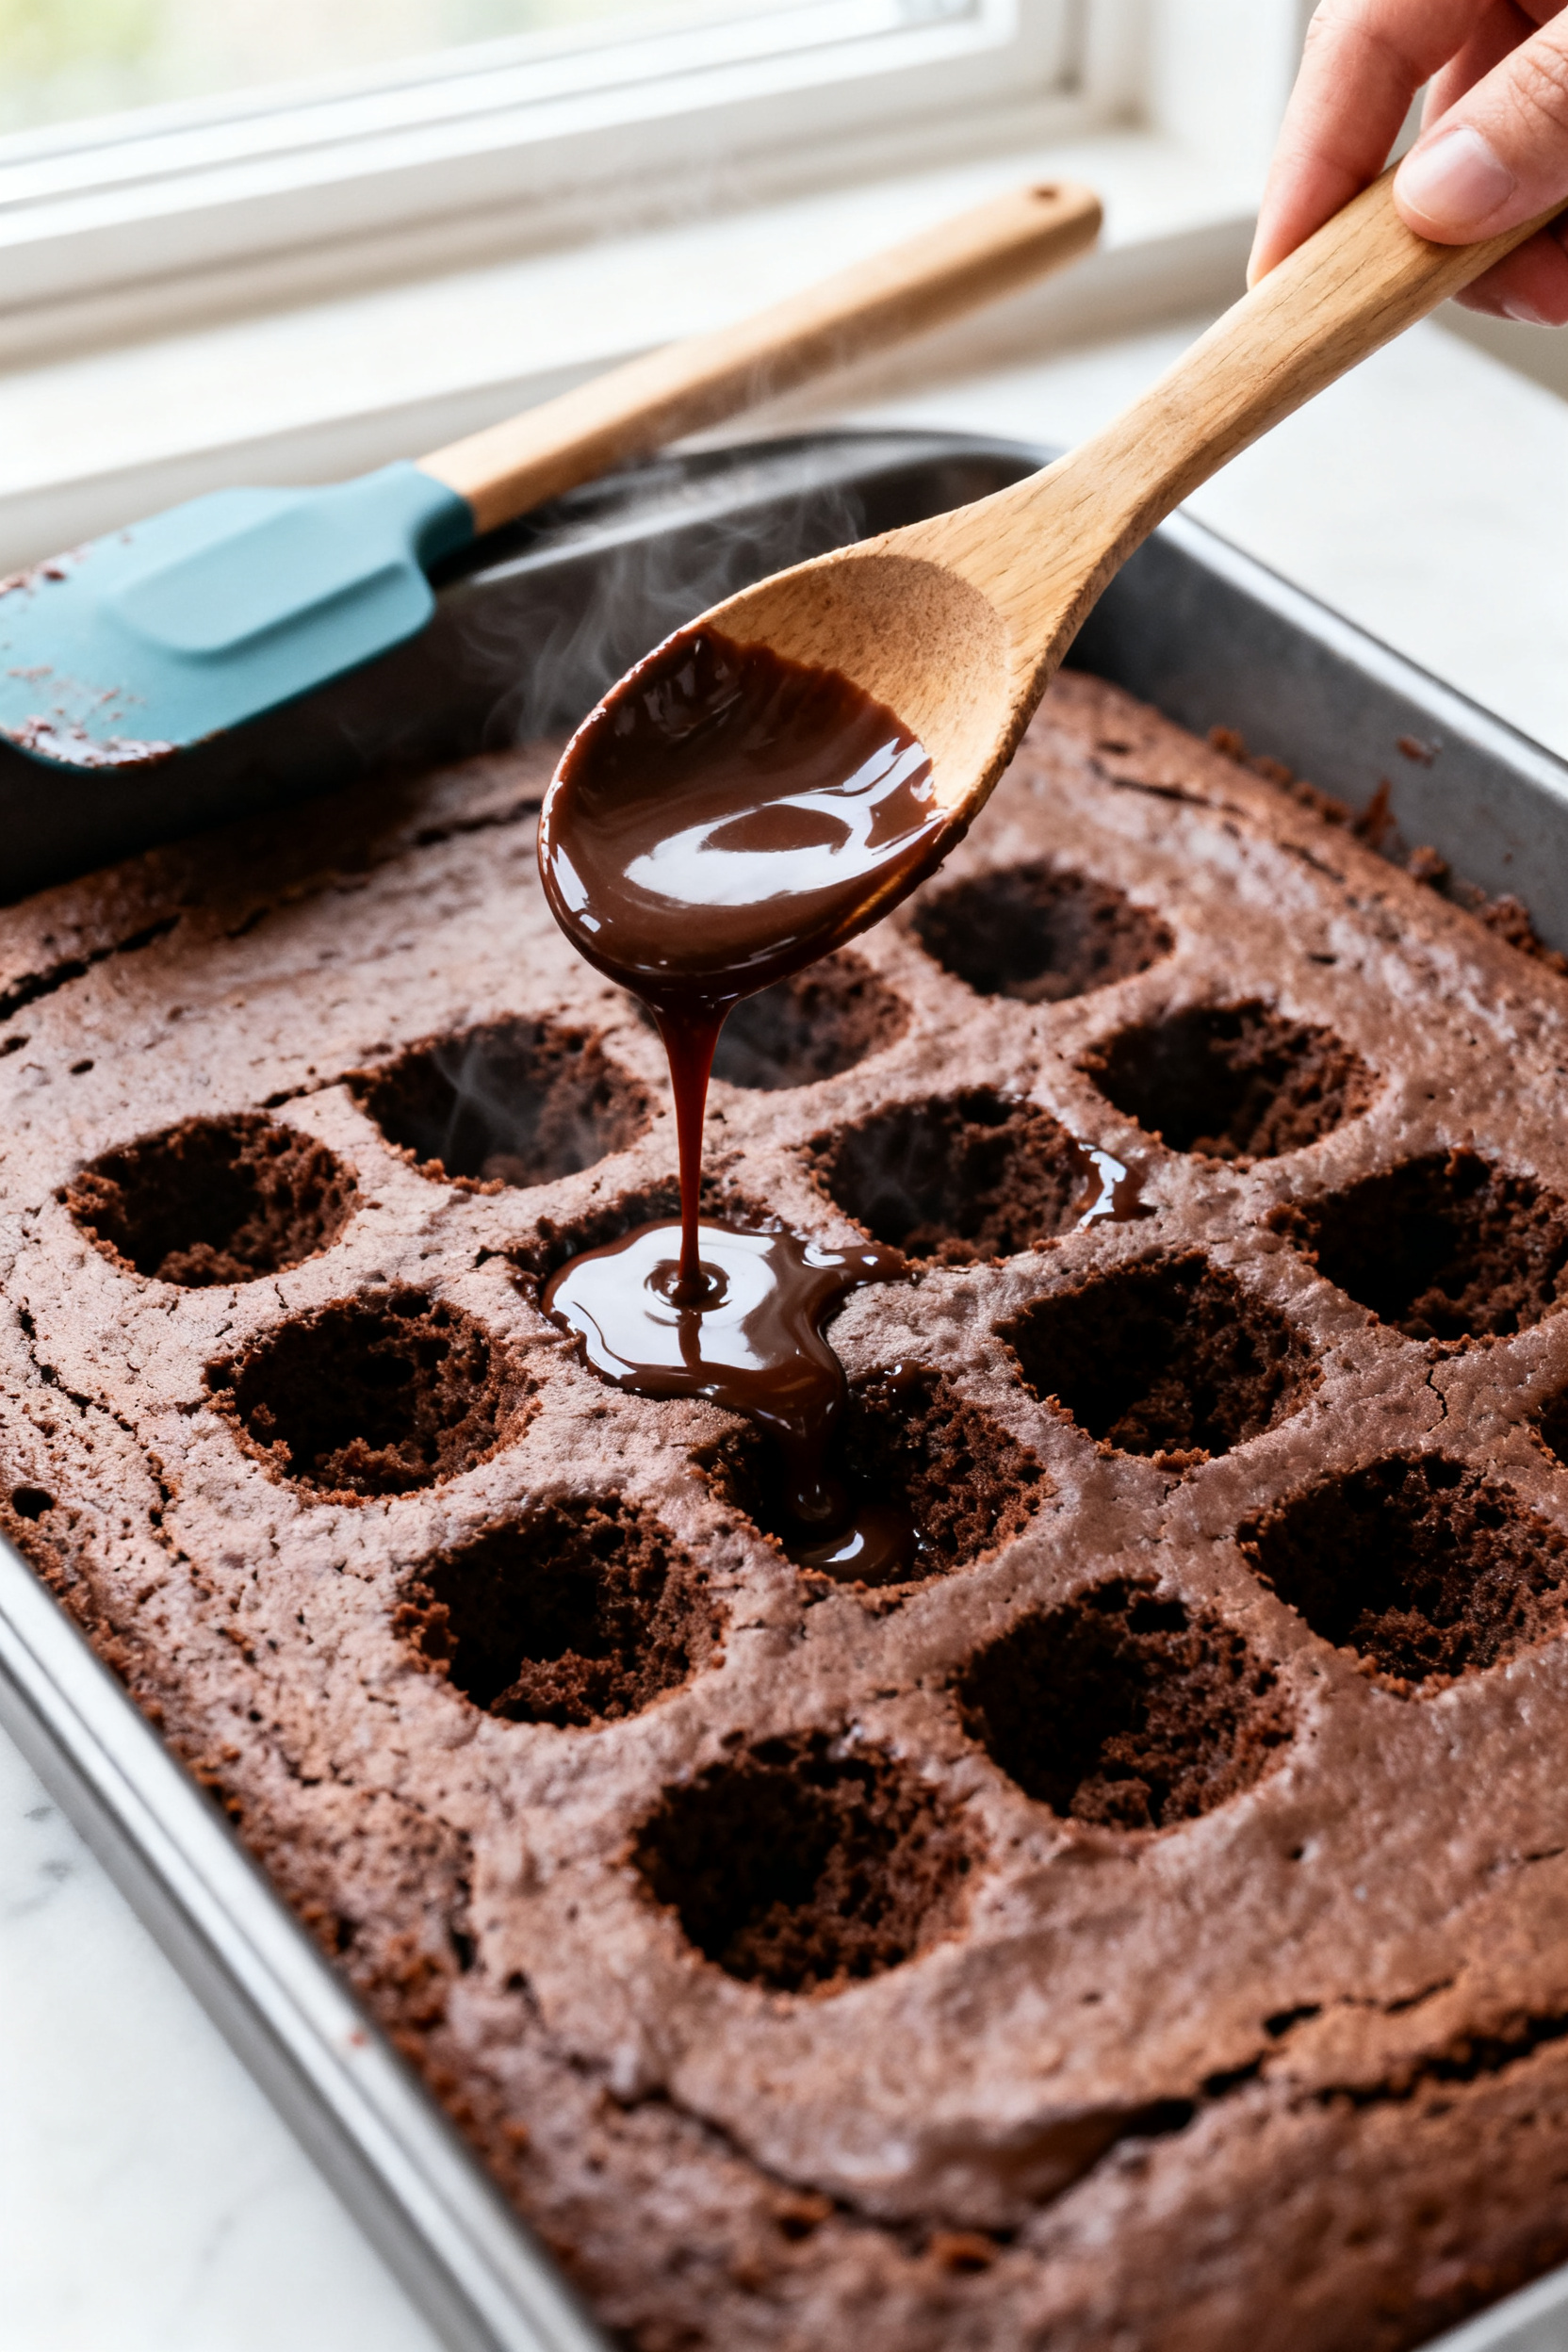
- Cool slightly: Let the cake rest for 10–15 minutes.It should still be warm, not hot, when you poke it.
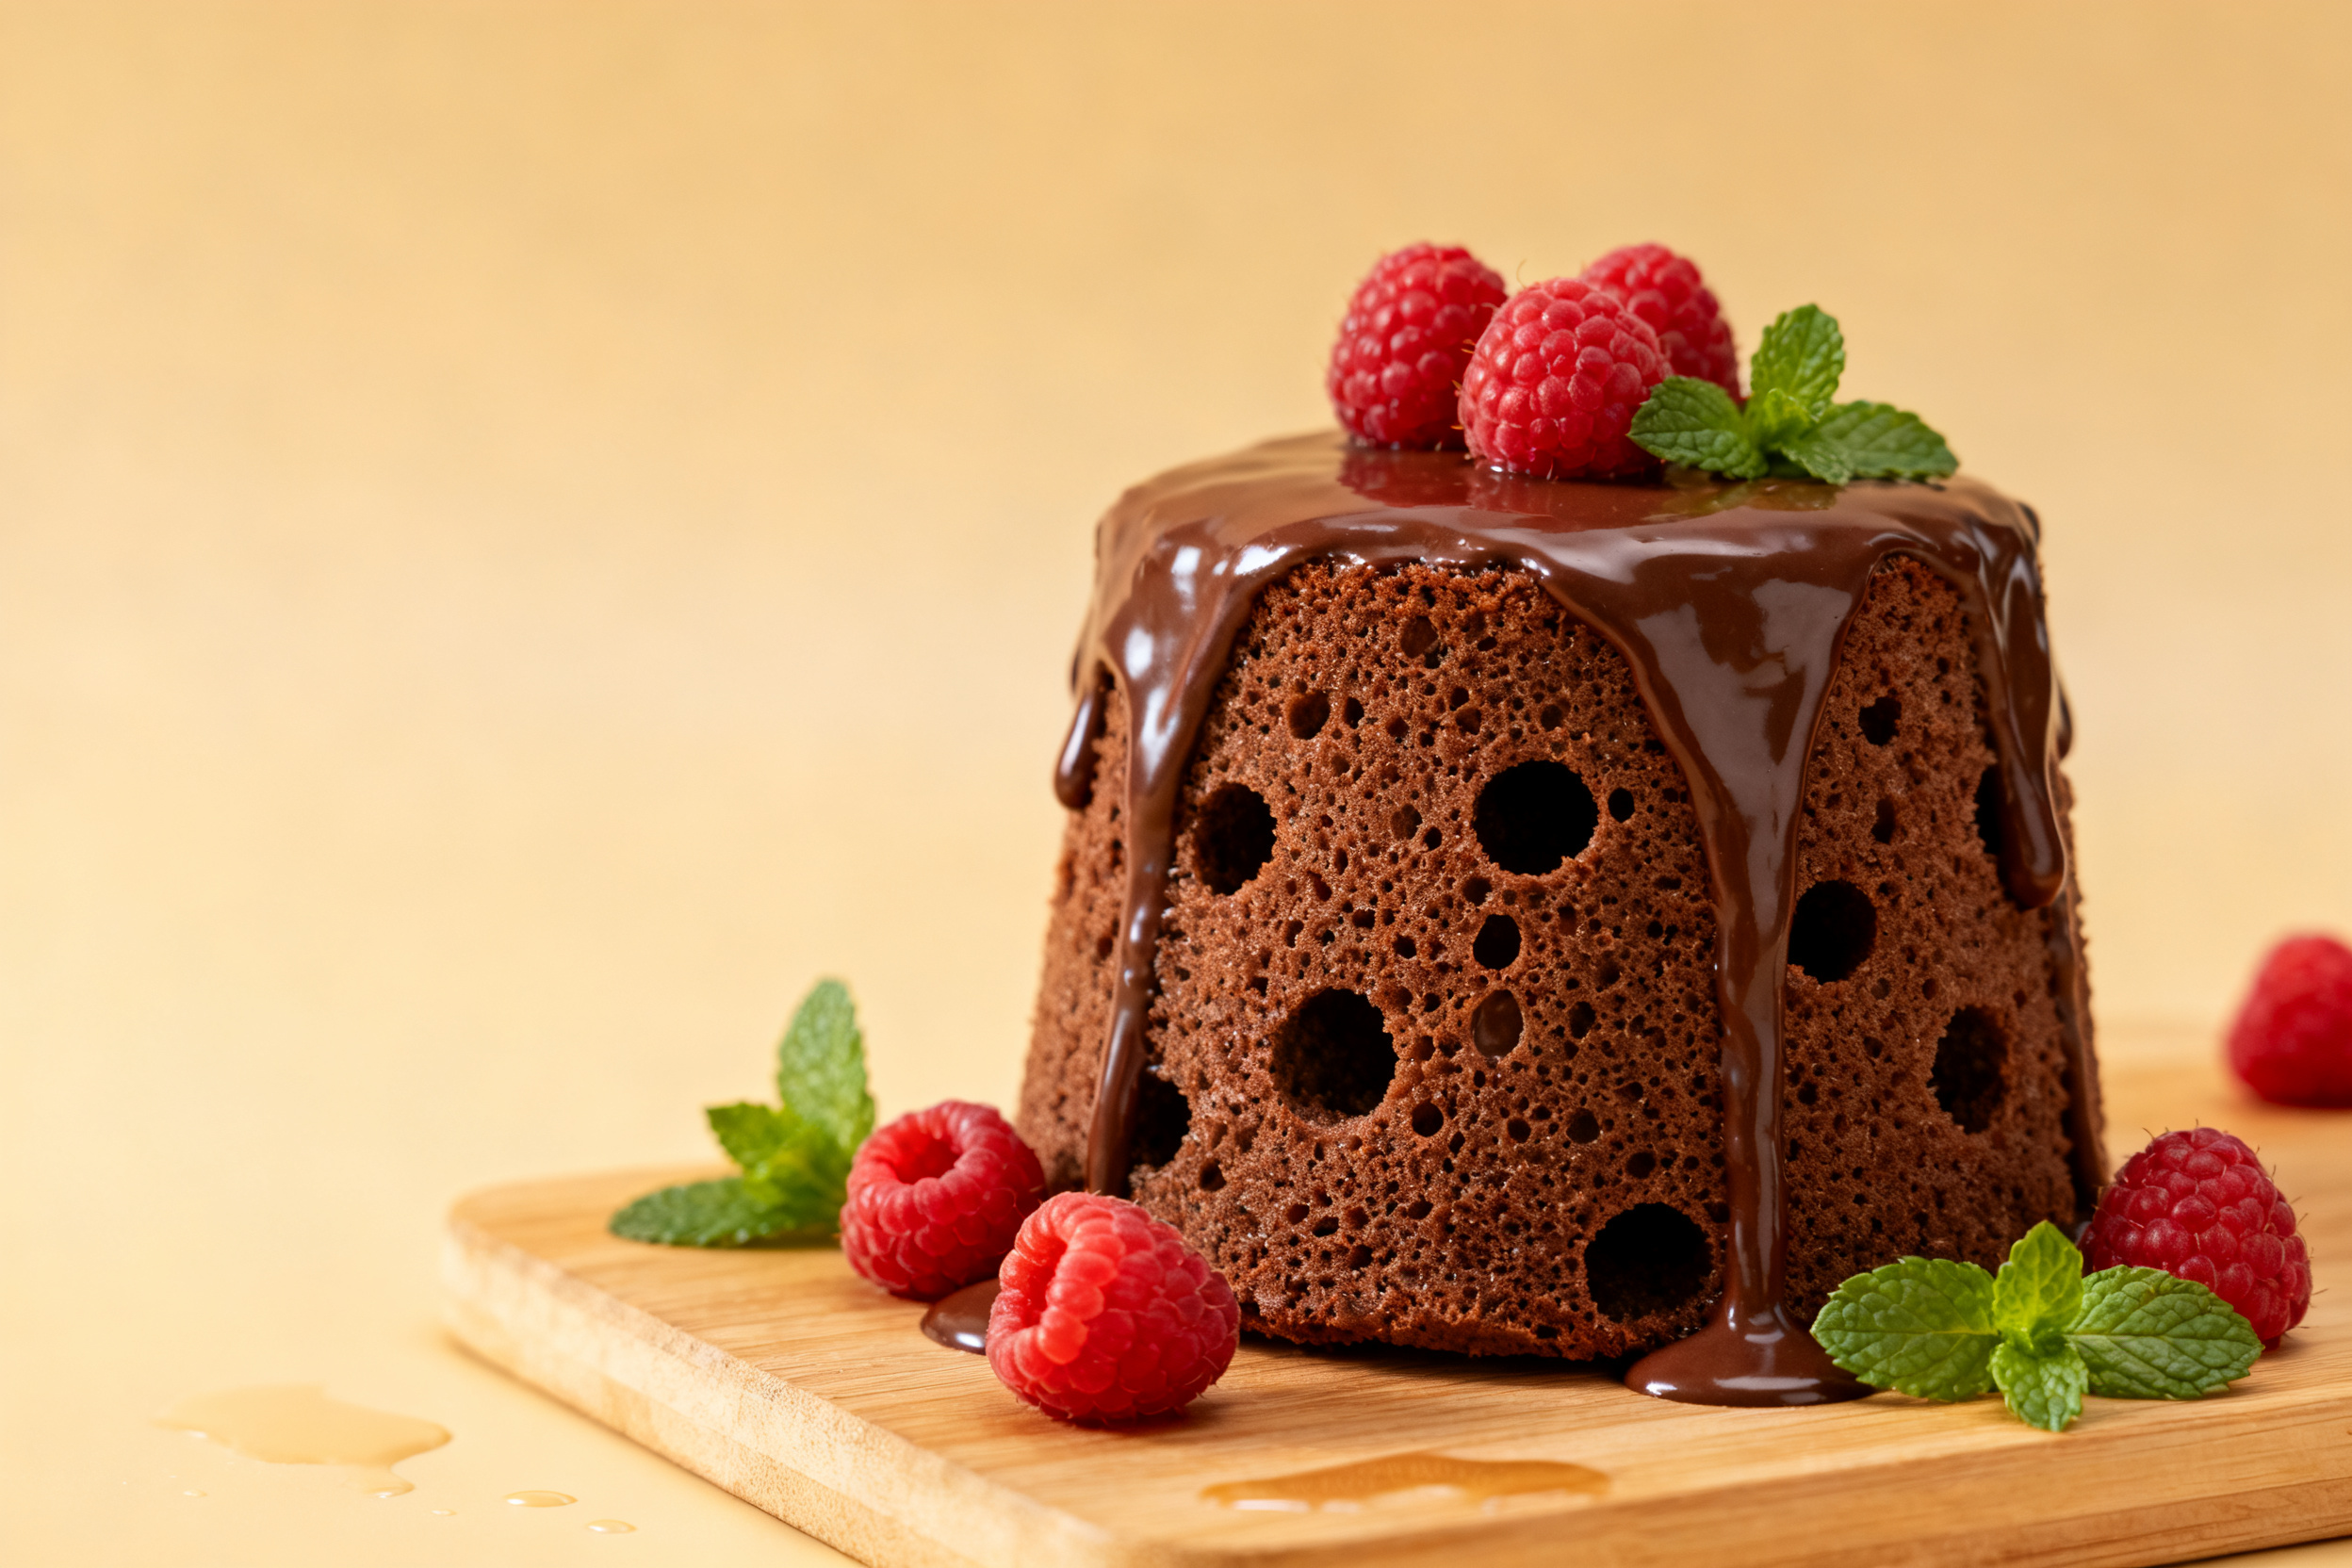
- Poke the holes: Using the handle of a wooden spoon or a thick straw, poke holes across the cake about 1 inch apart. Go almost to the bottom but don’t break through the base.
- Mix the soak: In a bowl, whisk the sweetened condensed milk, heavy cream, chocolate syrup (or melted chips), vanilla, and a pinch of salt until smooth and pourable.
- Pour and spread: Slowly pour the mixture over the warm cake, aiming for the holes first, then the top. Use a spatula to gently nudge it into any dry spots.
- Chill: Cover the pan and refrigerate for at least 2 hours, or overnight for best texture.The cake will absorb the liquid and set up.
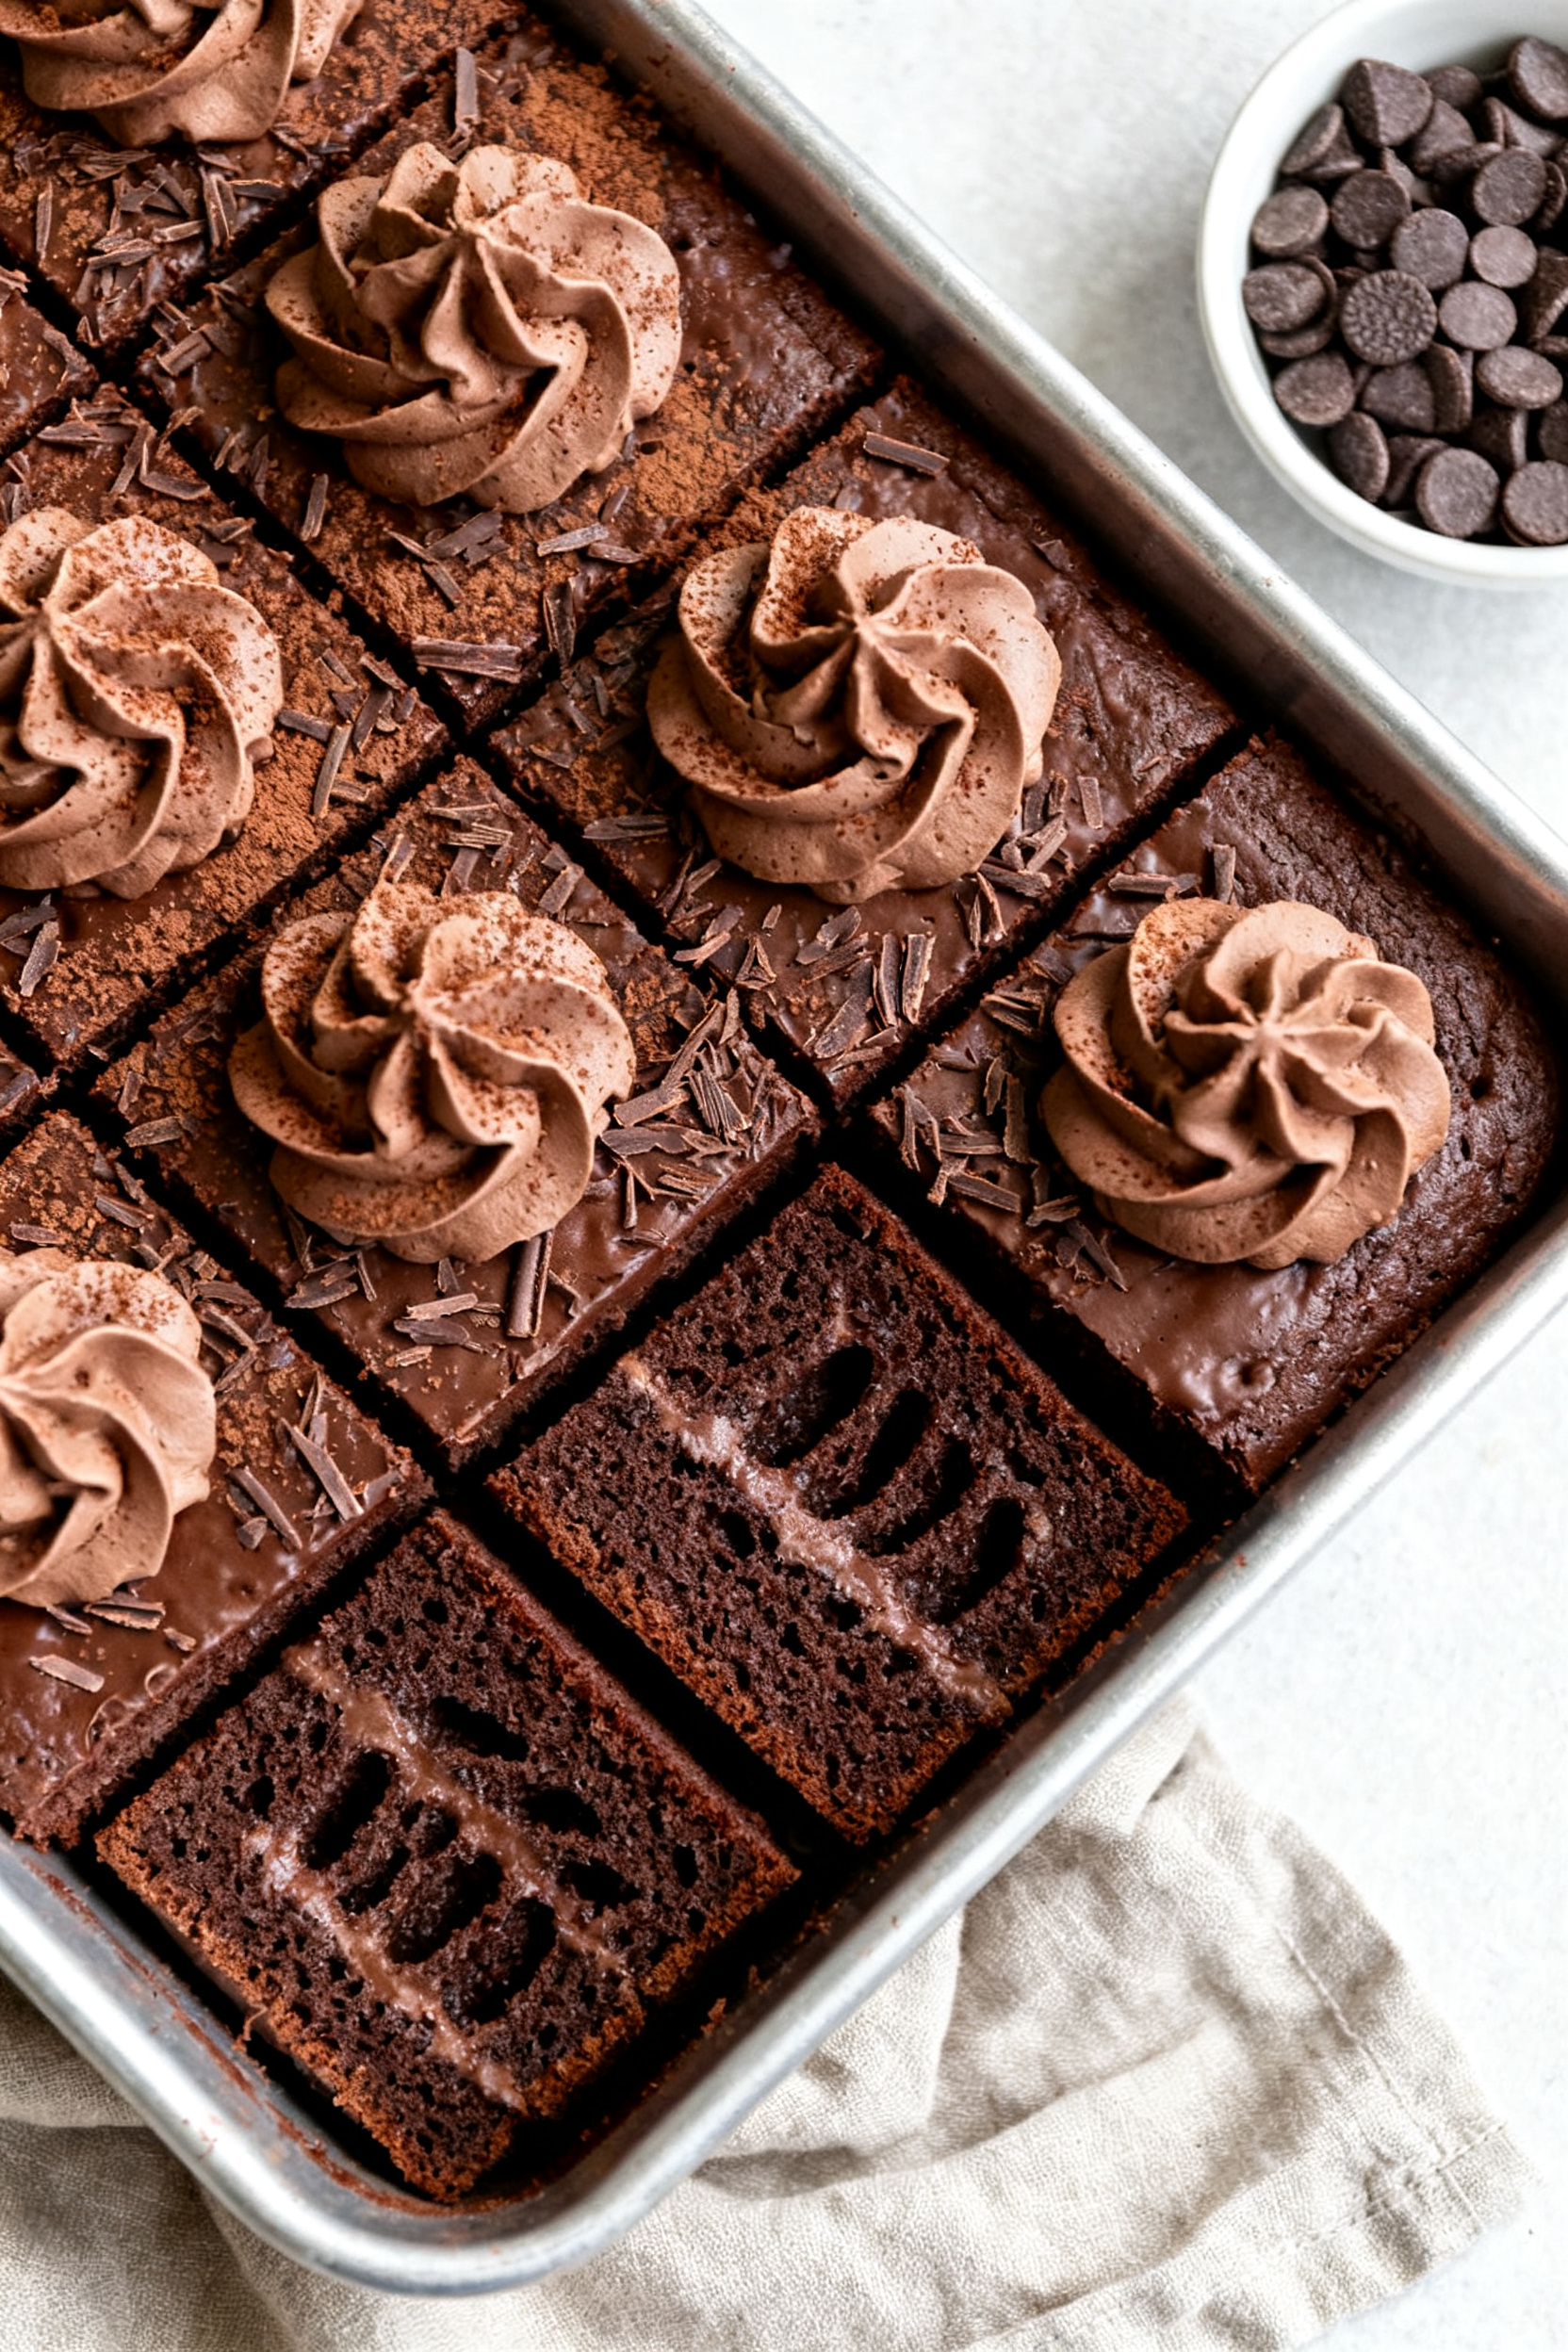
- Make the topping: Beat the cold heavy cream, powdered sugar, cocoa, and vanilla to medium-stiff peaks. It should be fluffy and spreadable.
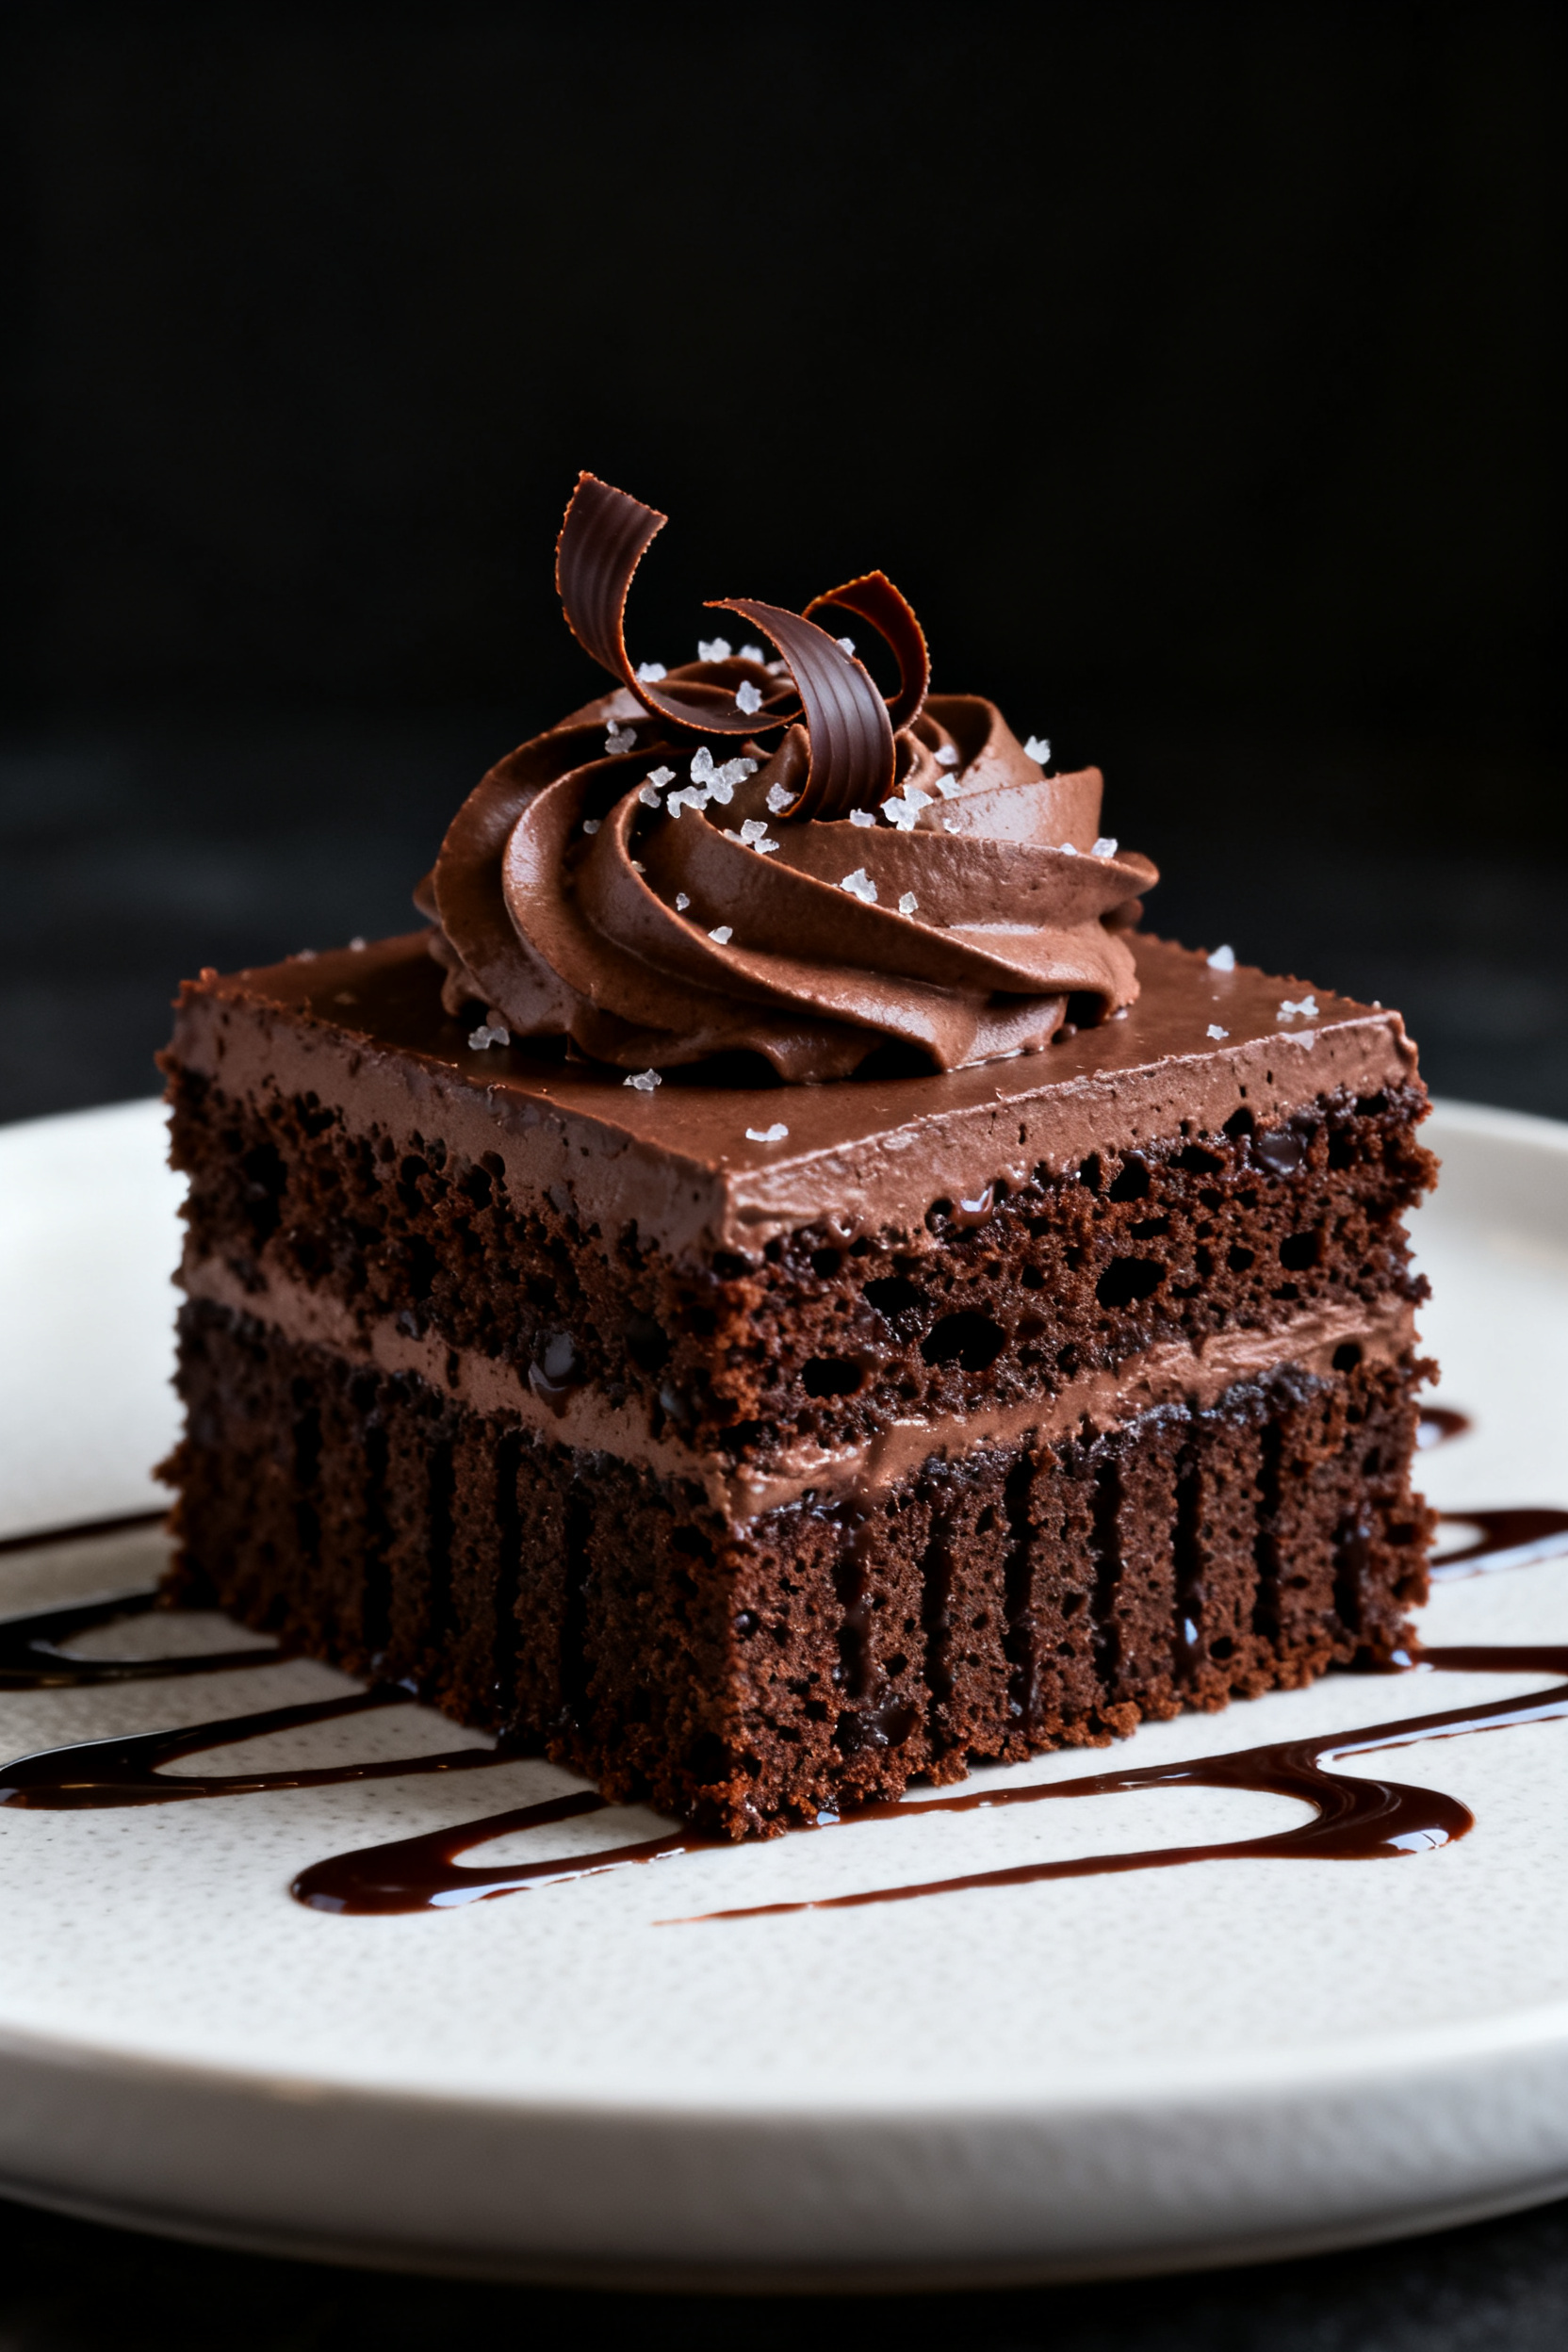
- Finish and serve: Spread the whipped topping over the chilled cake. Add chocolate shavings or mini chips if you like.Slice into squares and serve cold.
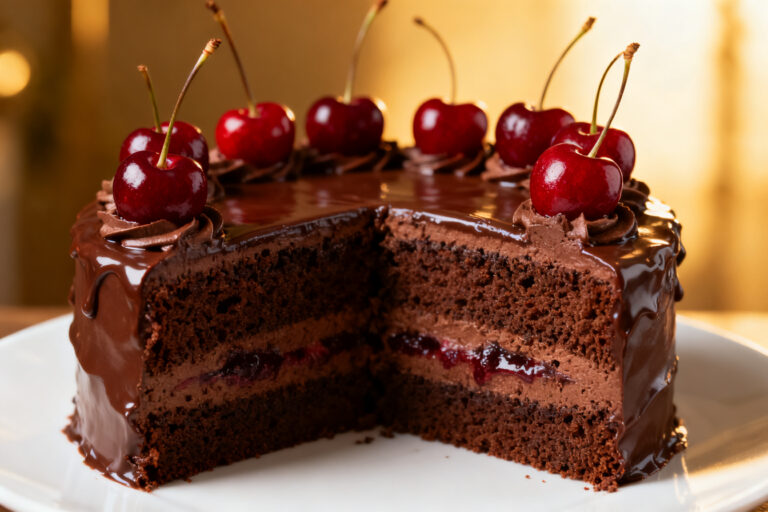
What Makes This Special
This cake is built on a classic idea: bake, poke, and soak. The holes let a smooth chocolate mixture sink in, turning a regular sheet cake into something outrageously moist.
It tastes like a cross between cake and pudding, with a soft crumb and a creamy finish.
It’s also incredibly flexible. You can use a boxed mix or make the base from scratch. The topping can be as simple as whipped cream or as fancy as ganache and sprinkles.
However you dress it, the texture steals the show.
Ingredients
- Chocolate cake base:
- 1 box chocolate cake mix (15.25 oz), plus ingredients listed on the box (usually eggs, oil, and water)
- OR your favorite homemade chocolate cake batter for a 9×13-inch pan
- Chocolate soak:
- 1 can (14 oz) sweetened condensed milk
- 1/2 cup heavy cream or whole milk
- 1/2 cup chocolate syrup or 1/2 cup semisweet chocolate chips, melted
- 1 teaspoon vanilla extract
- Pinch of salt
- Topping:
- 2 cups cold heavy whipping cream
- 3 tablespoons powdered sugar
- 2 tablespoons unsweetened cocoa powder
- 1 teaspoon vanilla extract
- Optional: chocolate shavings, mini chips, or sprinkles
How to Make It
- Preheat and prep: Heat your oven to 350°F (175°C). Grease a 9×13-inch baking pan or line it with parchment for easy lifting.
- Make the cake: Prepare the chocolate cake mix according to the box, or use your homemade batter. Spread it evenly in the pan.
- Bake: Bake for the time listed on the box or recipe, usually 25–35 minutes, until a toothpick comes out clean or with a few moist crumbs.
- Cool slightly: Let the cake rest for 10–15 minutes.
It should still be warm, not hot, when you poke it.
- Poke the holes: Using the handle of a wooden spoon or a thick straw, poke holes across the cake about 1 inch apart. Go almost to the bottom but don’t break through the base.
- Mix the soak: In a bowl, whisk the sweetened condensed milk, heavy cream, chocolate syrup (or melted chips), vanilla, and a pinch of salt until smooth and pourable.
- Pour and spread: Slowly pour the mixture over the warm cake, aiming for the holes first, then the top. Use a spatula to gently nudge it into any dry spots.
- Chill: Cover the pan and refrigerate for at least 2 hours, or overnight for best texture.
The cake will absorb the liquid and set up.
- Make the topping: Beat the cold heavy cream, powdered sugar, cocoa, and vanilla to medium-stiff peaks. It should be fluffy and spreadable.
- Finish and serve: Spread the whipped topping over the chilled cake. Add chocolate shavings or mini chips if you like.
Slice into squares and serve cold.
Keeping It Fresh
Store the cake covered in the fridge for up to 4 days. The texture often improves on day two as the flavors meld. Keep it tightly wrapped to prevent the whipped topping from picking up fridge odors.
For longer storage, freeze individual slices.
Wrap each piece in plastic, then foil, and freeze for up to 2 months. Thaw overnight in the fridge. The whipped topping holds up nicely when beaten to firm peaks.
Why This is Good for You
No, this isn’t a health food—but there are still a few good points. Portion control is easy with a 9×13 cake cut into tidy squares.
You can enjoy a small piece without going overboard.
You can also adjust the sweetness by using dark chocolate, reducing the syrup a bit, or swapping some of the condensed milk with evaporated milk. Choose quality cocoa and real cream for better flavor, which often means you’re satisfied with less.
Finally, it’s a great celebration dessert you can make at home. Skipping store-bought bakery treats gives you control over ingredients and allergens.
Common Mistakes to Avoid
- Not poking enough holes: Sparse holes mean uneven soaking.
Aim for a grid pattern about 1 inch apart.
- Pouring the soak on a hot cake: If the cake is piping hot, the topping can separate and the crumb may collapse. Let it cool 10–15 minutes first.
- Rushing the chill time: The soak needs time to settle. Less than 2 hours can leave the center wet and the edges dry.
- Overwhipping the cream: If you go past stiff peaks, it turns grainy.
Stop at medium-stiff peaks for a smooth, spreadable texture.
- Using thin chocolate syrup only: If your syrup is very runny, the cake can turn soggy. Balance it with condensed milk and a little cream for body.
Alternatives
- Mocha poke cake: Add 1 tablespoon instant espresso to the soak and 1 teaspoon to the whipped topping. Finish with chocolate-covered espresso beans.
- Salted caramel twist: Replace chocolate syrup with caramel sauce and sprinkle flaky sea salt over the topping.
Use chocolate shavings for contrast.
- Cookies-and-cream version: Stir crushed chocolate sandwich cookies into the whipped topping and use a vanilla or devil’s food cake base.
- Dairy-light option: Swap heavy cream in the soak for evaporated milk and top with stabilized whipped topping or coconut whipped cream.
- Gluten-free: Use a gluten-free chocolate cake mix and confirm all add-ins are certified gluten-free.
- From-scratch base: Make a simple cocoa cake with flour, cocoa, sugar, eggs, oil, buttermilk, and hot coffee for depth. Bake in the same 9×13 pan.
FAQ
Can I use a different pan size?
Yes. A 9×13 pan gives the best poke-to-cake ratio, but you can use two 8-inch rounds.
Reduce the soak slightly and cool well before layering. Sheet pans are too shallow for this style.
Do I have to refrigerate the cake?
Yes. Because of the dairy in the soak and topping, the cake needs to be stored in the fridge.
Serve it cold for the best texture.
What if I don’t have sweetened condensed milk?
Use 1 cup evaporated milk mixed with 1/2 cup granulated sugar and 1/2 cup melted chocolate. It won’t be quite as rich, but it still works.
Can I make it ahead?
Absolutely. Make the cake and add the soak a day ahead, then top with whipped cream a few hours before serving.
The flavor and texture improve overnight.
How do I prevent the topping from weeping?
Beat the cream to medium-stiff peaks and spread it on a fully chilled cake. If you need extra stability, add 1 tablespoon instant pudding mix or 1 teaspoon gelatin bloomed in warm water before whipping.
Can I use oil instead of butter in the cake?
Yes. Oil-based cakes stay moist longer and work especially well for poke cakes.
Neutral oils like canola or vegetable oil are ideal.
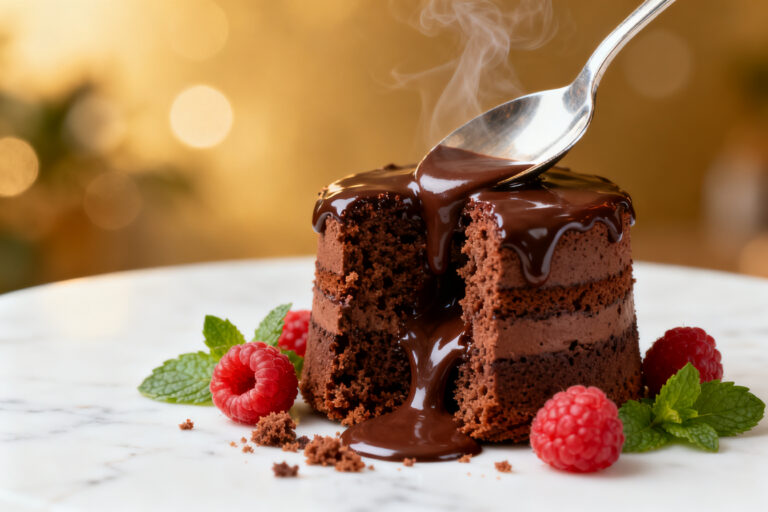
What’s the best way to decorate it?
Keep it simple: chocolate shavings, a dusting of cocoa, or mini chips. For parties, add sprinkles or drizzle with warm ganache for a glossy finish.
Why did my cake turn soggy?
You may have poured the soak on while the cake was too hot, used a very thin syrup, or didn’t chill long enough. Next time, cool slightly, use a thicker mix, and give it at least 2 hours in the fridge.
Wrapping Up
Chocolate poke cake is the definition of easy comfort baking.
It’s simple to make, wildly moist, and endlessly adaptable. Keep the steps straightforward, give it time to chill, and finish with a fluffy chocolate whipped topping. You’ll have a dessert that feels special without the stress—and one that always brings people back for seconds.
Printable Recipe Card
Want just the essential recipe details without scrolling through the article? Get our printable recipe card with just the ingredients and instructions.