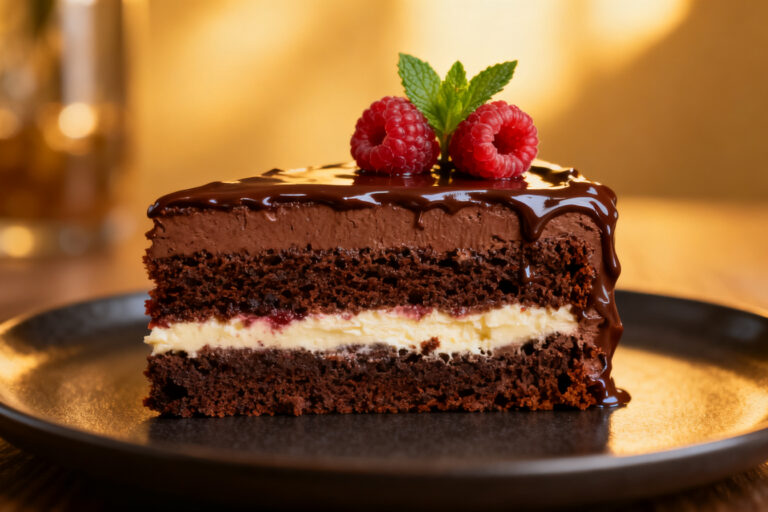
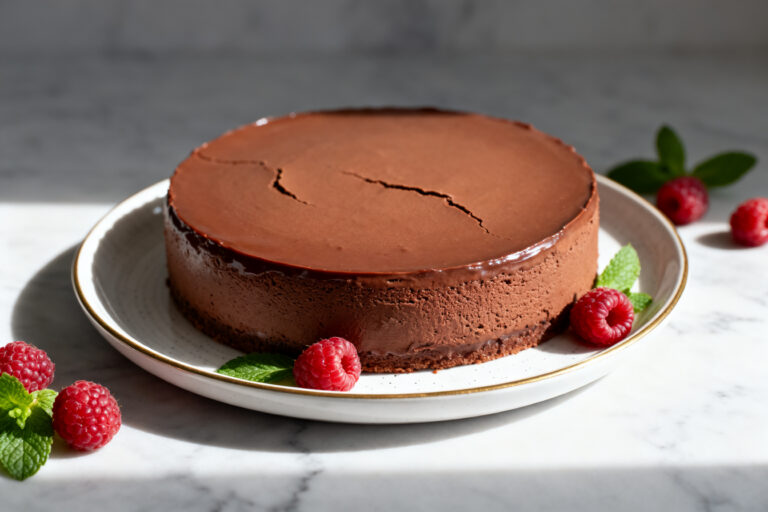
Chocolate Drip Cake – A Decadent, Crowd-Pleasing Showstopper
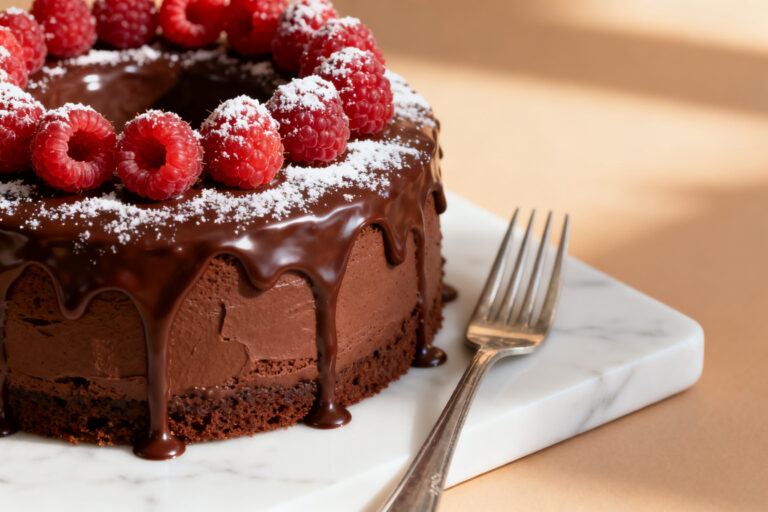
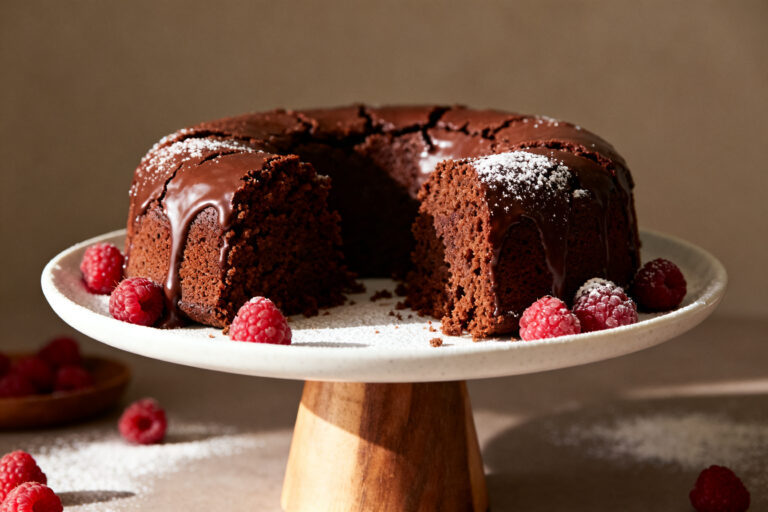
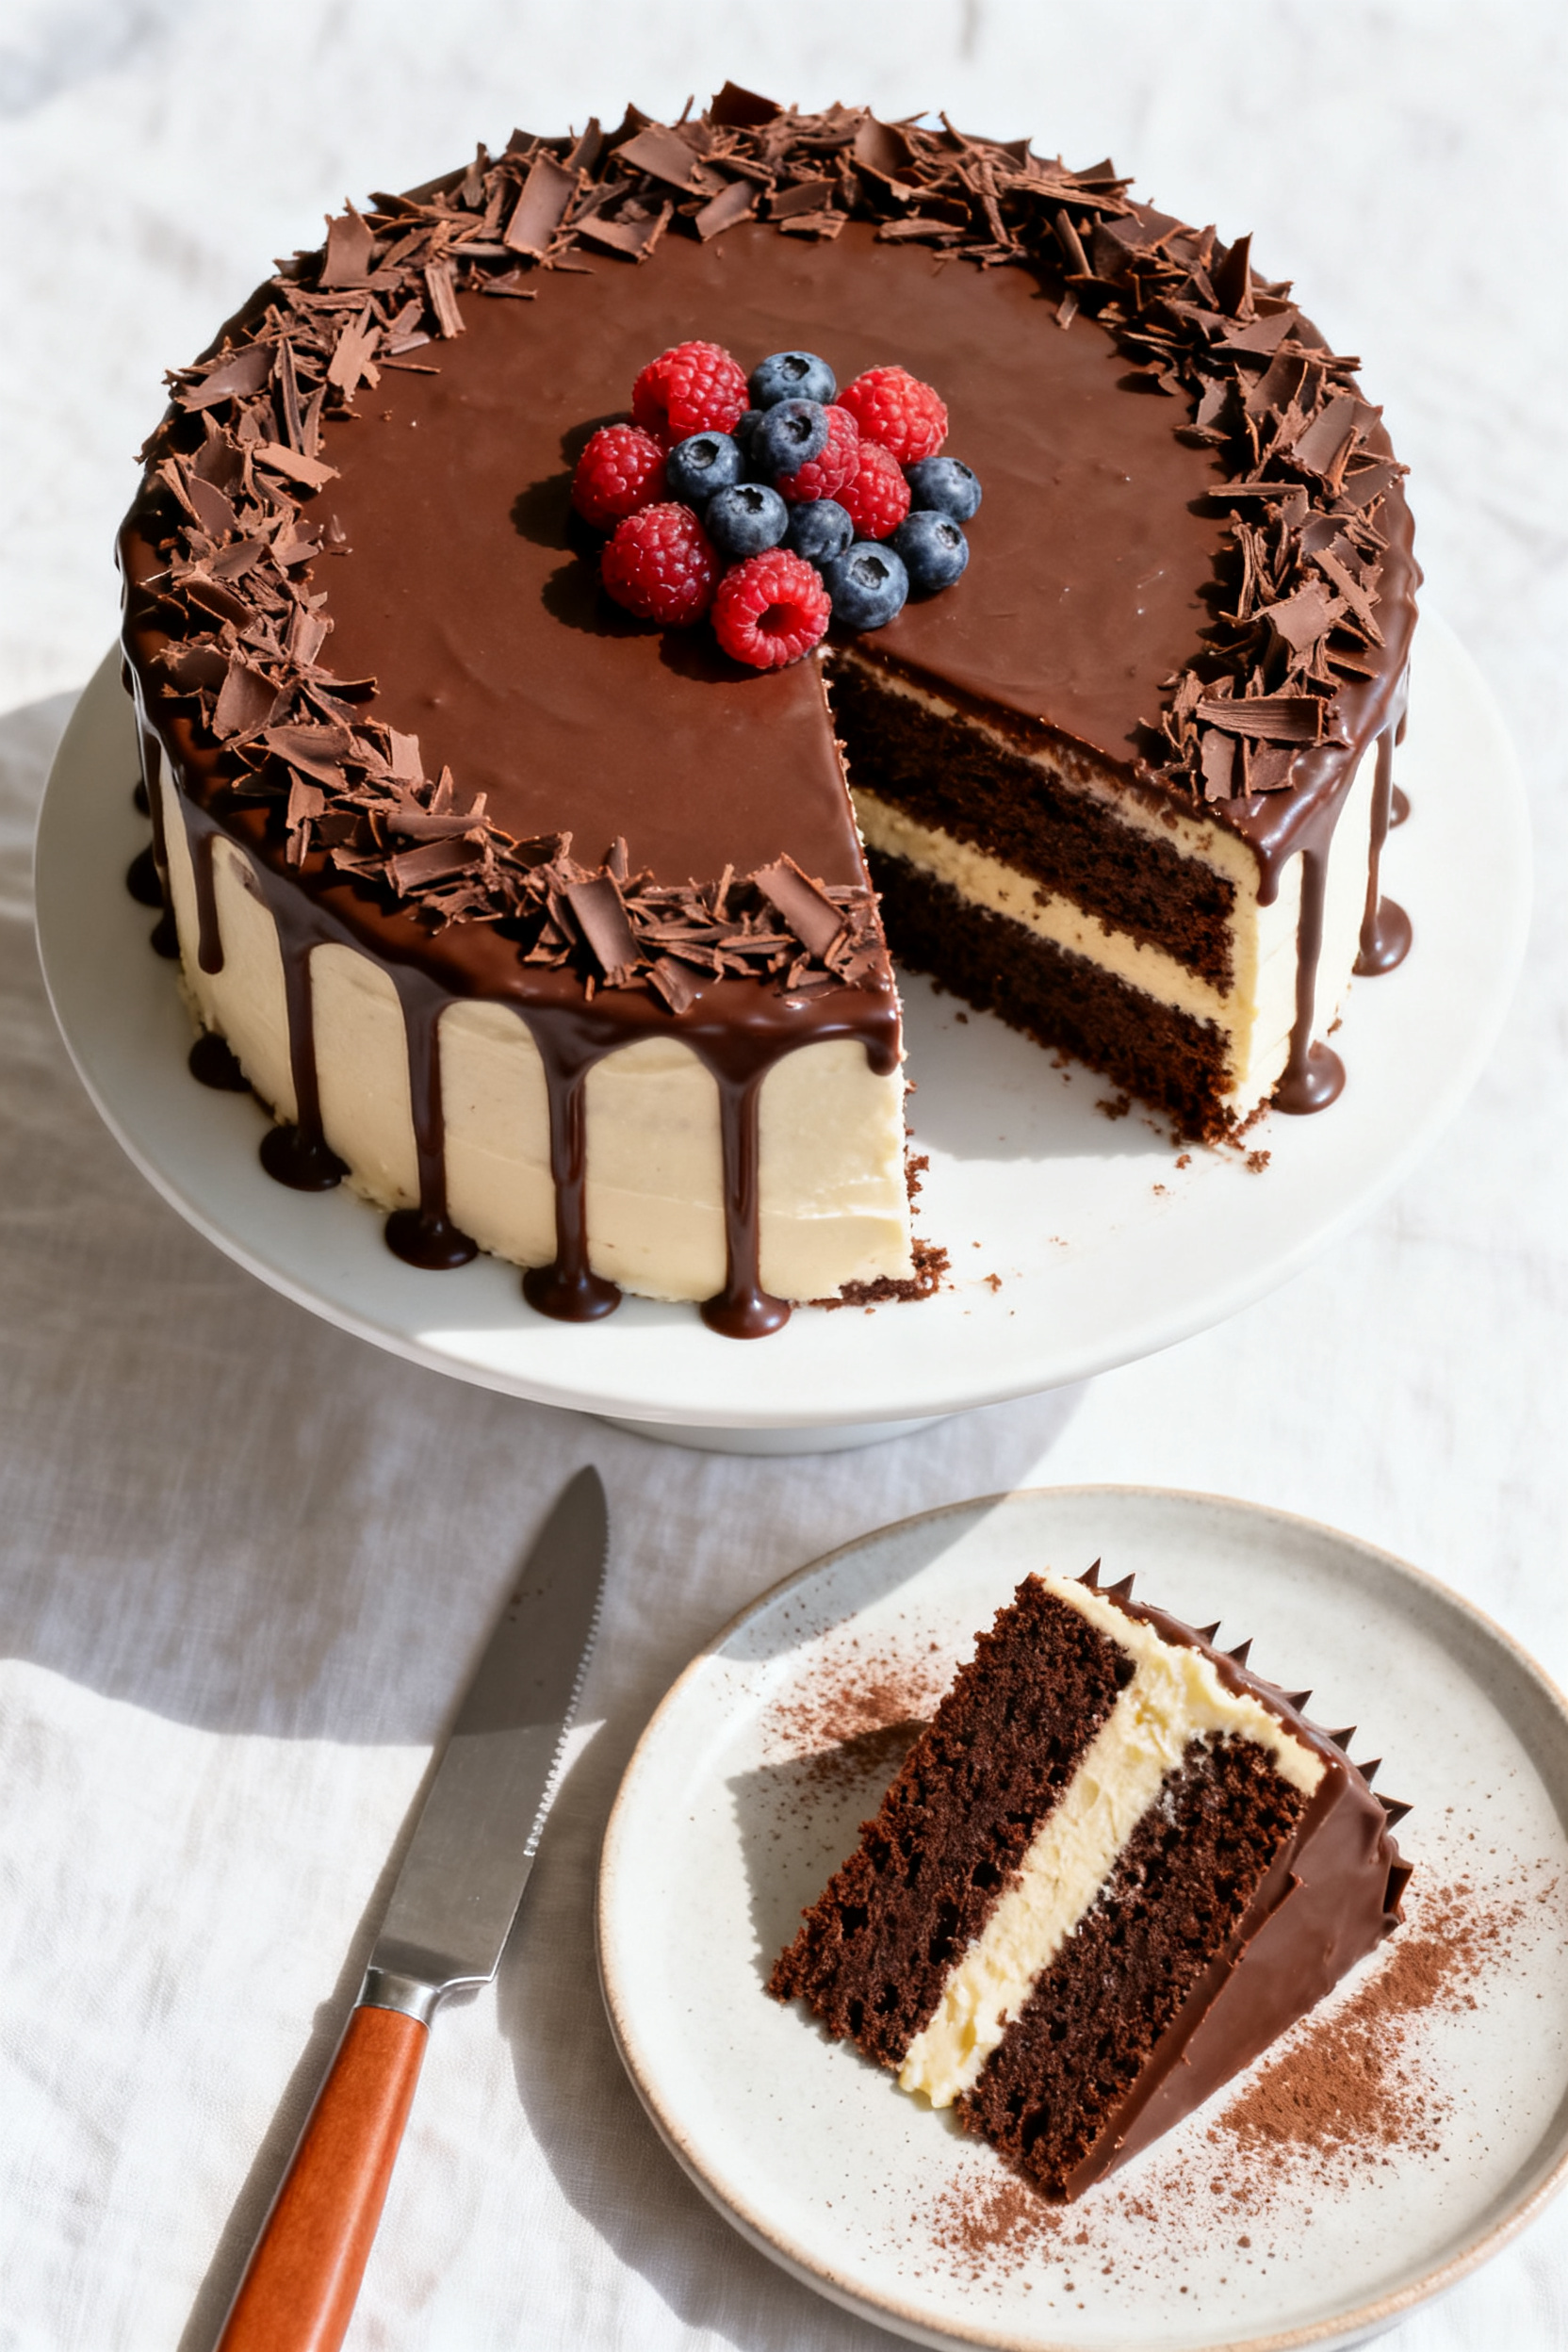
Chocolate drip cake has the kind of wow factor that makes people pause before they take a slice. It looks dramatic, tastes incredible, and comes together with simple techniques you can master at home. The key is a moist chocolate sponge, silky buttercream, and a glossy chocolate ganache that drips just right.
If you’re celebrating a birthday, a promotion, or just a Tuesday, this cake delivers. And yes, you can absolutely nail those clean edges and picture-perfect drips without bakery-level gear.
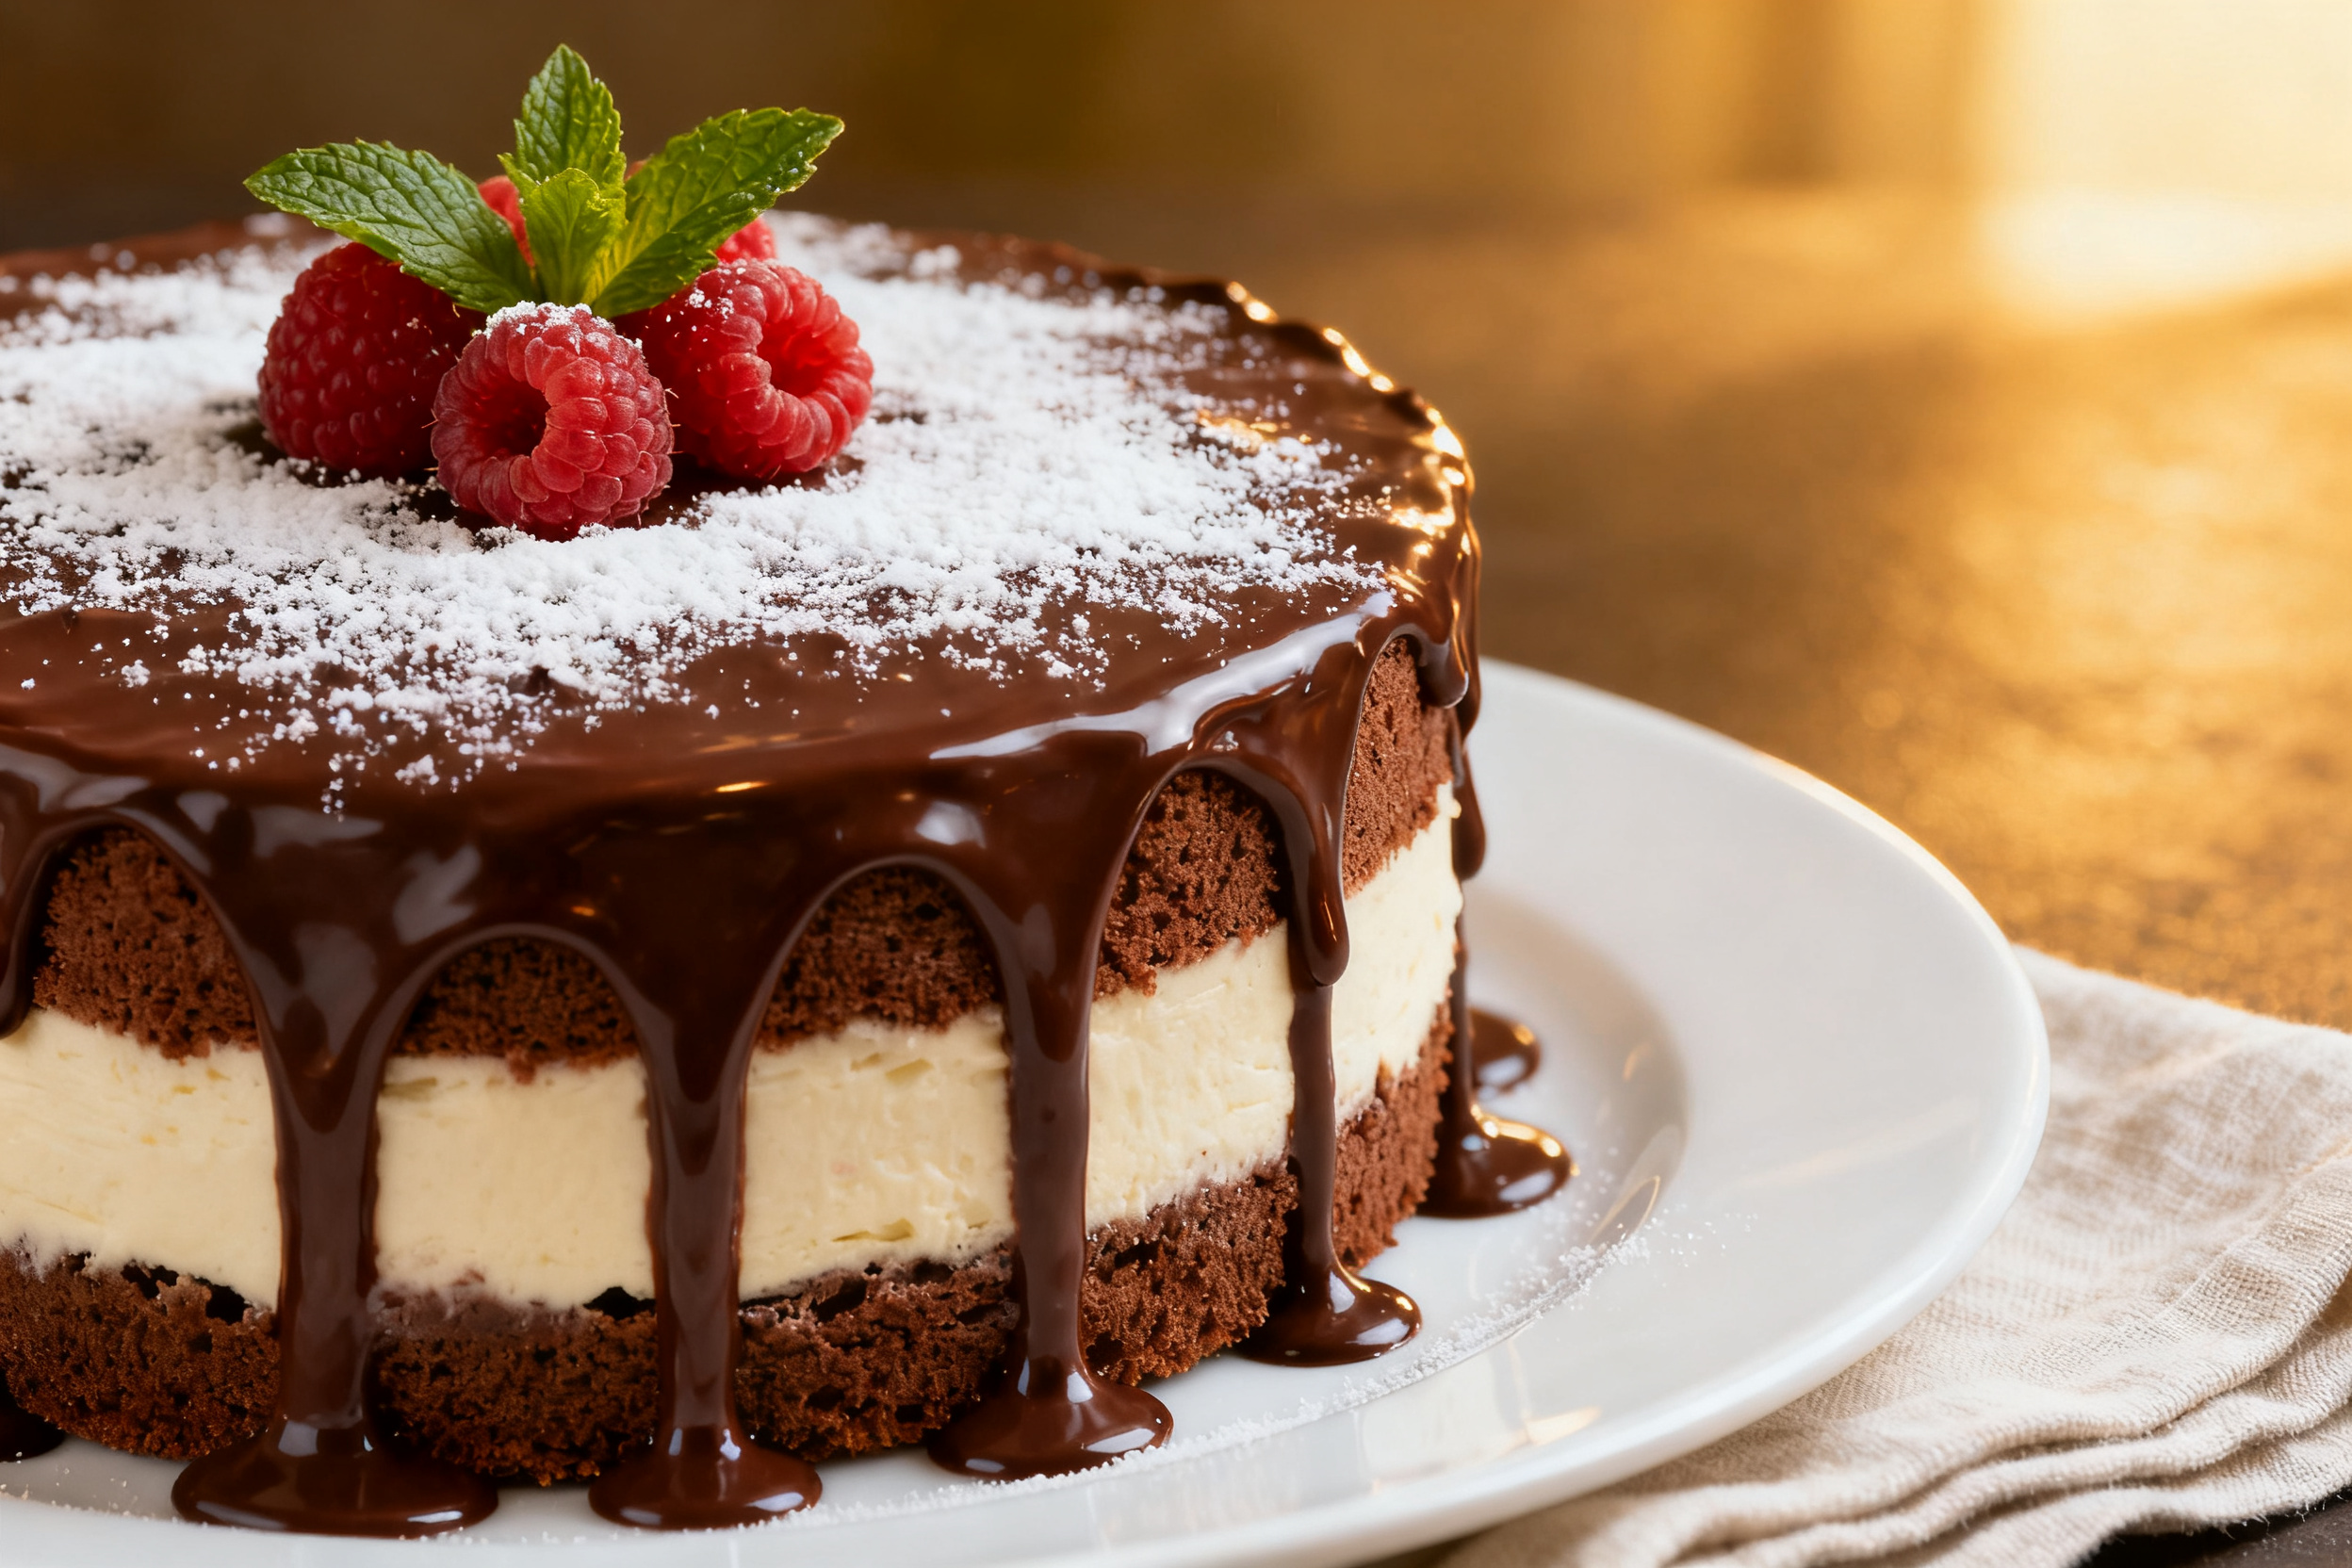
Chocolate Drip Cake - A Decadent, Crowd-Pleasing Showstopper
Ingredients
Method
- Prep your pans and oven. Heat the oven to 350°F (175°C). Grease and line two 8-inch round cake pans with parchment.Lightly dust with cocoa powder for easy release.
- Mix the dry ingredients. In a large bowl, whisk flour, sugar, cocoa, baking soda, baking powder, and salt until evenly combined.
- Add the wet ingredients (except the hot liquid). Whisk in eggs, buttermilk, oil, and vanilla until smooth. The batter will be thick at this stage.
- Stream in the hot coffee. Slowly pour in the hot coffee (or water) while whisking. The batter will become thin—this is normal and helps create a moist crumb.
- Bake. Divide batter between pans and bake for 28–32 minutes, or until a toothpick comes out with a few moist crumbs.Cool 10 minutes in pans, then invert onto racks to cool completely.
- Make the buttercream. Beat softened butter on medium-high until pale and fluffy, about 2 minutes. Add powdered sugar, cocoa, salt, vanilla, and half the cream. Beat on low to combine, then increase speed and whip until smooth and spreadable.Add more cream as needed for a soft, silky texture.
- Level and crumb coat. Trim domed tops if needed. Place one layer on a turntable or plate. Spread an even layer of buttercream on top, then place the second layer.Apply a thin coat of buttercream to seal in crumbs. Chill 20–30 minutes until set.
- Final coat and smooth. Add a thicker layer of buttercream and smooth the sides and top with an offset spatula or bench scraper. Chill again for at least 20 minutes so the drip sets cleanly.
- Make the ganache drip. Heat cream just to a simmer.Pour over chocolate in a heatproof bowl. Let sit 2 minutes, then stir until glossy and smooth. Add corn syrup or a few drops of oil if using.Cool until slightly thick but still pourable—about body temperature. Too hot drips will run off; too cool won’t drip.
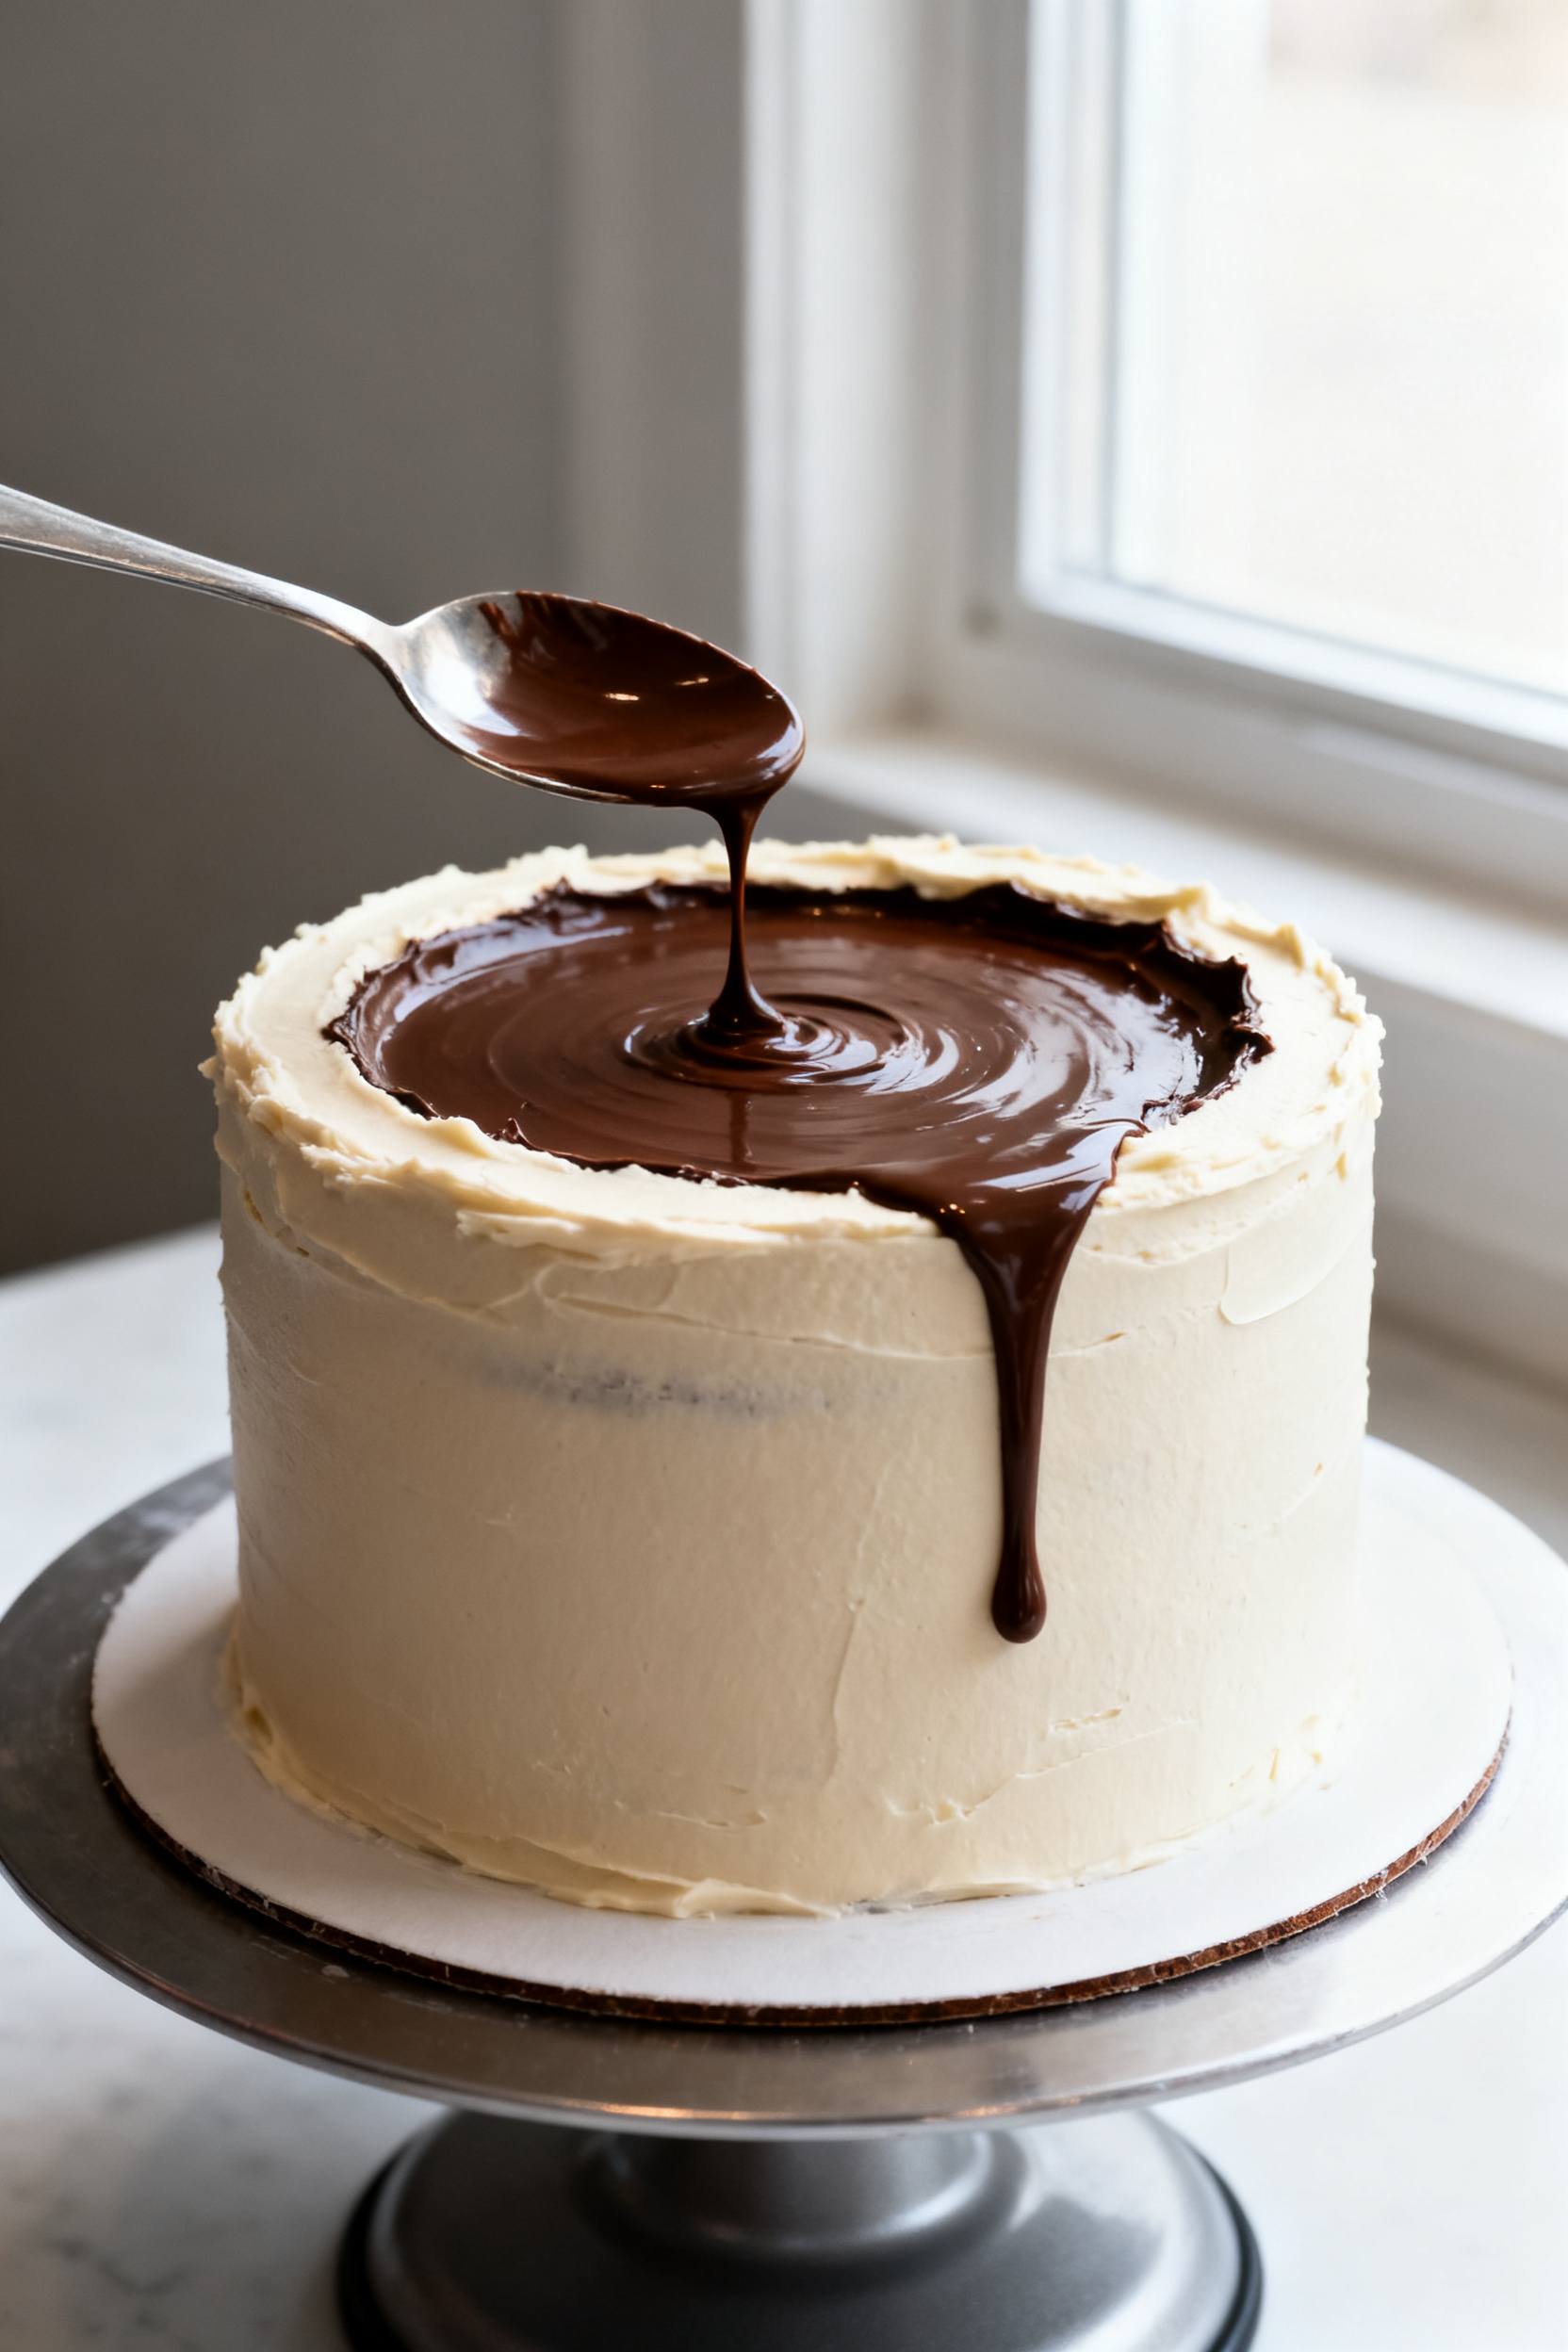
- Apply the drip. Transfer ganache to a squeeze bottle or use a spoon. Work around the edge, nudging small amounts over the rim to create drips of varying lengths. Fill the center and spread to meet the edges.Chill 10–15 minutes to set.
- Decorate and serve. Add sprinkles, chocolate curls, or berries on top. Slice with a warm, clean knife for neat edges.
What Makes This Special
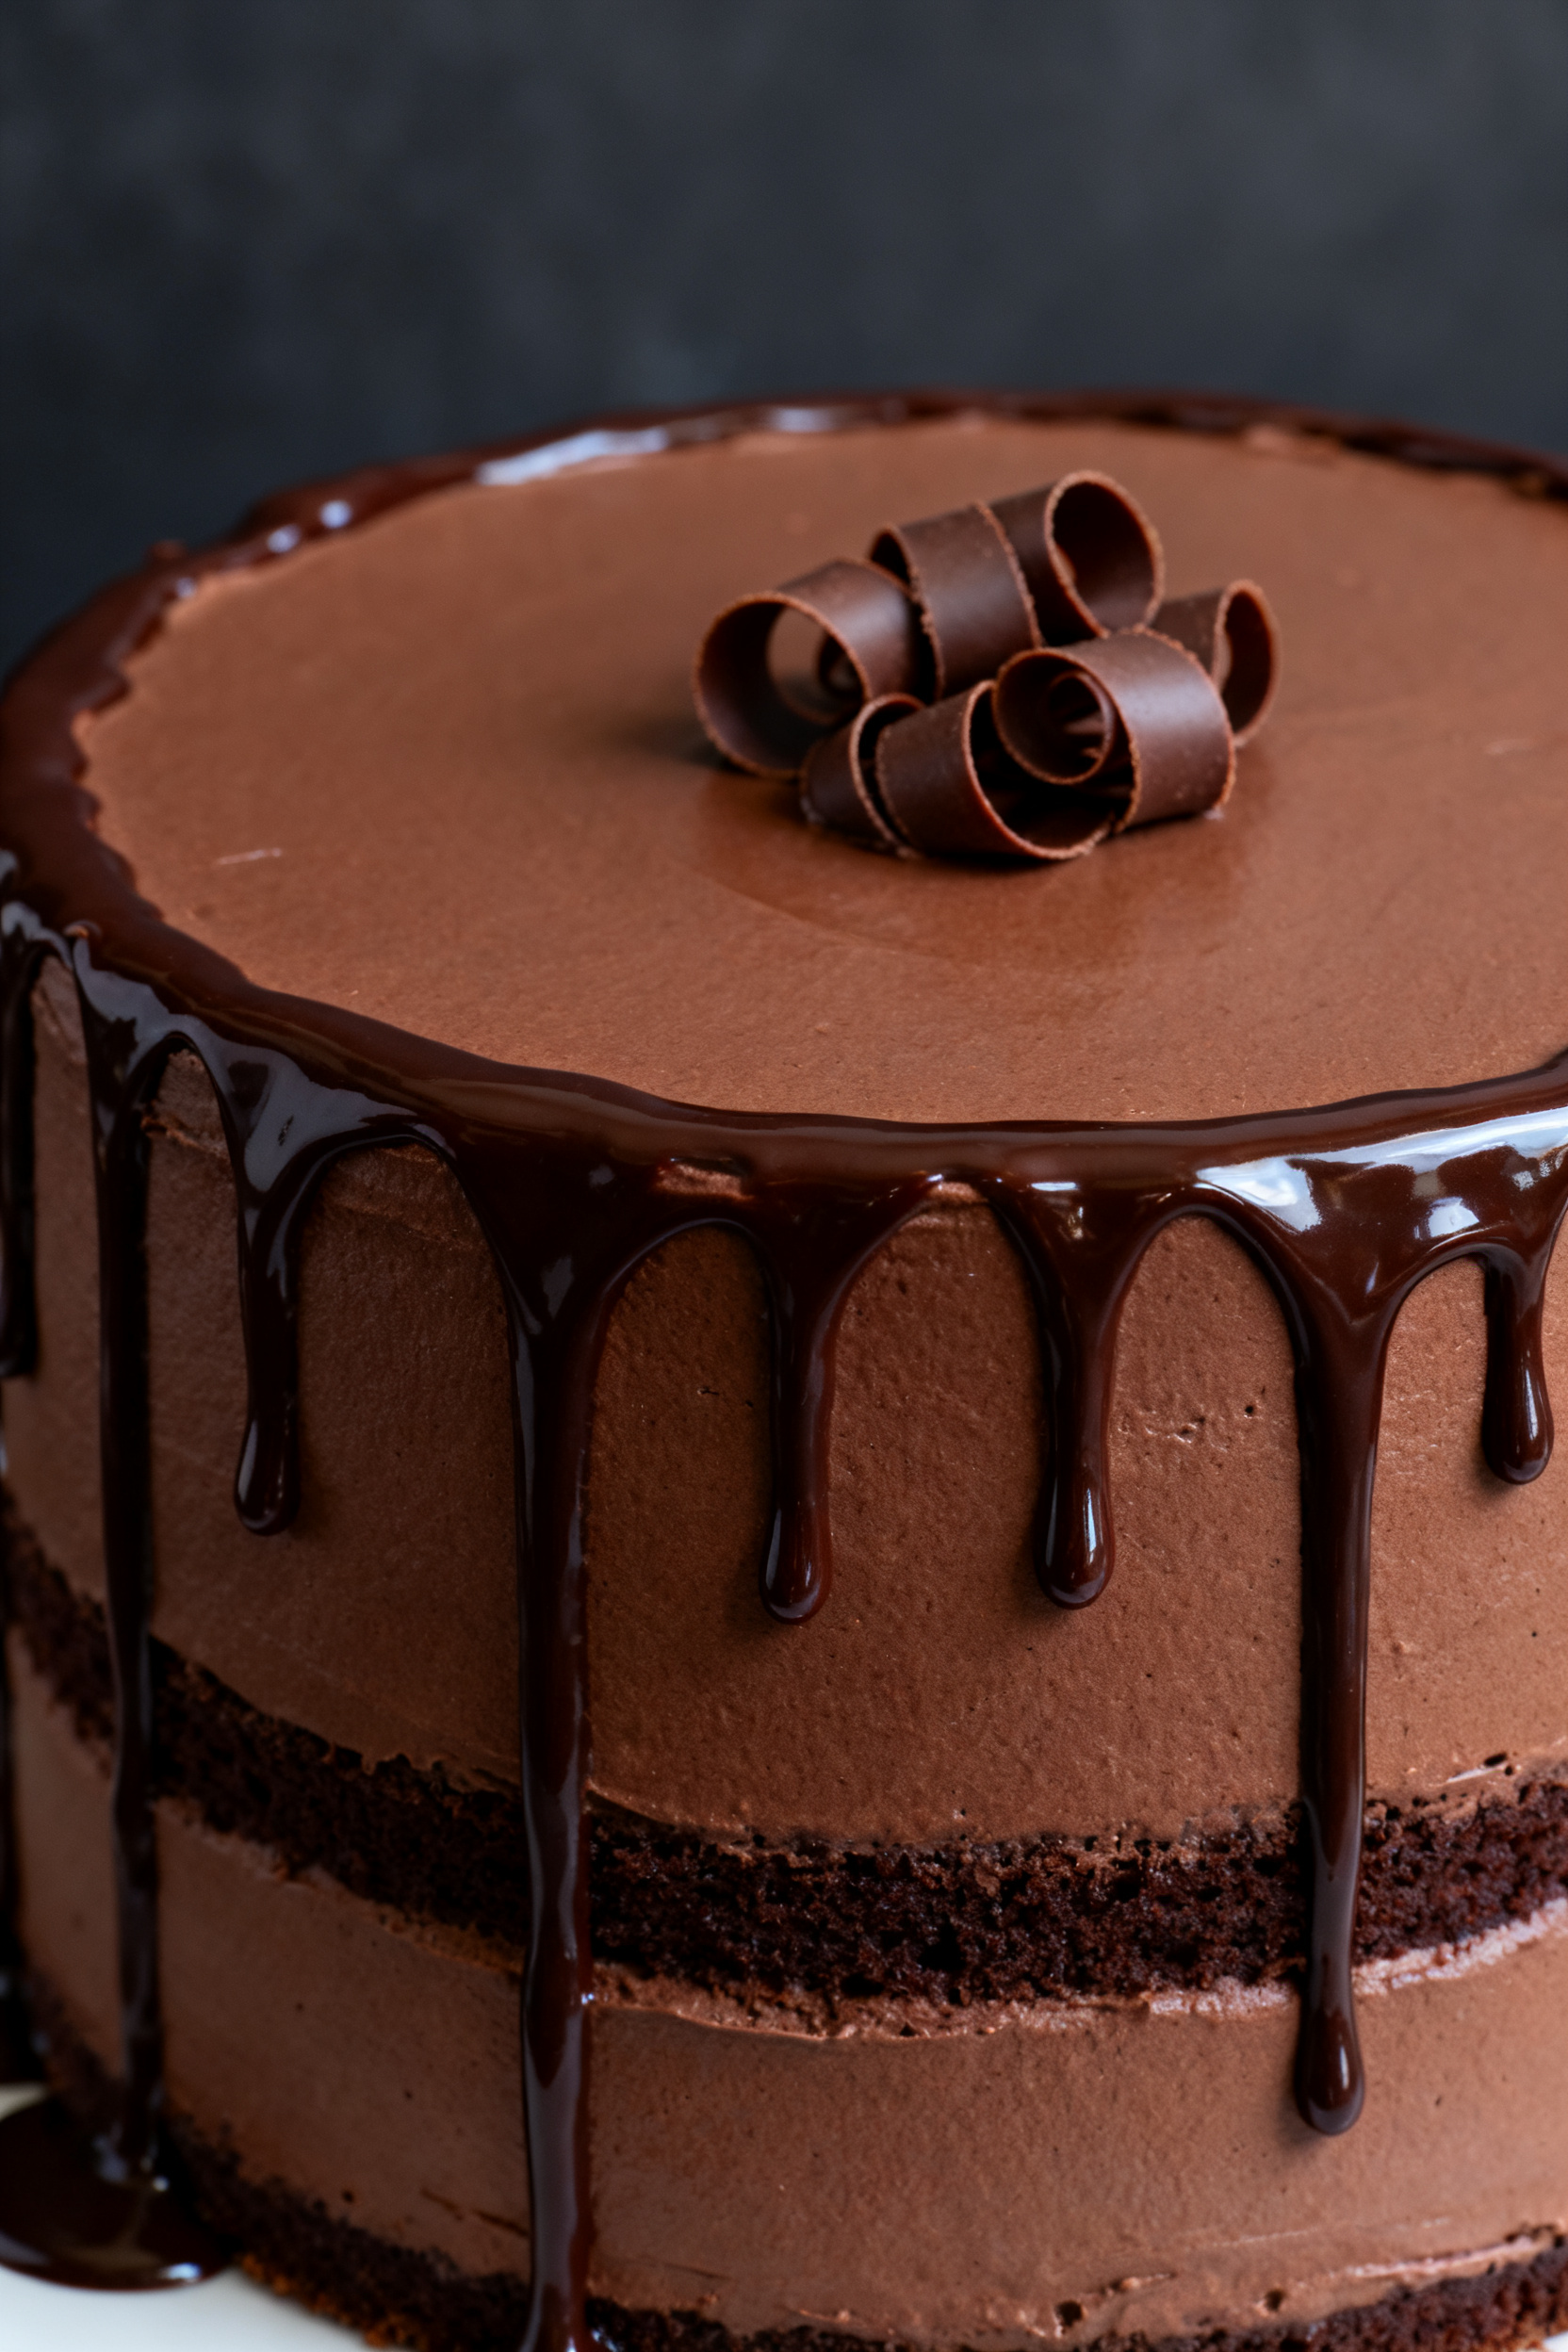
This cake combines rich chocolate layers with a smooth, not-too-sweet buttercream for balance. The drip is made with a straightforward ganache that sets with a pretty sheen.
It’s designed to be forgiving: the batter mixes easily, the frosting is sturdy, and the drip is simple to control. You’ll get a cake that cuts neatly, travels well, and stays moist for days.
What You’ll Need (Ingredients)
- For the chocolate cake:
- 2 cups (240 g) all-purpose flour
- 1¾ cups (350 g) granulated sugar
- ¾ cup (75 g) unsweetened cocoa powder
- 2 tsp baking soda
- 1 tsp baking powder
- 1 tsp fine salt
- 2 large eggs, room temperature
- 1 cup (240 ml) buttermilk, room temperature
- ½ cup (120 ml) neutral oil (canola or vegetable)
- 2 tsp vanilla extract
- 1 cup (240 ml) hot coffee or hot water
- For the chocolate buttercream:
- 1 cup (225 g) unsalted butter, softened
- 3 cups (360 g) powdered sugar, sifted
- ½ cup (50 g) unsweetened cocoa powder, sifted
- ¼ cup (60 ml) heavy cream or milk (plus more as needed)
- 1 tsp vanilla extract
- Pinch of salt
- For the chocolate drip (ganache):
- ½ cup (120 ml) heavy cream
- ¾ cup (130 g) semi-sweet chocolate chips or finely chopped chocolate
- 1 tsp light corn syrup or 1 tsp neutral oil (optional for extra shine)
- Optional decorations:
- Chocolate shavings, sprinkles, berries, or candy pieces
How to Make It
- Prep your pans and oven. Heat the oven to 350°F (175°C). Grease and line two 8-inch round cake pans with parchment.Lightly dust with cocoa powder for easy release.
- Mix the dry ingredients. In a large bowl, whisk flour, sugar, cocoa, baking soda, baking powder, and salt until evenly combined.
- Add the wet ingredients (except the hot liquid). Whisk in eggs, buttermilk, oil, and vanilla until smooth. The batter will be thick at this stage.
- Stream in the hot coffee. Slowly pour in the hot coffee (or water) while whisking. The batter will become thin—this is normal and helps create a moist crumb.
- Bake. Divide batter between pans and bake for 28–32 minutes, or until a toothpick comes out with a few moist crumbs.Cool 10 minutes in pans, then invert onto racks to cool completely.
- Make the buttercream. Beat softened butter on medium-high until pale and fluffy, about 2 minutes. Add powdered sugar, cocoa, salt, vanilla, and half the cream. Beat on low to combine, then increase speed and whip until smooth and spreadable.Add more cream as needed for a soft, silky texture.
- Level and crumb coat. Trim domed tops if needed. Place one layer on a turntable or plate. Spread an even layer of buttercream on top, then place the second layer.Apply a thin coat of buttercream to seal in crumbs. Chill 20–30 minutes until set.
- Final coat and smooth. Add a thicker layer of buttercream and smooth the sides and top with an offset spatula or bench scraper. Chill again for at least 20 minutes so the drip sets cleanly.
- Make the ganache drip. Heat cream just to a simmer.Pour over chocolate in a heatproof bowl. Let sit 2 minutes, then stir until glossy and smooth. Add corn syrup or a few drops of oil if using.
Cool until slightly thick but still pourable—about body temperature. Too hot drips will run off; too cool won’t drip.
- Apply the drip. Transfer ganache to a squeeze bottle or use a spoon. Work around the edge, nudging small amounts over the rim to create drips of varying lengths. Fill the center and spread to meet the edges.Chill 10–15 minutes to set.
- Decorate and serve. Add sprinkles, chocolate curls, or berries on top. Slice with a warm, clean knife for neat edges.
Keeping It Fresh
At room temperature, a frosted cake keeps well for up to 2 days if your kitchen is cool. For longer storage, refrigerate for up to 5 days, covered in a cake box or wrapped loosely to prevent drying.
Bring slices to room temperature before serving for the best texture and flavor. You can also freeze unfrosted cake layers, well-wrapped, for up to 2 months.
Why This is Good for You
It’s dessert, but there are still some perks. Cocoa has antioxidants, and making your own cake lets you control sweetness and ingredients.
You skip unnecessary additives you might find in store-bought versions. Plus, baking at home encourages mindful eating—one beautiful slice can feel truly satisfying.
What Not to Do
- Don’t add the drip to a warm cake. Heat melts buttercream and sends ganache sliding off.
- Don’t pour hot ganache. Let it cool until thickened and just warm to the touch.
- Don’t skip the crumb coat. It locks in crumbs for those clean bakery-style sides.
- Don’t overbake. Dry cake won’t be saved by frosting. Check early and watch for moist crumbs on the tester.
- Don’t rush the chill time. Each short chill helps build structure and clean lines.
- Don’t overmix the batter. Mix until combined to avoid a tough crumb.
Alternatives
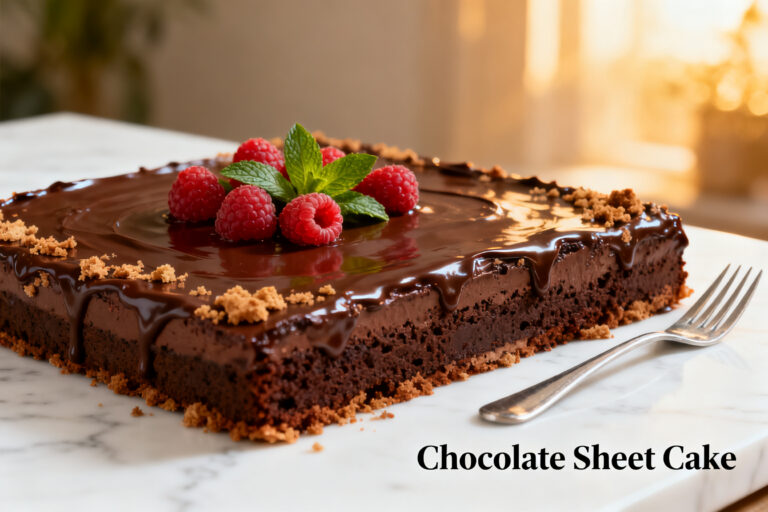
- Different sizes: Bake as three 6-inch layers, or a single 9×13-inch sheet cake (adjust time).For cupcakes, bake 18–24 and skip the drip or spoon a small drip on each.
- Flavor twists: Add 1–2 tsp espresso powder to enhance chocolate, or a teaspoon of orange zest for a citrus note. Swap vanilla for almond or peppermint extract (go light with peppermint).
- Frosting options: Use cream cheese frosting for tang or whipped ganache for a lighter feel. Salted caramel buttercream pairs beautifully under a dark chocolate drip.
- Dairy-free: Use plant milk with 1 tbsp vinegar as a buttermilk stand-in and dairy-free butter.Make the ganache with coconut cream and dairy-free chocolate.
- Gluten-free: Use a 1:1 gluten-free baking flour with xanthan gum. Let the batter rest 10 minutes before baking for better hydration.
- Less sweet: Reduce powdered sugar in the buttercream by ½ cup and add a pinch more salt. Use dark chocolate (60–70%) for the drip.
FAQ
How do I get smooth sides and sharp edges?
Chill between coats and use a bench scraper against the sides while spinning the cake.
Clean your tools often and keep your buttercream soft but stable. A final quick chill helps the edges set cleanly before adding the drip.
Why did my ganache look dull or grainy?
It was likely overheated or stirred before the chocolate fully melted. Next time, let the hot cream sit on the chocolate for two minutes, then stir gently until smooth.
A teaspoon of corn syrup can boost shine.
Can I make parts ahead?
Yes. Bake cake layers up to two days ahead, wrap, and refrigerate. Make buttercream one day ahead and rewhip with a splash of cream.
Ganache is best made the day you decorate, but you can gently rewarm it to adjust consistency.
What’s the best chocolate for the drip?
Use quality semi-sweet or dark chocolate bars or chips that melt smoothly. Around 50–60% cacao gives a classic look and flavor. If the chocolate is very dark, add a touch more cream for a softer drip.
How do I prevent the drip from pooling at the bottom?
Chill the frosted cake so the drip sets on contact, and use a thicker ganache.
Apply small amounts at the edge and test one drip first. If it runs too far, wait a few minutes for the ganache to thicken more.
Can I use store-bought frosting?
You can, but it’s softer and may not hold edges as well. If using it, chill longer between coats, and consider stabilizing with a little extra powdered sugar or cocoa.
What if I don’t have buttermilk?
Mix 1 cup milk with 1 tablespoon white vinegar or lemon juice.
Let it sit for 5 minutes to thicken, then use as directed. This gives you the tender crumb you want.
How do I slice cleanly?
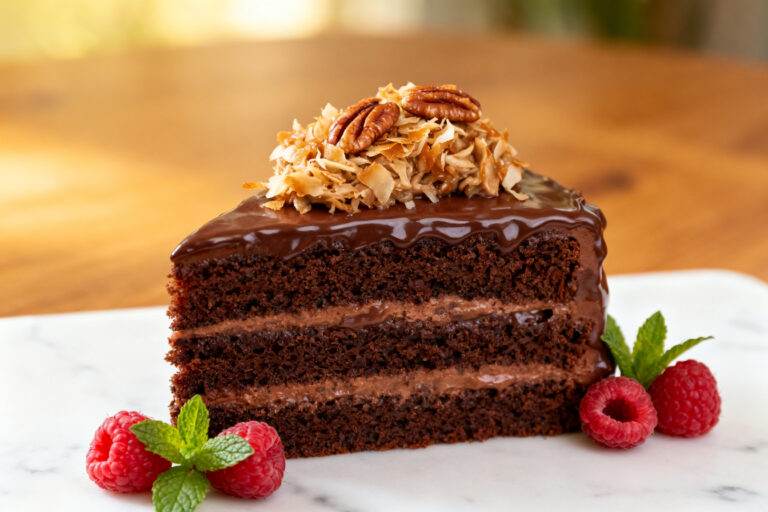
Use a long, sharp knife warmed in hot water and wiped dry between cuts. Press straight down rather than sawing to keep the layers neat.
Small, even slices make serving easier and look professional.
In Conclusion
A chocolate drip cake looks fancy but relies on simple, reliable steps: a moist sponge, a sturdy buttercream, and a glossy ganache with the right consistency. With a bit of chilling and patience, you’ll get clean lines and picture-perfect drips every time. Keep the flavors balanced, don’t rush the process, and enjoy that first impressive slice.
It’s the kind of cake that turns any moment into a celebration.
Printable Recipe Card
Want just the essential recipe details without scrolling through the article? Get our printable recipe card with just the ingredients and instructions.