Chocolate Mousse Cake – Rich, Airy, and Surprisingly Simple
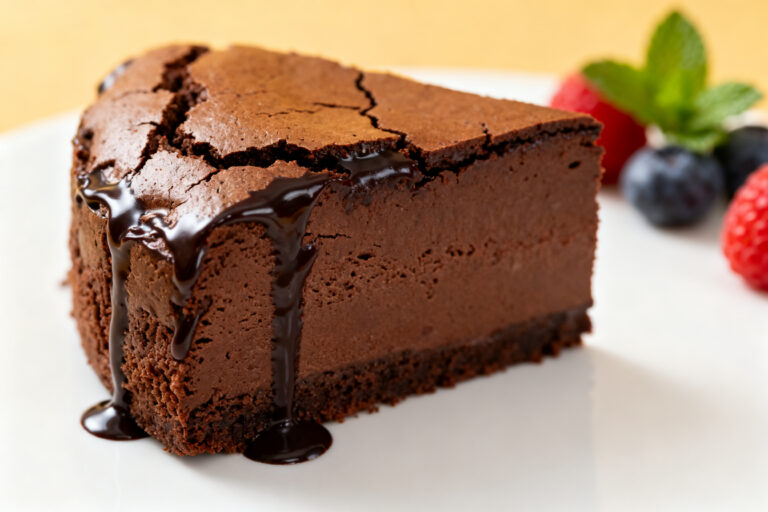
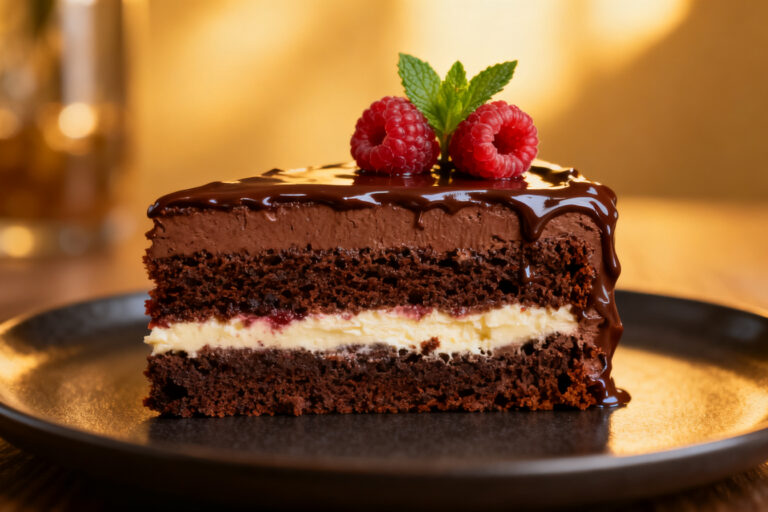
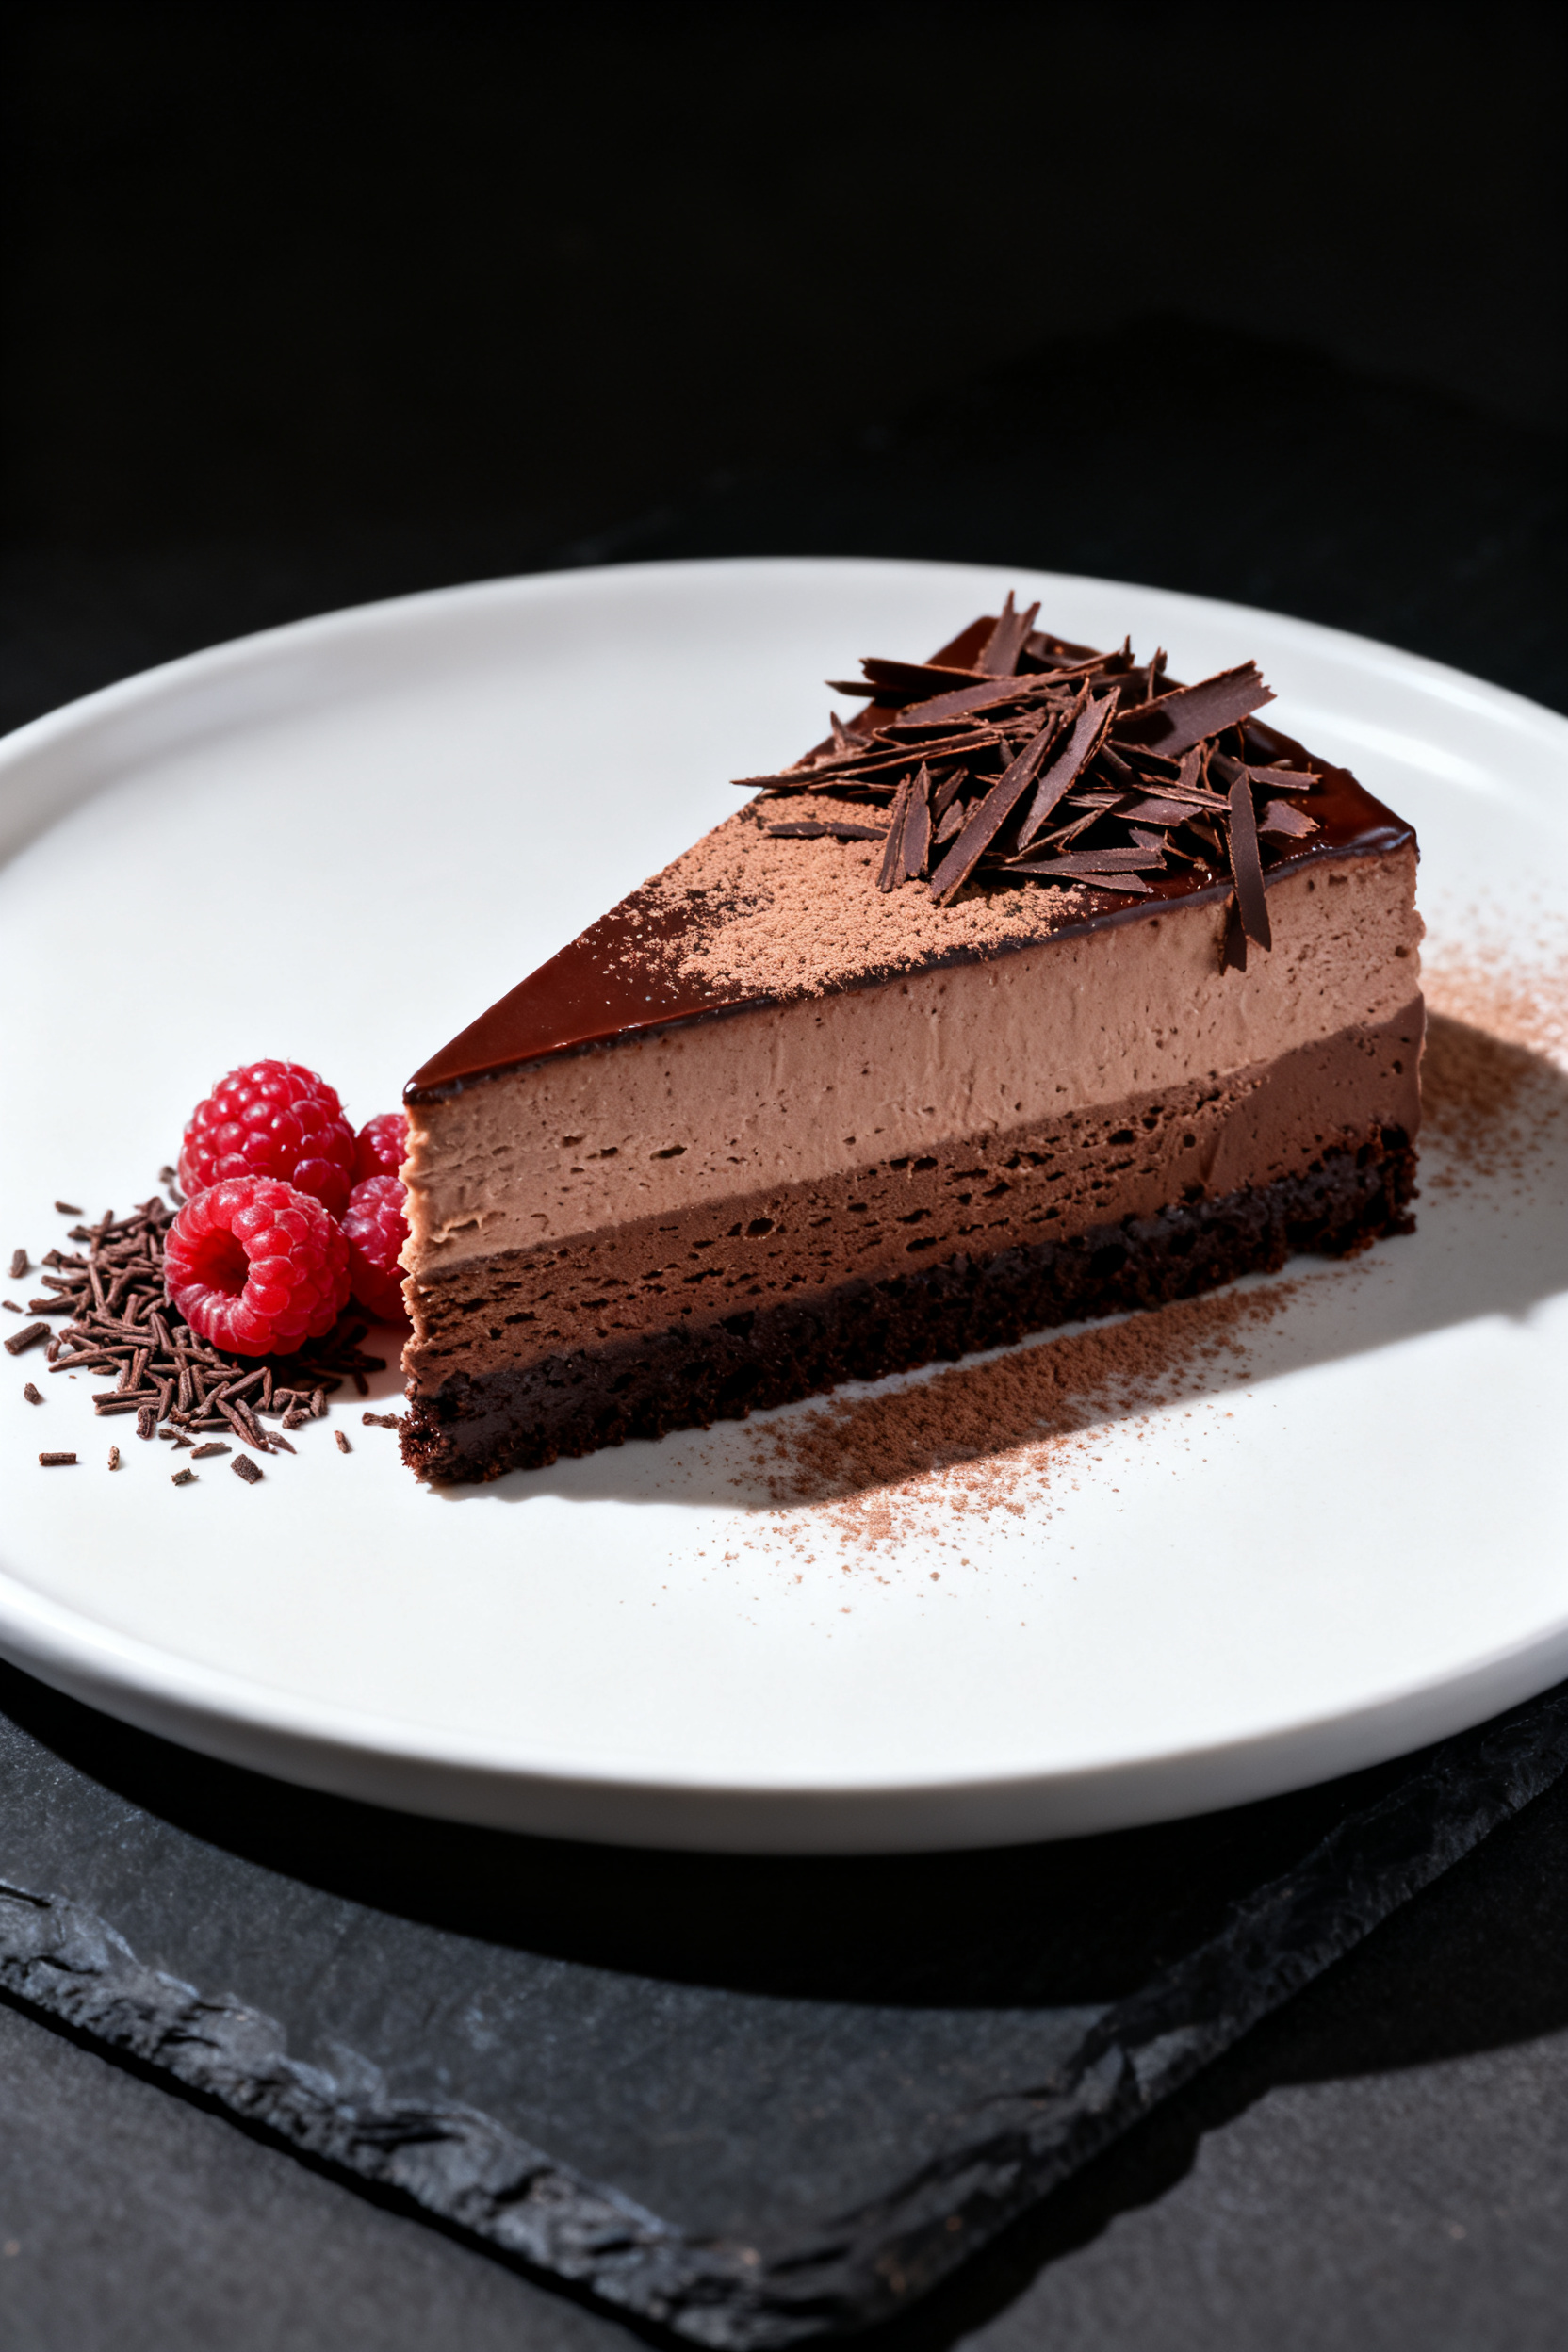
Chocolate mousse cake is the kind of dessert that makes people pause mid-bite and close their eyes. It’s rich but light, elegant but easy to make, and it never fails to impress. This version has a tender chocolate base topped with a silky mousse that sets into a cloud-like layer.
You don’t need special skills or tools—just patience and good chocolate. If you’re after a make-ahead dessert that feels restaurant-worthy yet friendly enough for a weeknight celebration, this is it.
Chocolate Mousse Cake – Rich, Airy, and Surprisingly Simple
Ingredients
Method
- Prep your pan and oven. Heat oven to 350°F (175°C).Line the bottom of a 9-inch springform pan with parchment and lightly grease the sides. This will make unmolding easy and keep edges neat.
- Mix dry ingredients. In a medium bowl, whisk flour, cocoa powder, sugar, baking powder, and salt until evenly combined. This prevents lumps and gives you a tender crumb.
- Combine wet ingredients. In another bowl, whisk egg, milk, oil (or melted butter), and vanilla until smooth.Pour into the dry mix and whisk just until combined. Stir in the hot coffee or water to thin the batter; it will look loose—this is right.
- Bake the base. Pour the batter into the prepared pan and bake for 16–20 minutes, until the center springs back lightly and a tester comes out with a few moist crumbs. Cool in the pan on a rack.Once warm, run a knife around the edge to loosen, but keep the cake in the pan for assembly.
- Make a simple ganache starter. Place the chopped chocolate and butter in a heatproof bowl. Warm 1/2 cup of the heavy cream until steaming (not boiling), then pour over the chocolate. Let sit 2 minutes, then stir until smooth and glossy.Stir in vanilla and a pinch of salt. Cool to just above room temperature—still fluid but not warm.
- Optional: Whip egg whites for lift. If using, beat egg whites with cream of tartar to soft peaks. Add 1 tablespoon powdered sugar and beat to medium peaks.This gives extra air to the mousse, but you can skip this step if you prefer egg-free.
- Whip the cream. In a cold bowl, whip the remaining 1 1/4 cups heavy cream with 1–2 tablespoons powdered sugar to soft-medium peaks. Don’t overwhip. You want silky ribbons that hold shape but remain supple.
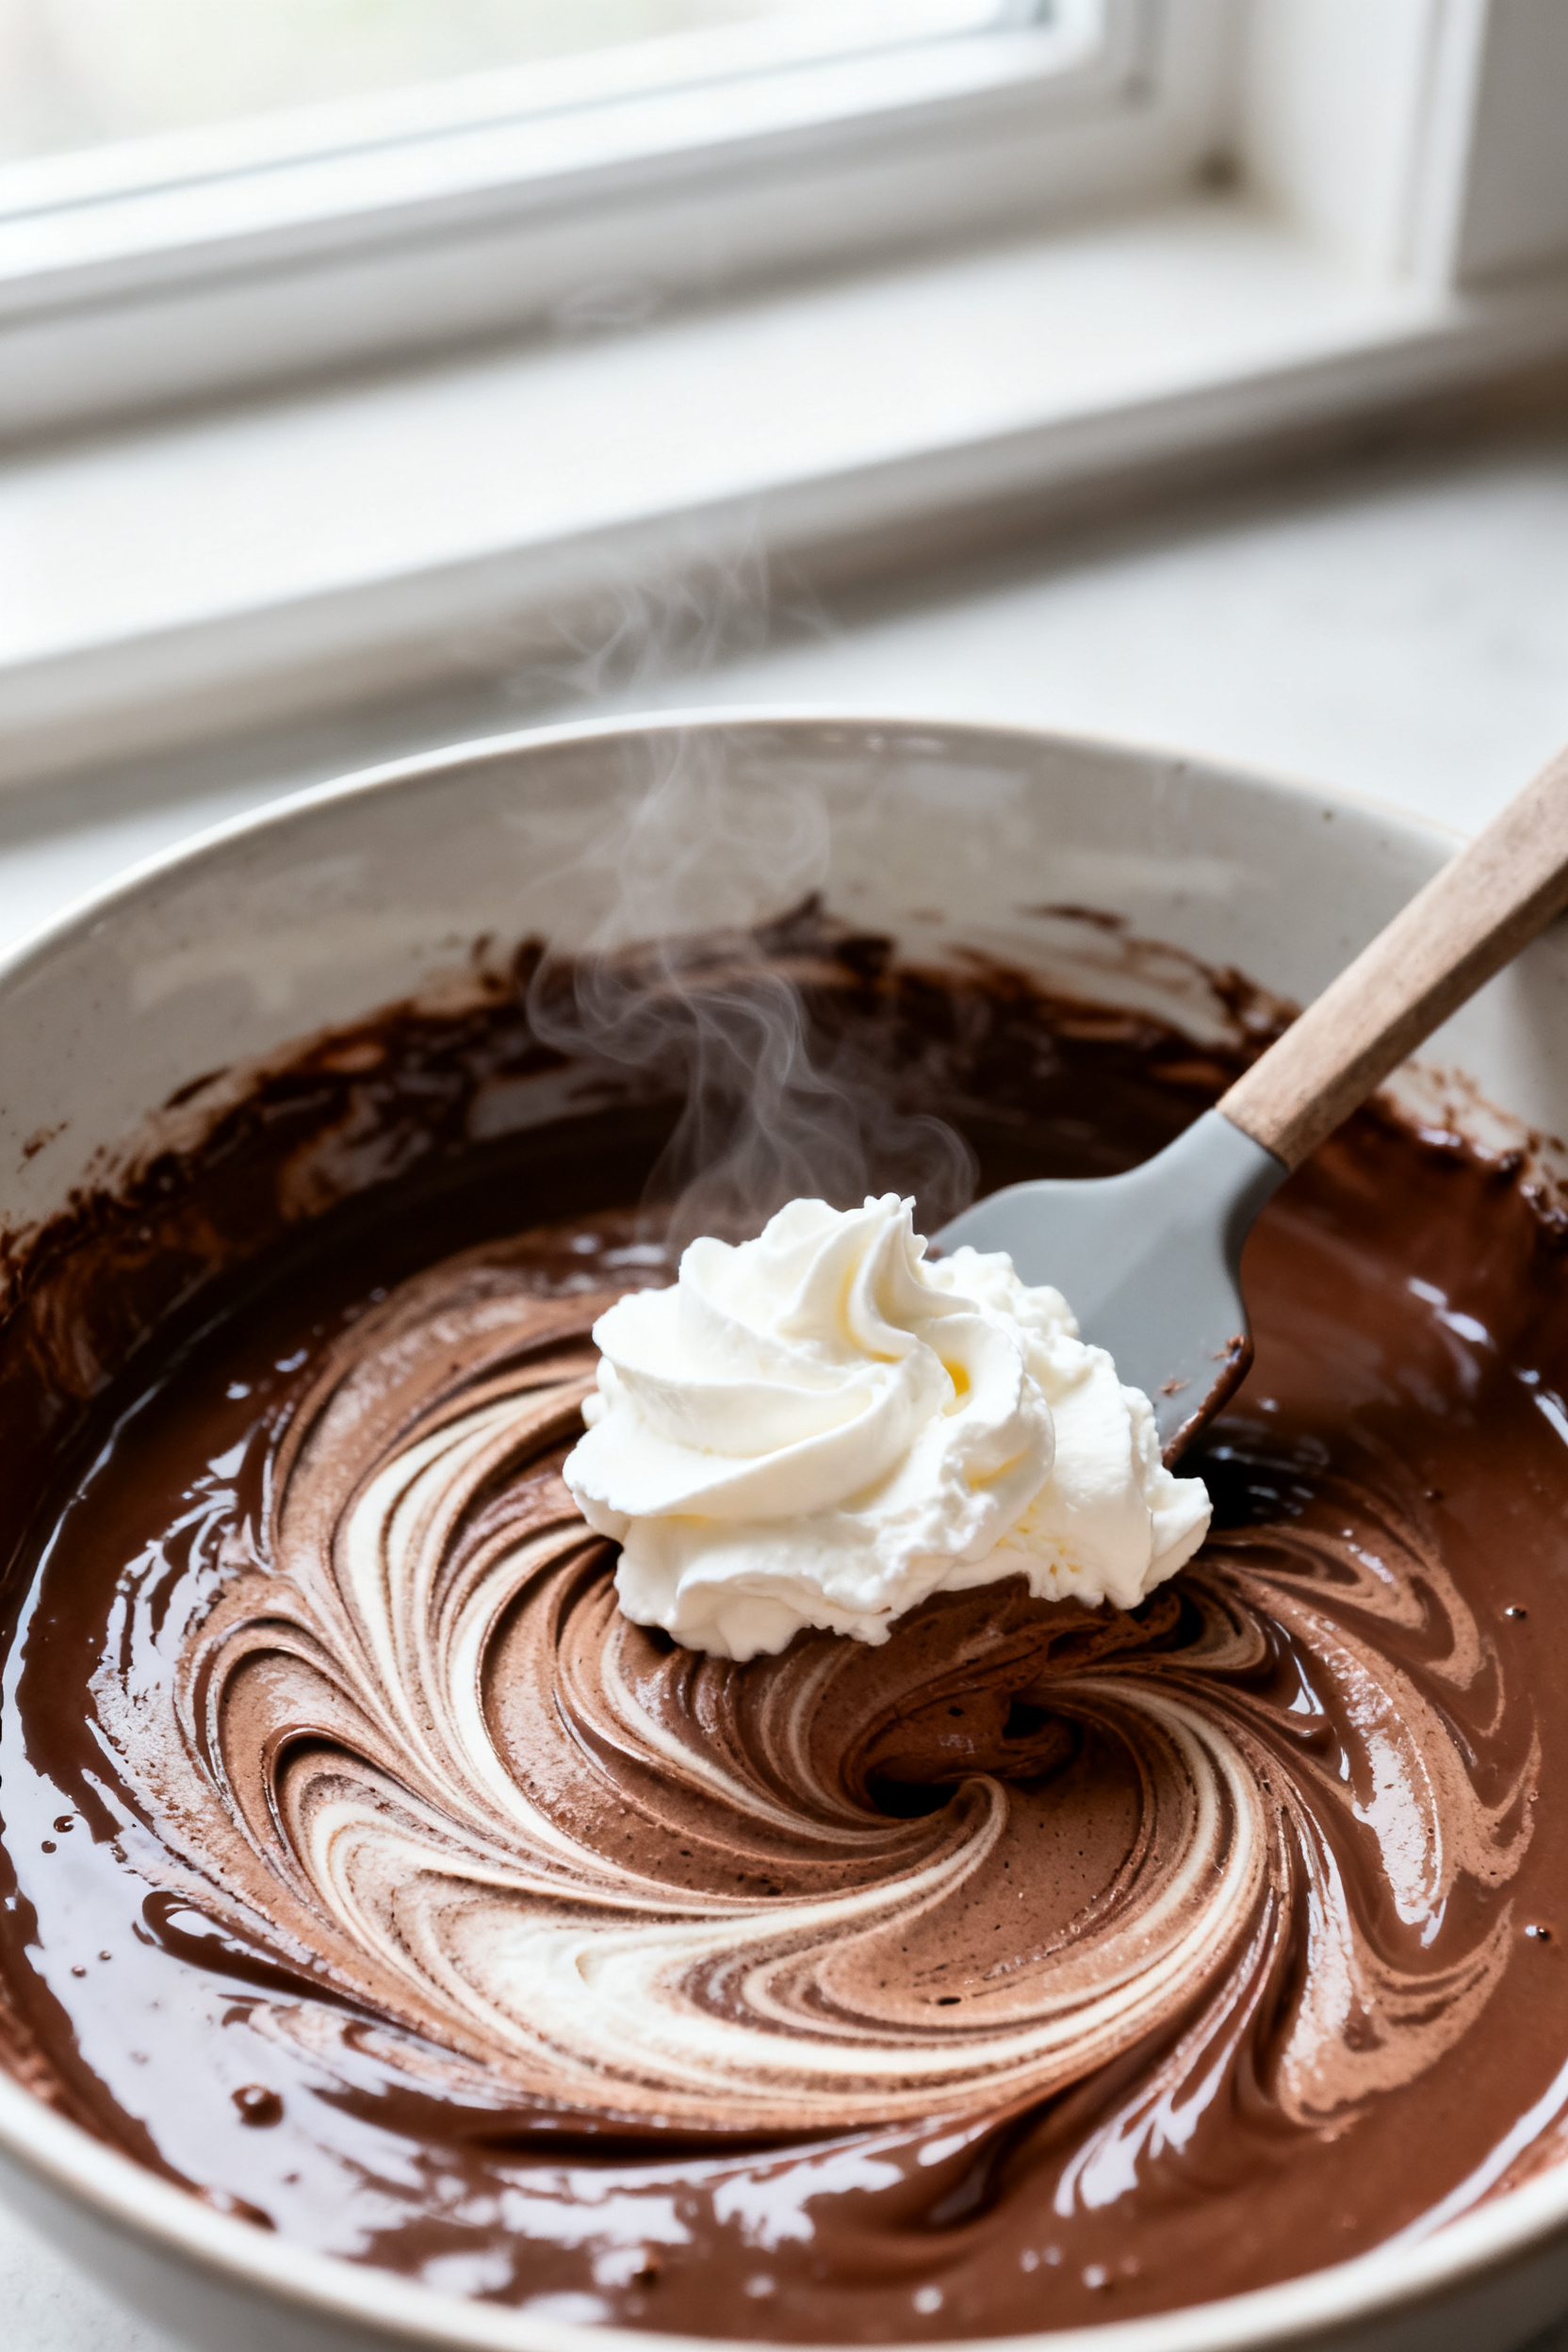
- Fold the mousse. Stir a spoonful of whipped cream into the cooled chocolate to loosen it.Gently fold in the rest of the cream with a spatula, keeping as much air as possible. If using egg whites, fold them in last, in two additions, until the mixture is uniform and airy.
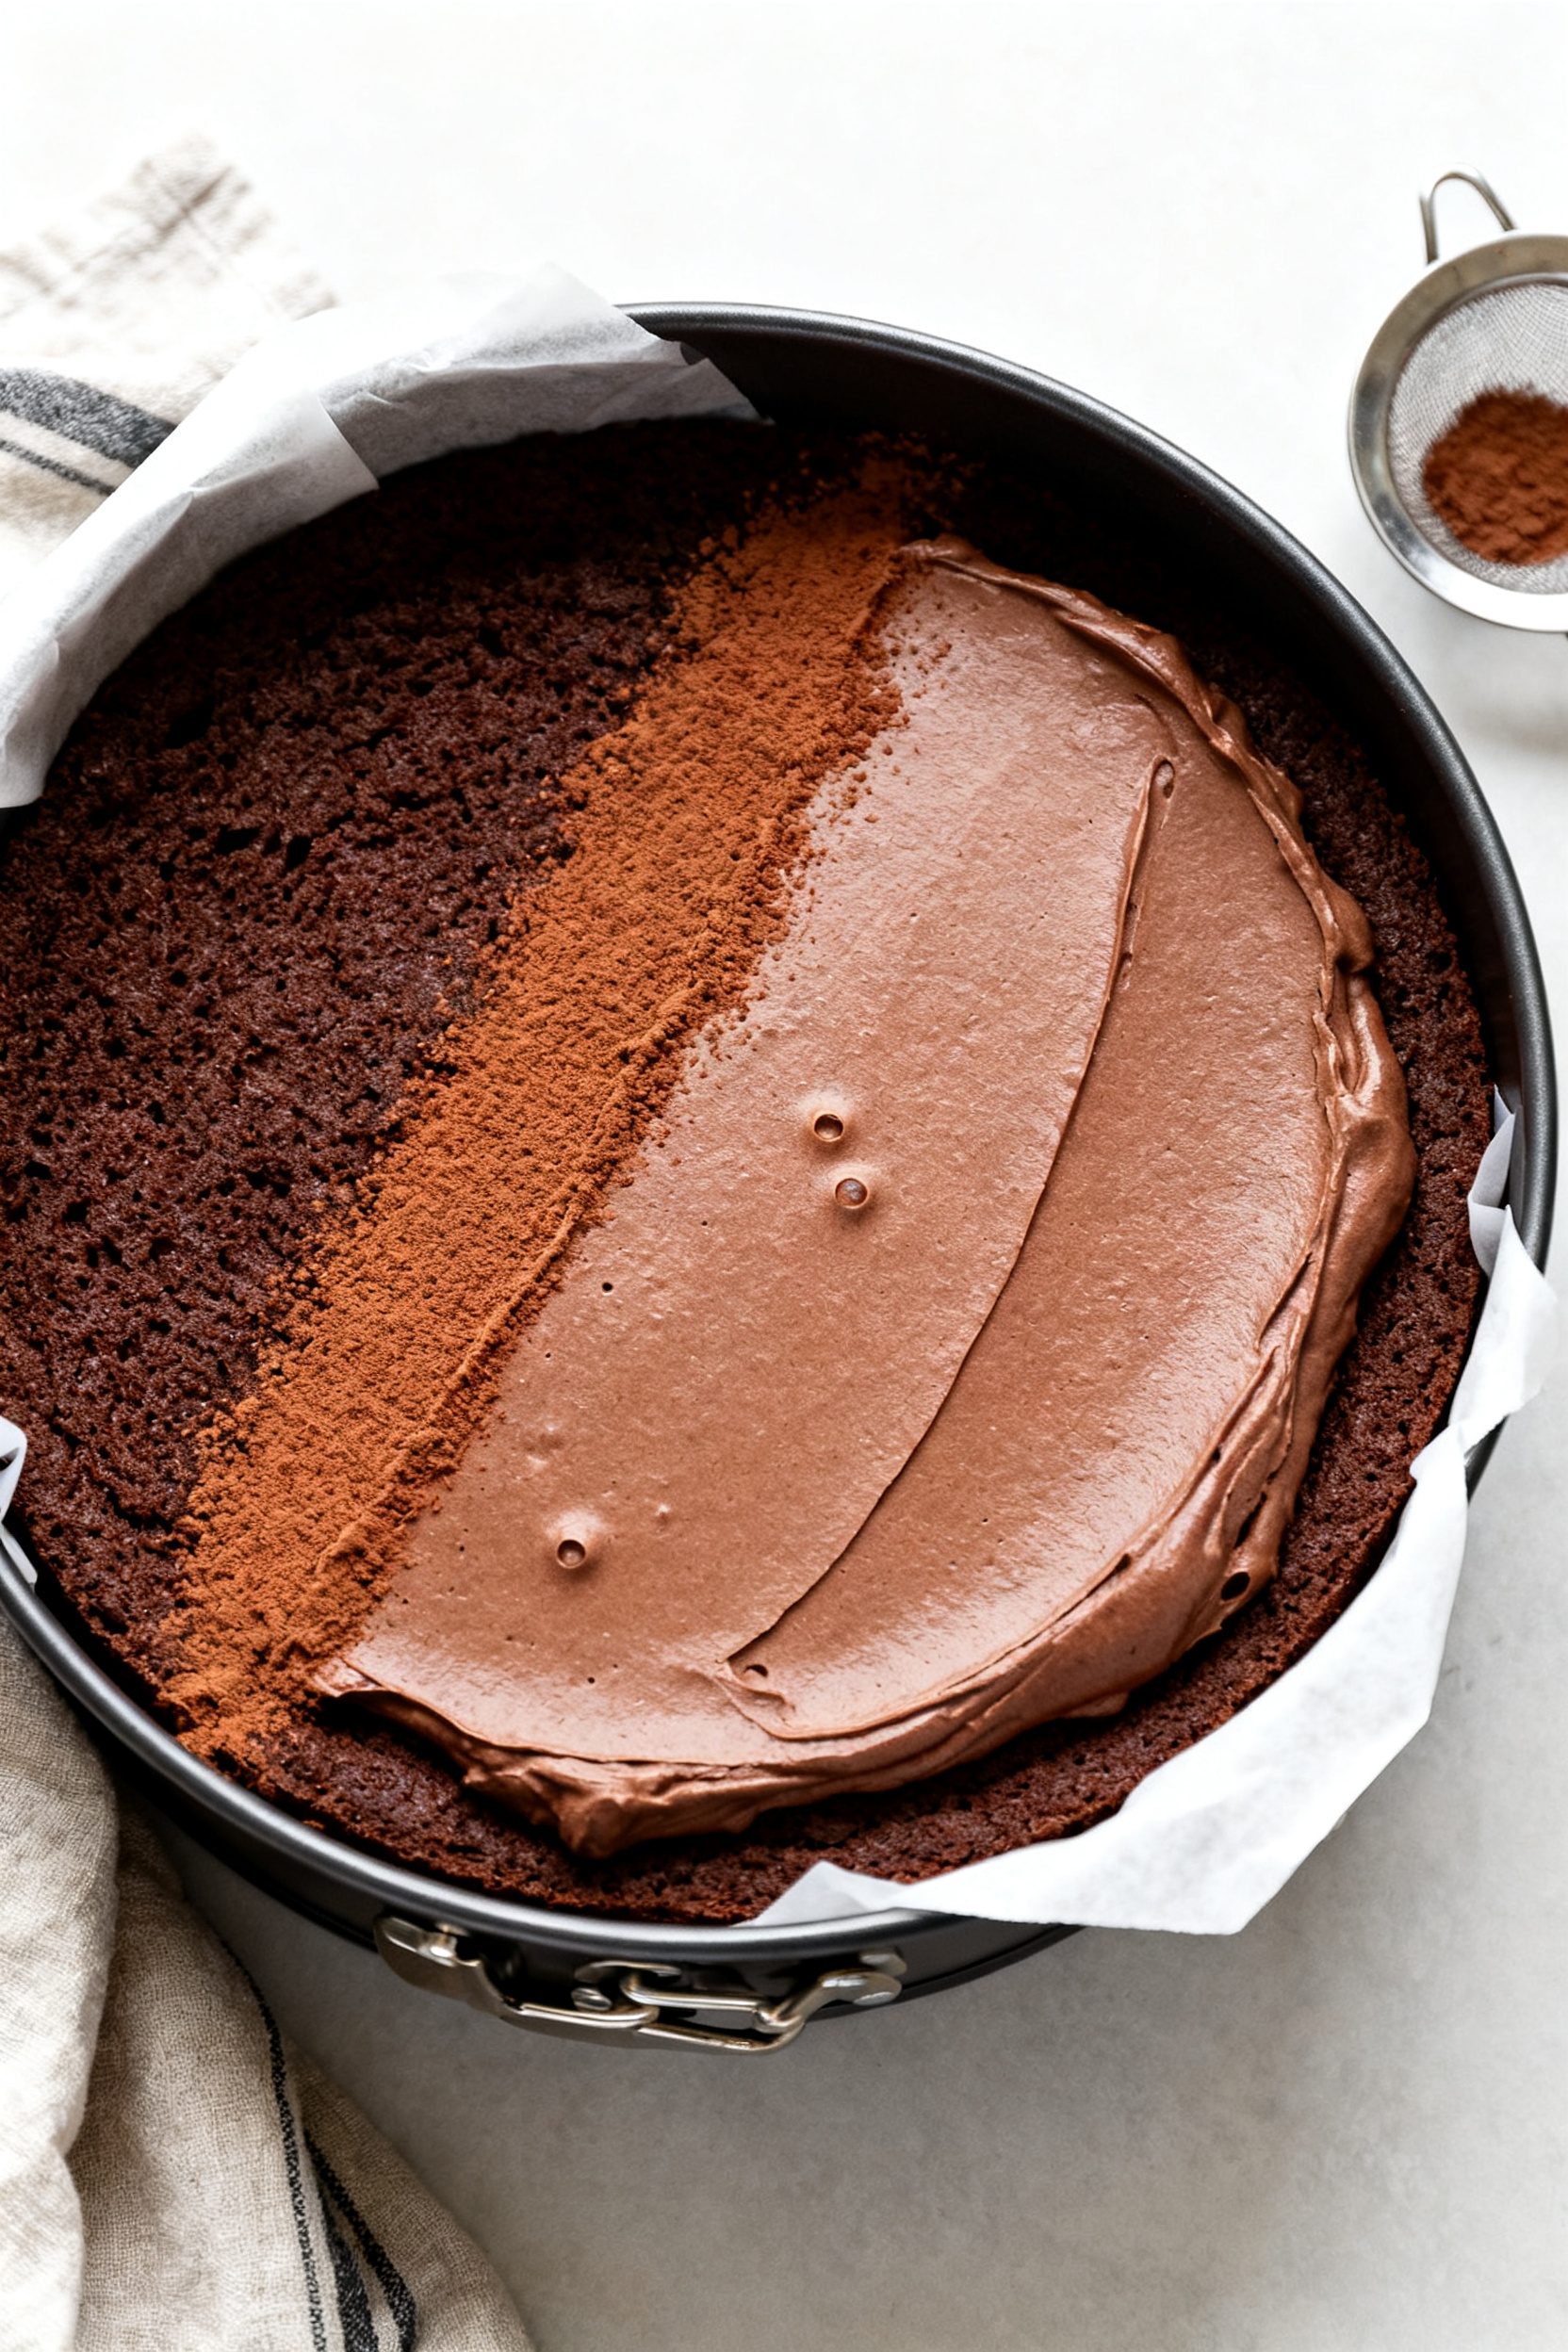
- Assemble. Ensure the cake base is fully cool. If it domed, level the top with a serrated knife so the mousse sits flat.Keep the cake in the springform pan and latch the ring snugly. Spread the mousse over the cake and smooth the top. Tap the pan lightly on the counter to pop large air bubbles.
- Chill to set. Cover the pan and refrigerate at least 4 hours, preferably overnight.The mousse firms up and slices cleanly when fully set.
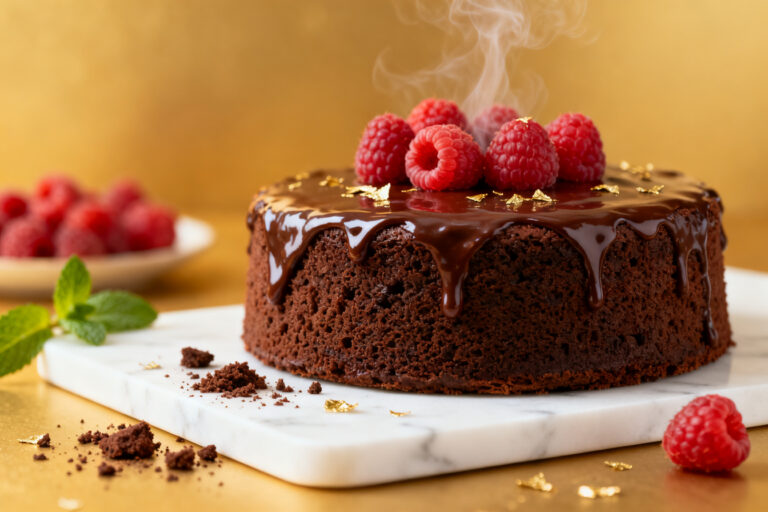
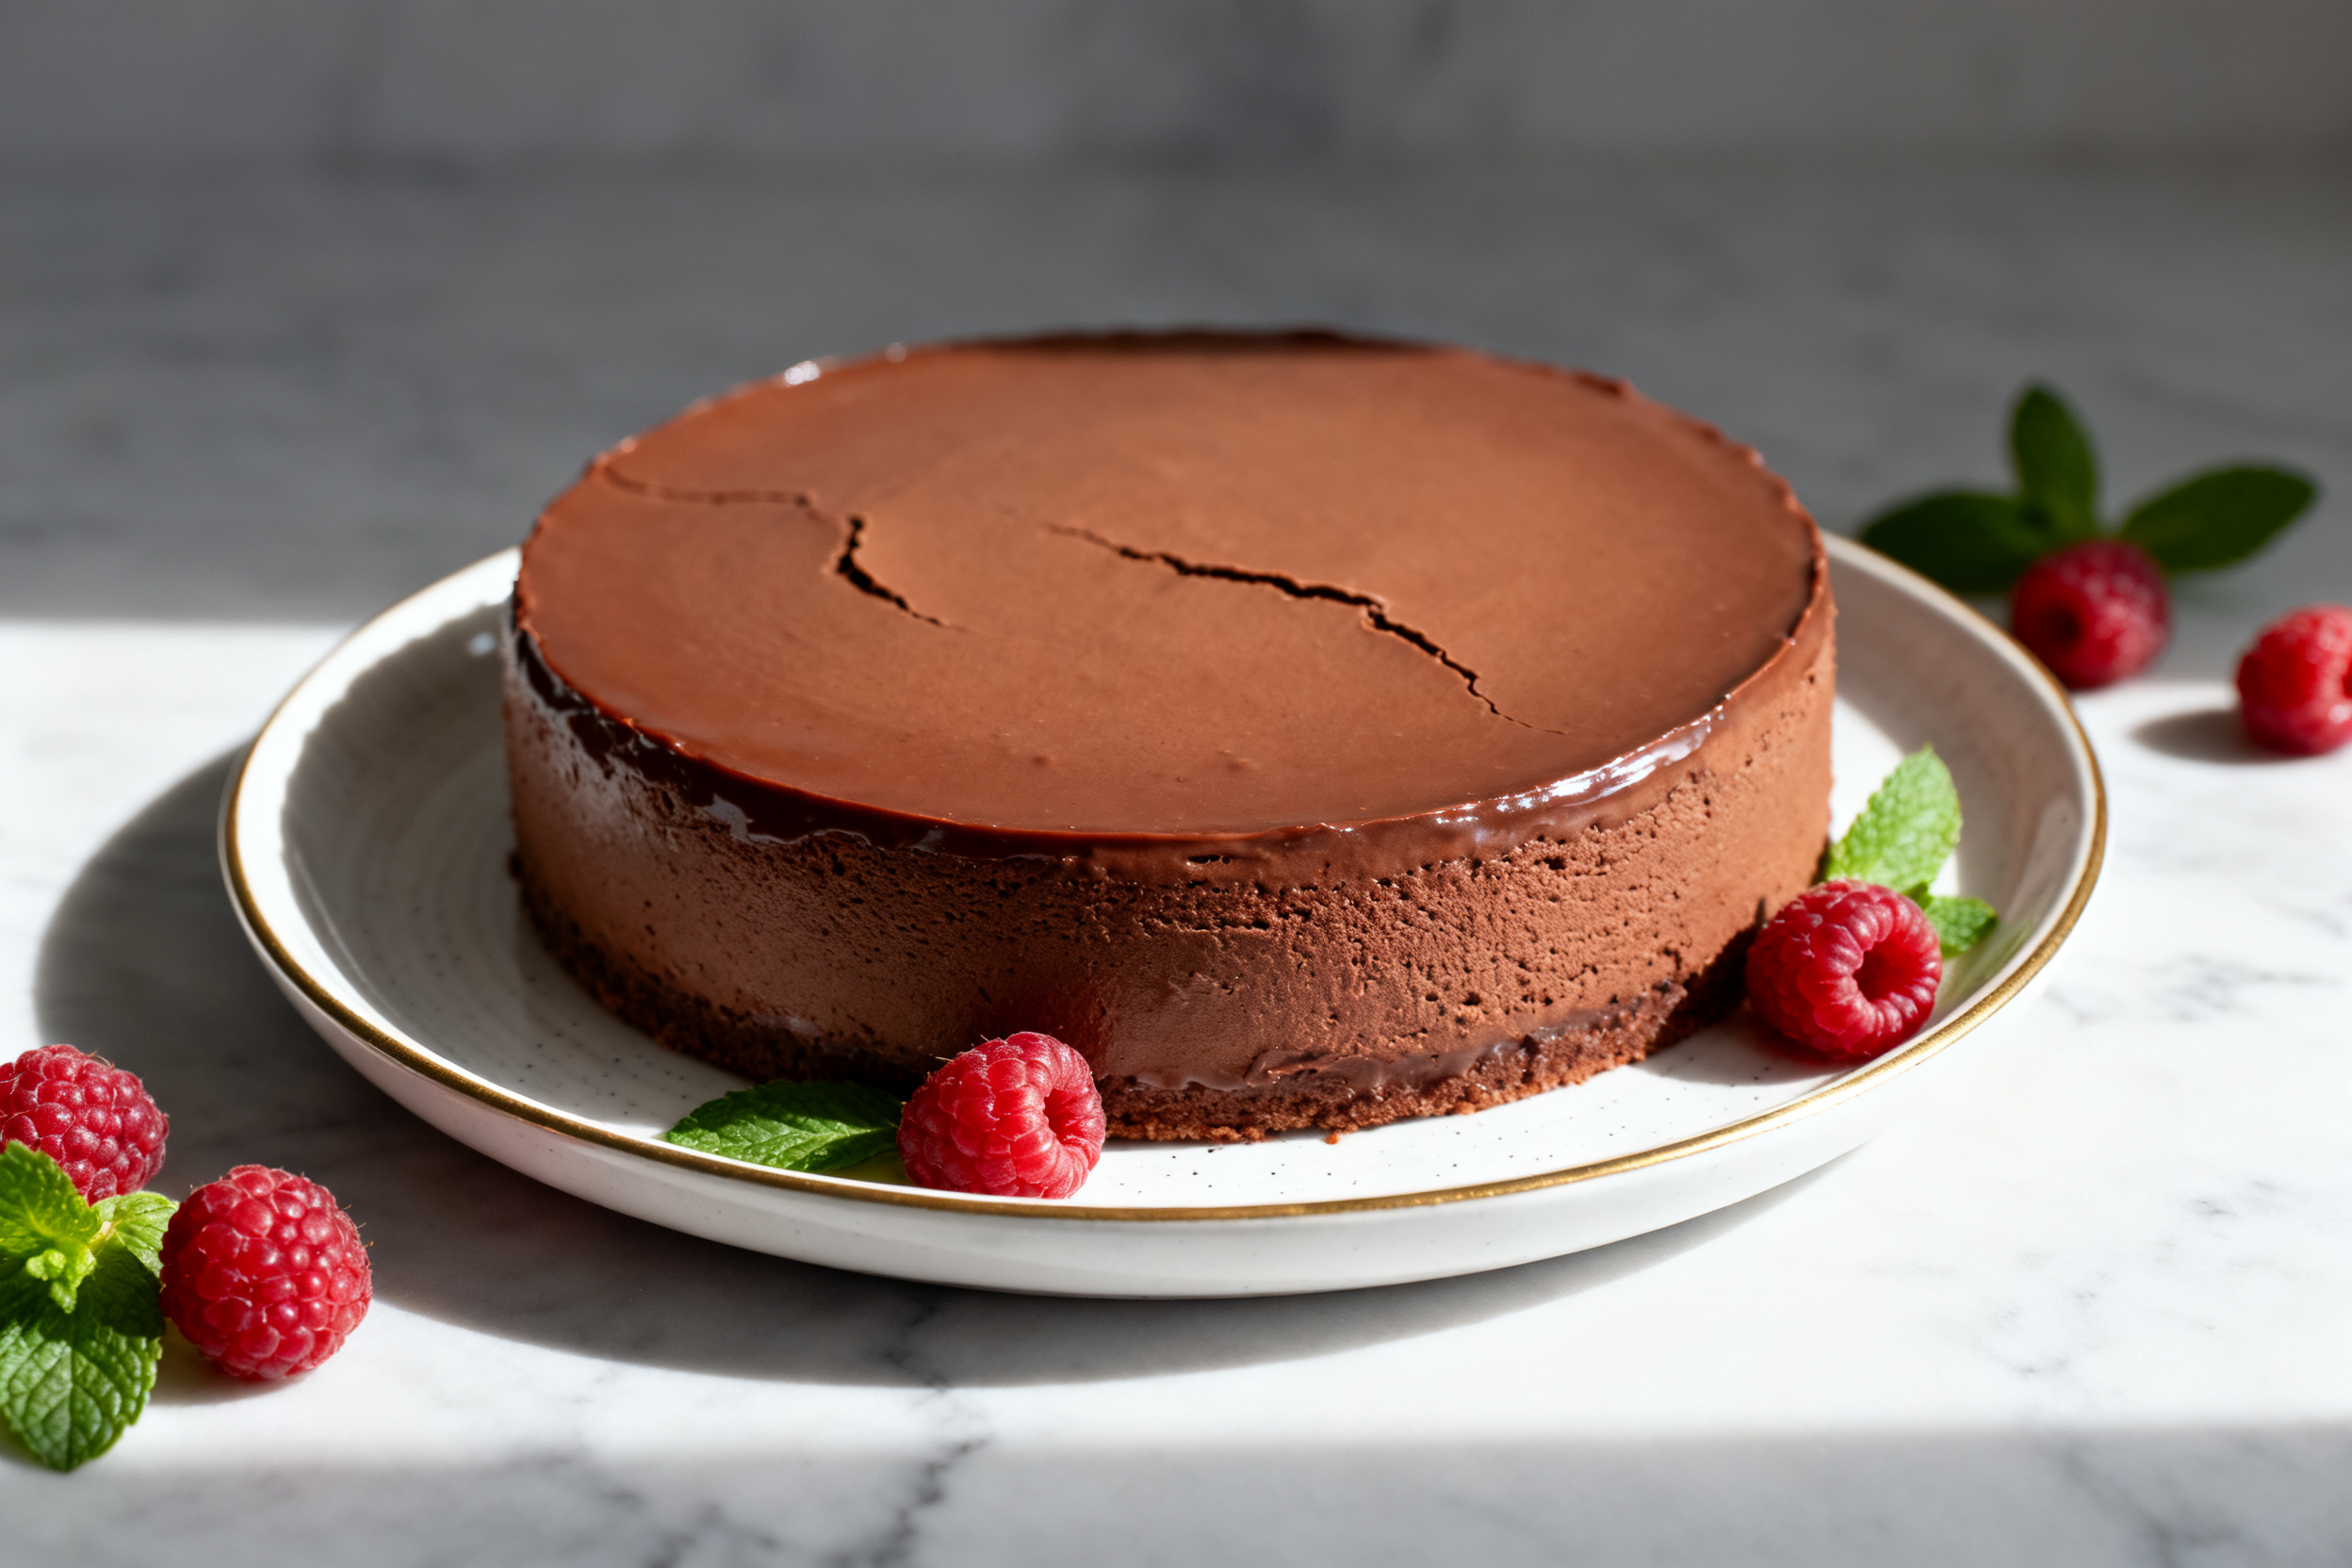
- Finish and serve. Run a thin knife around the inside of the pan, then release the springform ring. Dust the top with cocoa powder or add chocolate shavings. Slice with a hot, dry knife for clean edges.Serve chilled or slightly cool.
What Makes This Special
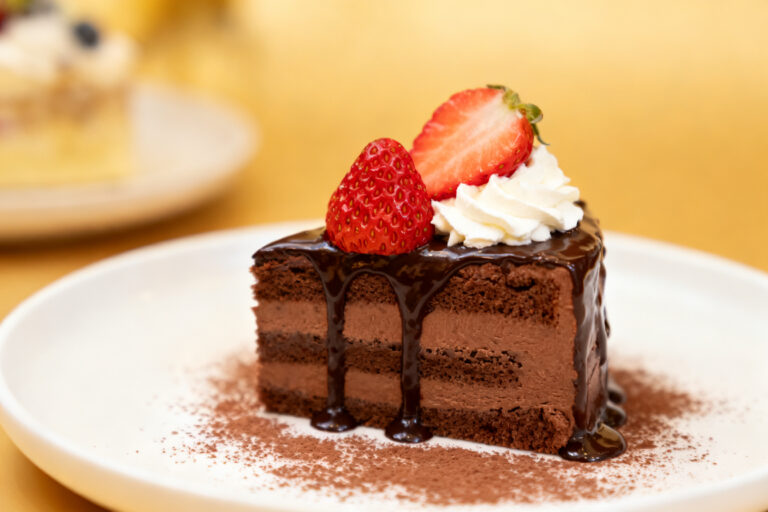
This cake pairs two textures that love each other: a soft, cocoa-rich base and a creamy mousse that melts on the tongue. The balance means you get bold chocolate flavor without heaviness.
It’s also a great do-ahead dessert, since the mousse needs time to chill and set. That rest deepens the flavor and gives you a clean, gorgeous slice. Use quality chocolate and you’re halfway to greatness.
Shopping List (Ingredients)
- For the cake base:
- All-purpose flour (3/4 cup)
- Unsweetened cocoa powder (1/3 cup)
- Granulated sugar (1/2 cup)
- Baking powder (1 teaspoon)
- Salt (1/4 teaspoon)
- Egg (1 large)
- Milk (1/2 cup)
- Neutral oil or melted butter (3 tablespoons)
- Vanilla extract (1 teaspoon)
- Hot coffee or hot water (1/4 cup) for bloom and moisture
- For the chocolate mousse:
- Bittersweet or semisweet chocolate (8 ounces), finely chopped
- Unsalted butter (2 tablespoons)
- Heavy cream (1 3/4 cups), divided
- Powdered sugar (2–3 tablespoons), to taste
- Vanilla extract (1 teaspoon)
- Salt (a pinch)
- Egg whites (2 large) or pasteurized egg whites, optional for extra lift
- Cream of tartar (1/8 teaspoon), if using egg whites
- To finish:
- Cocoa powder or chocolate shavings
- Fresh berries (optional)
Instructions
- Prep your pan and oven. Heat oven to 350°F (175°C).
Line the bottom of a 9-inch springform pan with parchment and lightly grease the sides. This will make unmolding easy and keep edges neat.
- Mix dry ingredients. In a medium bowl, whisk flour, cocoa powder, sugar, baking powder, and salt until evenly combined. This prevents lumps and gives you a tender crumb.
- Combine wet ingredients. In another bowl, whisk egg, milk, oil (or melted butter), and vanilla until smooth.
Pour into the dry mix and whisk just until combined. Stir in the hot coffee or water to thin the batter; it will look loose—this is right.
- Bake the base. Pour the batter into the prepared pan and bake for 16–20 minutes, until the center springs back lightly and a tester comes out with a few moist crumbs. Cool in the pan on a rack.
Once warm, run a knife around the edge to loosen, but keep the cake in the pan for assembly.
- Make a simple ganache starter. Place the chopped chocolate and butter in a heatproof bowl. Warm 1/2 cup of the heavy cream until steaming (not boiling), then pour over the chocolate. Let sit 2 minutes, then stir until smooth and glossy.
Stir in vanilla and a pinch of salt. Cool to just above room temperature—still fluid but not warm.
- Optional: Whip egg whites for lift. If using, beat egg whites with cream of tartar to soft peaks. Add 1 tablespoon powdered sugar and beat to medium peaks.
This gives extra air to the mousse, but you can skip this step if you prefer egg-free.
- Whip the cream. In a cold bowl, whip the remaining 1 1/4 cups heavy cream with 1–2 tablespoons powdered sugar to soft-medium peaks. Don’t overwhip. You want silky ribbons that hold shape but remain supple.
- Fold the mousse. Stir a spoonful of whipped cream into the cooled chocolate to loosen it.
Gently fold in the rest of the cream with a spatula, keeping as much air as possible. If using egg whites, fold them in last, in two additions, until the mixture is uniform and airy.
- Assemble. Ensure the cake base is fully cool. If it domed, level the top with a serrated knife so the mousse sits flat.
Keep the cake in the springform pan and latch the ring snugly. Spread the mousse over the cake and smooth the top. Tap the pan lightly on the counter to pop large air bubbles.
- Chill to set. Cover the pan and refrigerate at least 4 hours, preferably overnight.
The mousse firms up and slices cleanly when fully set.
- Finish and serve. Run a thin knife around the inside of the pan, then release the springform ring. Dust the top with cocoa powder or add chocolate shavings. Slice with a hot, dry knife for clean edges.
Serve chilled or slightly cool.
How to Store
Keep the cake in the refrigerator, covered, for up to 3–4 days. The texture holds well and the flavor deepens. For longer storage, freeze individual slices tightly wrapped for up to 1 month.
Thaw in the fridge overnight. Avoid leaving the cake out at room temperature for more than 1 hour, especially in warm weather.
Why This is Good for You
Chocolate mousse cake is an indulgence, but there are a few quiet perks. Dark chocolate offers flavanols, which are linked to heart health and mood support.
The recipe also encourages portion mindfulness: a small slice is deeply satisfying thanks to its intense flavor and airy texture. If you choose high-cocoa chocolate and moderate sugar, you get a dessert that feels special without being cloying.
What Not to Do
- Don’t rush the cooling or chilling. Warm cake or warm chocolate will deflate the mousse. Patience protects the texture.
- Don’t overwhip the cream. Grainy or stiff cream can create a dense, broken mousse.
Stop at soft-medium peaks.
- Don’t skip good chocolate. Low-quality chocolate dulls the flavor and can set oddly. Choose bars labeled 55–70% cocoa.
- Don’t saw at the cake with a cold knife. Warm the blade in hot water, wipe dry, and slice cleanly for neat portions.
- Don’t overbake the base. A dry base won’t blend nicely with the mousse. Pull it when it’s just set.
Recipe Variations
- Gluten-free base: Swap the flour for a cup-for-cup gluten-free blend and add 1 extra tablespoon milk to the batter.
- Flourless base: Use a thin layer of brownie or a flourless chocolate cake as the bottom.
Bake in the same pan and cool completely before adding mousse.
- Mocha mousse: Add 1 teaspoon instant espresso powder to the warm cream for the ganache. Coffee brightens chocolate flavor.
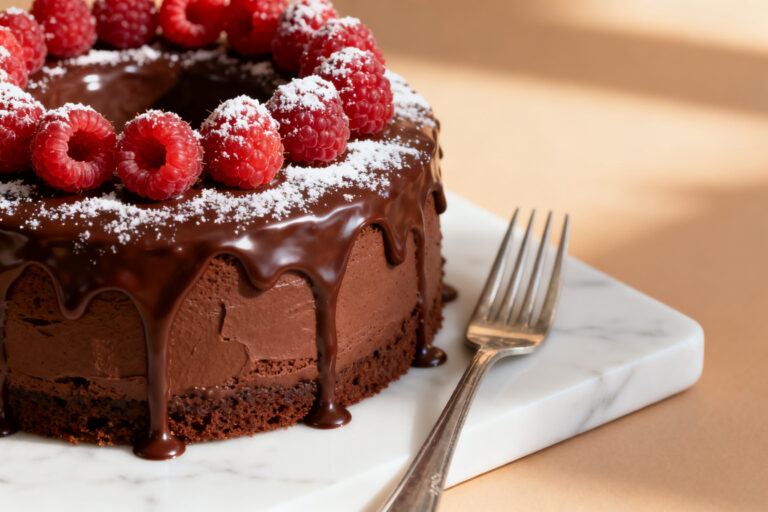
- Raspberry layer: Spread a thin layer of raspberry jam over the cooled cake before the mousse. Tart fruit balances the richness.
- Salted caramel finish: Drizzle chilled slices with warm salted caramel and a few flakes of sea salt.
- Dairy-light option: Use coconut cream (the thick part from chilled coconut milk) for the whipping portion.
Note the flavor will be slightly coconutty and the set a bit softer.
- No-egg mousse: Skip the egg whites and simply fold whipped cream into the chocolate base for a lush, stable mousse.
Can I make the cake base the day before?
Yes. Bake, cool, and wrap it tightly. Store at room temperature for up to 24 hours.
Assemble with the mousse the next day and chill.
What kind of chocolate works best?
Use good-quality bars between 55% and 70% cocoa. Too low in cocoa and the flavor is sweet and flat; too high and it can turn chalky or bitter. Avoid chocolate chips, which have stabilizers that affect melting.
Is it safe to use raw egg whites?
If you’re concerned, use pasteurized egg whites from a carton.
Or skip egg whites entirely and rely on whipped cream for lift—the texture will still be lovely.
How do I fix overwhipped cream?
Whisk in a splash of cold cream by hand to loosen it. If it’s curdled and grainy, start a new batch; overwhipped cream can break the mousse.
How do I get clean slices?
Chill the cake well. Dip a sharp knife in hot water, wipe it dry, and cut straight down.
Wipe and rewarm between slices for pristine edges.
Can I make this without a springform pan?
Yes. Use a deep 9-inch cake pan lined with an overhang of parchment so you can lift the cake out once set. Be gentle when unmolding.
Can I make it ahead for a party?
Absolutely.
Assemble it the day before and chill overnight. Add toppings right before serving to keep them fresh.
In Conclusion
Chocolate mousse cake brings the best of both worlds: a tender base and a cloud of creamy chocolate on top. It’s elegant enough for a celebration but simple enough for a relaxed weekend.
With good chocolate and a bit of chill time, you’ll have a dessert that feels effortless and tastes unforgettable. Keep the slices small, the knife warm, and the compliments will follow.
Printable Recipe Card
Want just the essential recipe details without scrolling through the article? Get our printable recipe card with just the ingredients and instructions.