Sugar-Free Cheesecake Bites – Creamy, Easy, and Perfectly Portable
These Sugar-Free Cheesecake Bites taste like classic cheesecake but without the sugar crash. They’re creamy, smooth, and just the right size for a quick treat. You can whip them up with simple ingredients and a few minutes of prep.
No special equipment beyond a hand mixer and muffin tin. Keep a batch in the fridge, and dessert’s always ready.
Sugar-Free Cheesecake Bites – Creamy, Easy, and Perfectly Portable
Ingredients
Method
- Prep the pan: Line a mini muffin tin (24 wells) with liners. If using a standard muffin tin, you’ll get about 10–12 larger bites.Preheat oven to 325°F (160°C).
- Make the crust (optional): In a small bowl, mix almond flour, melted butter, a pinch of salt, and powdered sweetener. It should resemble damp sand. Press about 1 teaspoon into each mini liner (or 1 tablespoon for standard).Bake for 5–7 minutes until lightly golden. Cool while you make the filling.
- Soften the cream cheese: In a mixing bowl, beat softened cream cheese on medium until smooth and fluffy, about 1–2 minutes. Scrape down the sides so no lumps remain.
- Add sweetener and flavor: Beat in granulated sugar-free sweetener, vanilla, lemon zest (if using), and a pinch of salt.Mix until smooth and glossy.
- Add eggs gently: Beat in eggs one at a time on low speed, just until incorporated. Overbeating adds air and can cause cracks.
- Balance with yogurt: Fold in the Greek yogurt or sour cream by hand. The batter should be silky and pourable.
- Fill the wells: Spoon batter over crusts (or directly into liners if skipping the crust), filling each about 3/4 full.Tap the pan lightly to release bubbles.
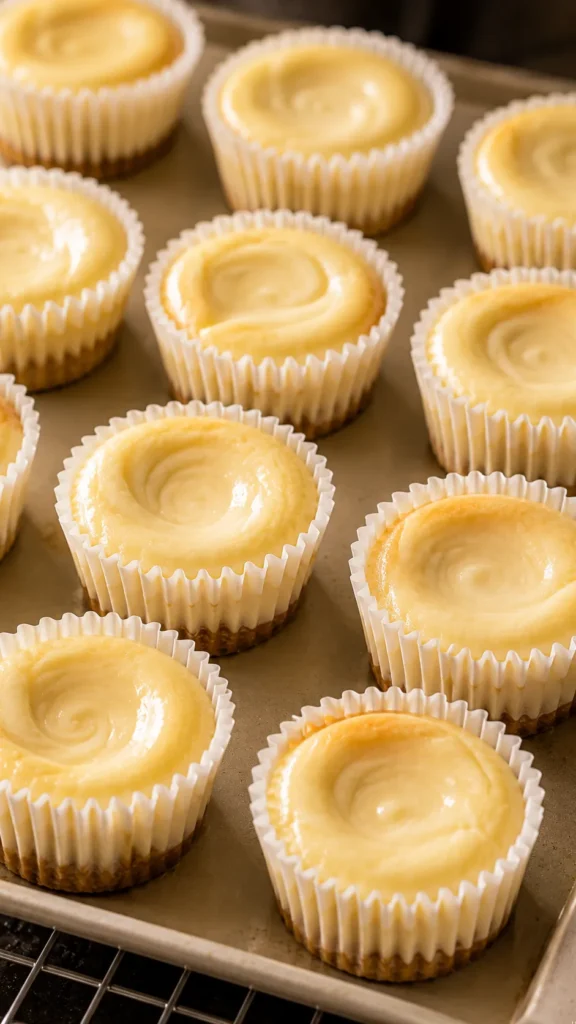
- Bake: Bake mini bites for 14–17 minutes (18–22 for standard size) until edges are set and centers still jiggle slightly. They will finish setting as they cool.
- Cool slowly: Turn off the oven, crack the door, and let the bites sit for 10 minutes. Move to a rack to cool to room temperature.
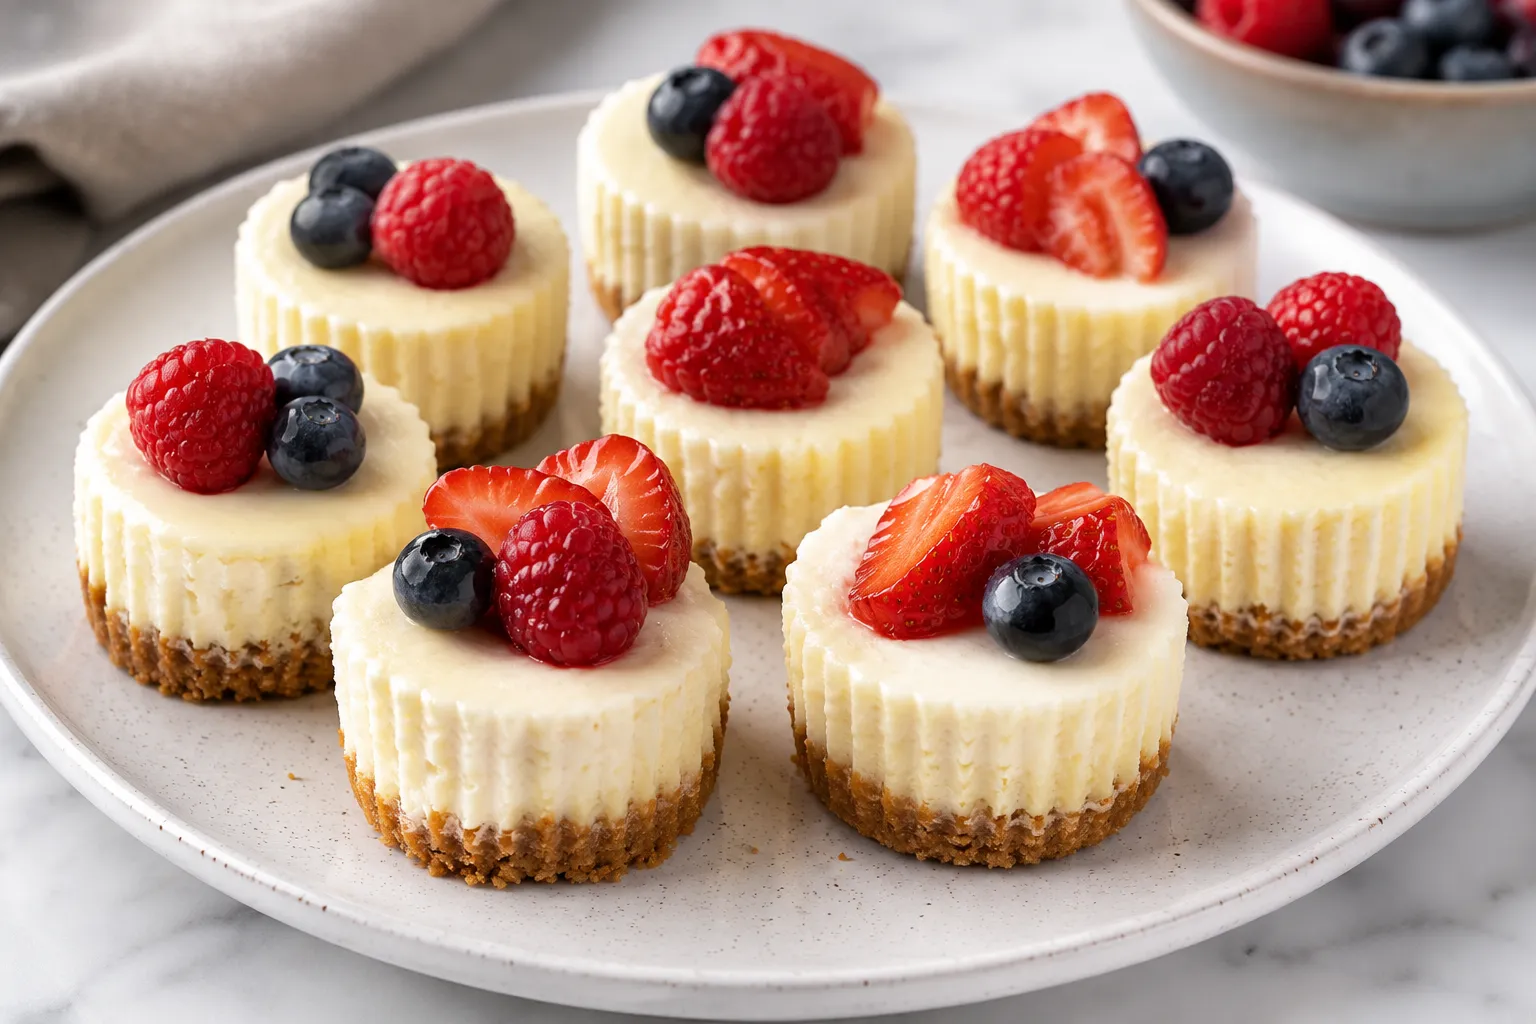
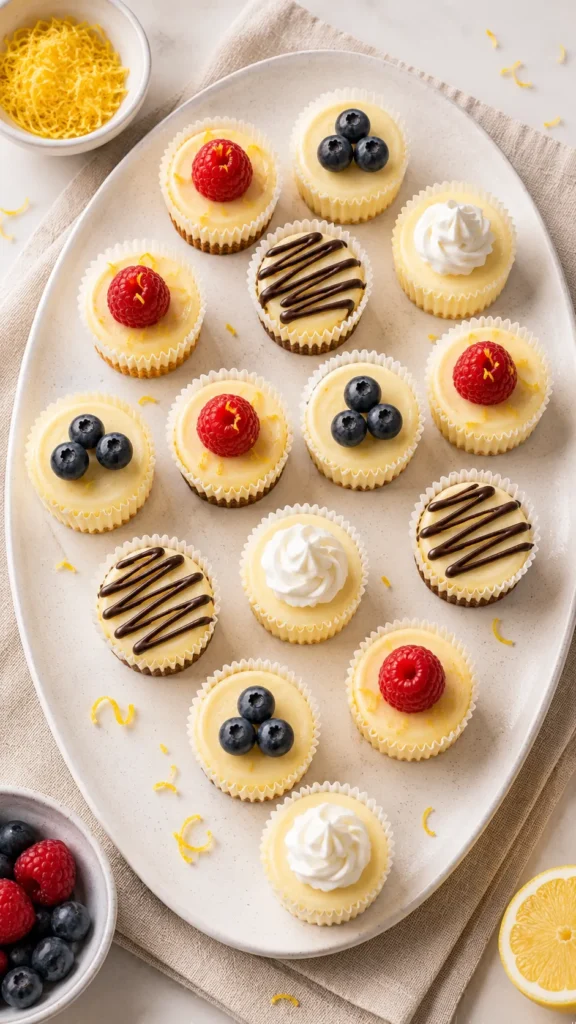
- Chill to set: Refrigerate for at least 2 hours, preferably overnight.Peel off liners and add toppings before serving.
What Makes This Recipe So Good
- Truly sugar-free: Sweetened with a zero-calorie sweetener that bakes well, so you get the taste you love with less fuss for your blood sugar.
- Small-batch friendly: Bites bake faster than a full cheesecake and are easy to portion and share.
- No water bath needed: These set up beautifully without extra steps.
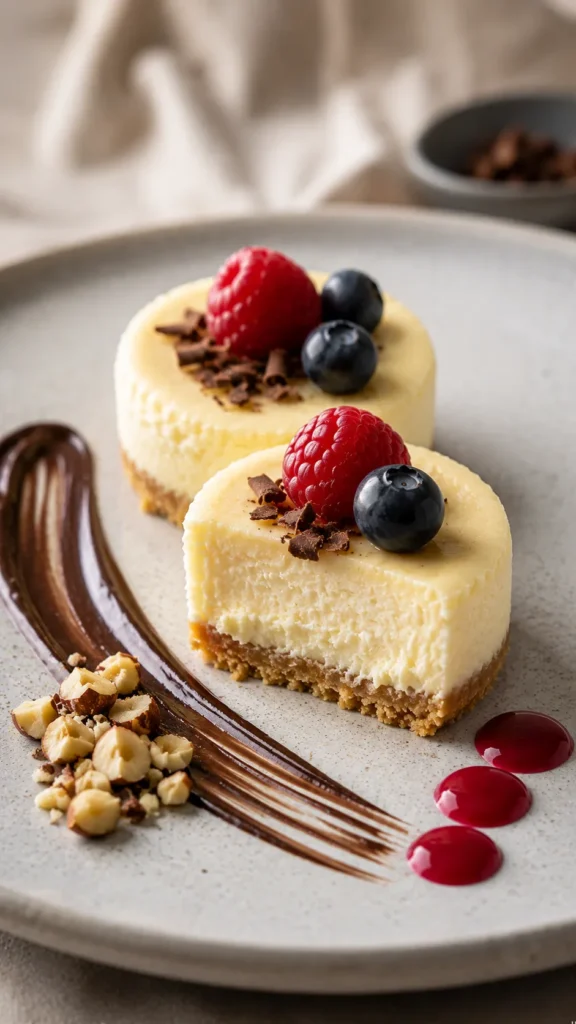
- Versatile base: Dress them up with berries, a drizzle of sugar-free chocolate, or a nutty crust.
- Make-ahead magic: They firm up even more after a night in the fridge and keep well all week.
Shopping List (Ingredients)
- Cream cheese (full-fat, 16 ounces/450 g), softened
- Greek yogurt or sour cream (1/2 cup) for creaminess and tang
- Granulated sugar-free sweetener (1/2 cup), such as allulose, erythritol, or a blend labeled for baking
- Eggs (2 large), at room temperature
- Vanilla extract (2 teaspoons)
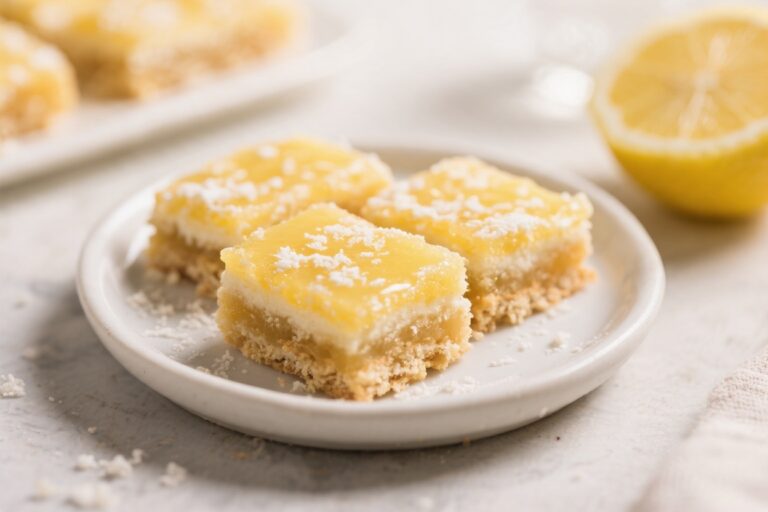
- Lemon zest (optional, 1 teaspoon) for brightness
- Pinch of salt
- Butter (2 tablespoons), melted, if making a crust
- Almond flour (3/4 cup) or finely ground nuts, if making a crust
- Powdered sugar-free sweetener (1–2 tablespoons), for crust if desired
- Paper or silicone mini muffin liners
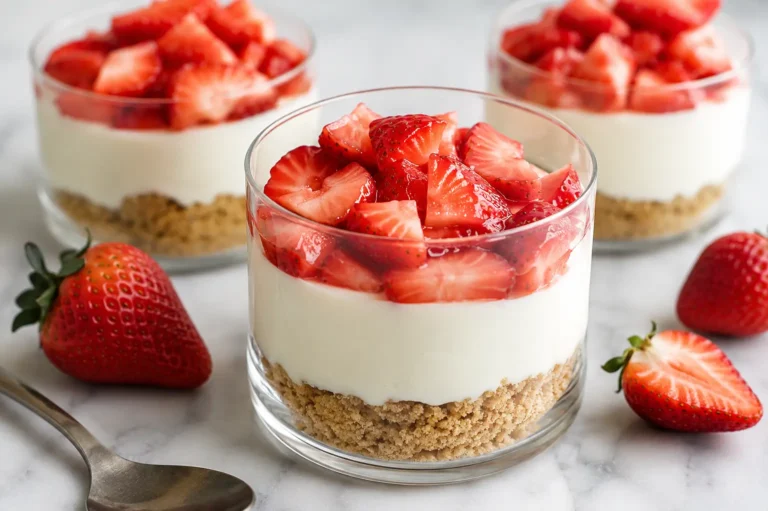
- Optional toppings: Fresh berries, lemon zest curls, sugar-free chocolate drizzle, or a dollop of whipped cream
Instructions
- Prep the pan: Line a mini muffin tin (24 wells) with liners. If using a standard muffin tin, you’ll get about 10–12 larger bites.
Preheat oven to 325°F (160°C).
- Make the crust (optional): In a small bowl, mix almond flour, melted butter, a pinch of salt, and powdered sweetener. It should resemble damp sand. Press about 1 teaspoon into each mini liner (or 1 tablespoon for standard).
Bake for 5–7 minutes until lightly golden. Cool while you make the filling.
- Soften the cream cheese: In a mixing bowl, beat softened cream cheese on medium until smooth and fluffy, about 1–2 minutes. Scrape down the sides so no lumps remain.
- Add sweetener and flavor: Beat in granulated sugar-free sweetener, vanilla, lemon zest (if using), and a pinch of salt.
Mix until smooth and glossy.
- Add eggs gently: Beat in eggs one at a time on low speed, just until incorporated. Overbeating adds air and can cause cracks.
- Balance with yogurt: Fold in the Greek yogurt or sour cream by hand. The batter should be silky and pourable.
- Fill the wells: Spoon batter over crusts (or directly into liners if skipping the crust), filling each about 3/4 full.
Tap the pan lightly to release bubbles.
- Bake: Bake mini bites for 14–17 minutes (18–22 for standard size) until edges are set and centers still jiggle slightly. They will finish setting as they cool.
- Cool slowly: Turn off the oven, crack the door, and let the bites sit for 10 minutes. Move to a rack to cool to room temperature.
- Chill to set: Refrigerate for at least 2 hours, preferably overnight.
Peel off liners and add toppings before serving.
How to Store
- Refrigerator: Store in an airtight container for 5–6 days. Keep toppings separate until serving for best texture.
- Freezer: Freeze on a sheet pan until firm, then transfer to a freezer bag. They keep for up to 2 months.
Thaw in the fridge for a few hours.
- On the go: Pack in a small container with a cold pack. Add berries or a drizzle right before eating.
Why This is Good for You
- Lower sugar load: Using a zero-calorie sweetener helps manage blood sugar spikes while still satisfying a dessert craving.
- Protein and fat balance: Cream cheese and eggs bring protein and fat, which can help you feel full and reduce mindless snacking.
- Portion control built in: Bite-size pieces make it easy to enjoy dessert without overdoing it.
- Flexible for different diets: These can be keto-friendly and gluten-free (use almond flour crust or skip the crust).
Pitfalls to Watch Out For
- Lumpy batter: If your cream cheese isn’t fully softened, you’ll get lumps. Let it sit at room temp 30–60 minutes, or microwave in short bursts until just pliable.
- Cracks on top: Overmixing or overbaking can crack the surface.
Mix on low once the eggs go in and pull them while the centers still have a slight wobble.
- Grainy sweetness: Some sweeteners can crystallize. Allulose and erythritol blends made for baking usually yield the smoothest texture.
- Soggy crust: Pre-bake the almond flour crust and cool before adding batter. Keep chilled and add moist toppings right before serving.
- Sticking to liners: Use good-quality paper or silicone liners.
Chilling fully before peeling also helps.
Recipe Variations
- Lemon Blueberry: Add 1 tablespoon lemon juice and extra zest to the batter. Top with a few fresh blueberries before baking.
- Chocolate Swirl: Melt a couple tablespoons of sugar-free dark chocolate. Dollop and swirl into each cup before baking.
- Raspberry Cheesecake: Spoon 1/2 teaspoon of seedless, sugar-free raspberry jam into each cup and marble gently.
- Espresso Shot: Stir 1 teaspoon instant espresso powder into the batter for a mocha vibe.
Finish with a dusting of cocoa.
- Nutty Crunch: Add a thin layer of chopped toasted pecans or hazelnuts over the crust before the batter for texture.
- No-Crust: Skip the crust entirely for the lightest, lowest-carb option. Add a berry on top after chilling.
FAQ
Which sugar-free sweetener works best for cheesecake?
Allulose or an erythritol/monk fruit blend labeled “for baking” gives the most classic texture and clean sweetness. Avoid liquid stevia alone—it can taste bitter and won’t add bulk.
Can I make these dairy-free?
You can try dairy-free cream cheese and a thick dairy-free yogurt.
Results vary by brand, so choose ones with minimal gums and a neutral flavor. Bake time may be a touch shorter.
Do I have to use a water bath?
No. Because these are small and bake gently, a water bath isn’t necessary.
Cooling slowly and not overbaking helps prevent cracks.
How do I know when they’re done?
Look for set edges and a soft jiggle in the middle when you nudge the pan. If the centers look wet or sloshy, give them another minute or two.
Can I use a regular muffin tin or a mini one?
Both work. Mini tins bake in about 14–17 minutes; standard tins need closer to 18–22 minutes.
Keep an eye on them near the end.
What if my sweetener leaves a cooling aftertaste?
Blend sweeteners. Combining allulose with erythritol or adding a pinch of salt and a touch more vanilla can round out any off-notes.
Can I add protein powder?
Yes, but go light—about 1–2 tablespoons of unflavored or vanilla whey or egg white powder. Too much can make them dry or rubbery.
How can I make them look bakery-level?
Use a small cookie scoop for even portions, tap the pan to level, and chill overnight.
Add a neat berry, microplane of lemon zest, or a thin chocolate drizzle before serving.
Wrapping Up
Sugar-Free Cheesecake Bites are the kind of dessert that fits into busy weeks and still feels special. They’re creamy, customizable, and easy to stash for later. Keep the steps simple, avoid overmixing, and let the fridge do the rest.
With a few pantry staples and your favorite toppings, you’ll have a reliable, feel-good treat any time you want it.
Printable Recipe Card
Want just the essential recipe details without scrolling through the article? Get our printable recipe card with just the ingredients and instructions.