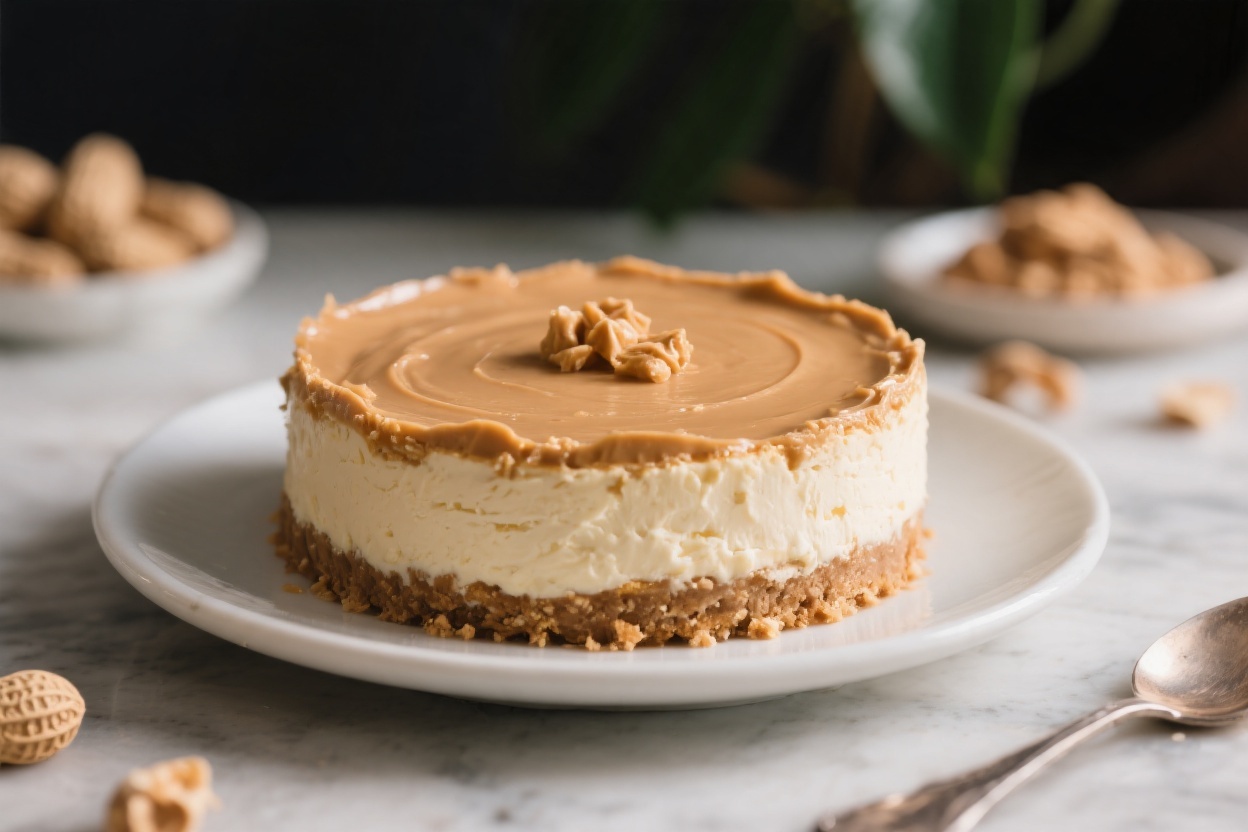
No Bake Peanut Butter Cheesecake – Creamy, Easy, and Irresistible
If you love peanut butter and crave a dessert that feels special without turning on the oven, this one’s for you. This no bake peanut butter cheesecake is silky, rich, and surprisingly simple to make. The crust is crisp and buttery, the filling is fluffy and creamy, and the whole thing sets right in the fridge.
It’s perfect for weeknights, potlucks, or when you want something impressive with minimal effort. One bite and you’ll wonder why you ever baked cheesecake in the first place.
No Bake Peanut Butter Cheesecake – Creamy, Easy, and Irresistible
Ingredients
Method
- Prep your pan: Use a 9-inch springform pan. Lightly grease the sides and line the bottom with parchment for easy release.
- Make the crust: Stir crumbs, melted butter, sugar, and a pinch of salt until it feels like damp sand.Press firmly into the bottom and 1 inch up the sides of the pan. Use the bottom of a measuring cup to pack it tight. Chill while you make the filling.
- Whip the cream: In a cold bowl, whip the heavy cream to medium-stiff peaks.Don’t overbeat. Set aside.
- Beat the base: In a separate bowl, beat cream cheese until smooth and fluffy, 1–2 minutes. Add peanut butter, powdered sugar, vanilla, sour cream, and salt.Beat until silky and no lumps remain. Scrape the bowl once or twice.
- Fold it together: Gently fold the whipped cream into the peanut butter mixture in two additions. Keep the motion light to preserve airiness.
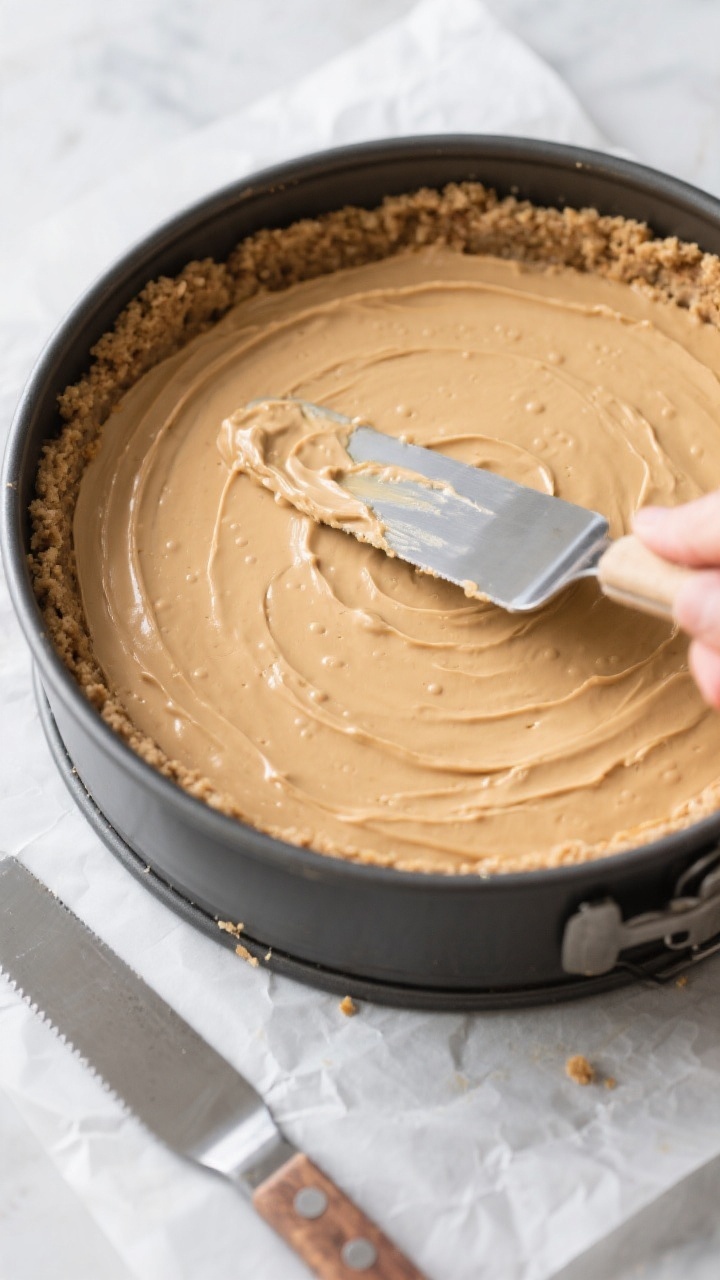
- Fill and smooth: Spoon the filling into the chilled crust.Smooth the top with an offset spatula. Tap the pan lightly to release any large air bubbles.
- Chill to set: Cover and refrigerate for at least 6 hours, ideally overnight. The longer rest helps the texture firm up and flavors meld.
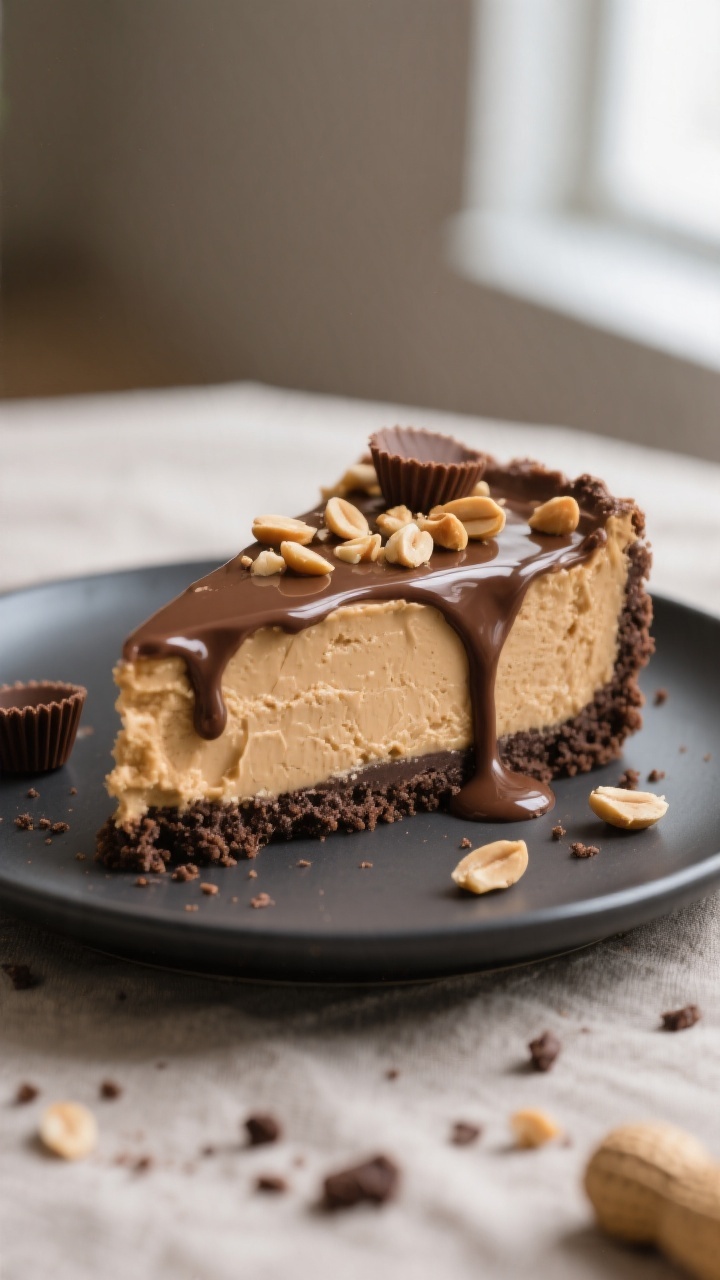
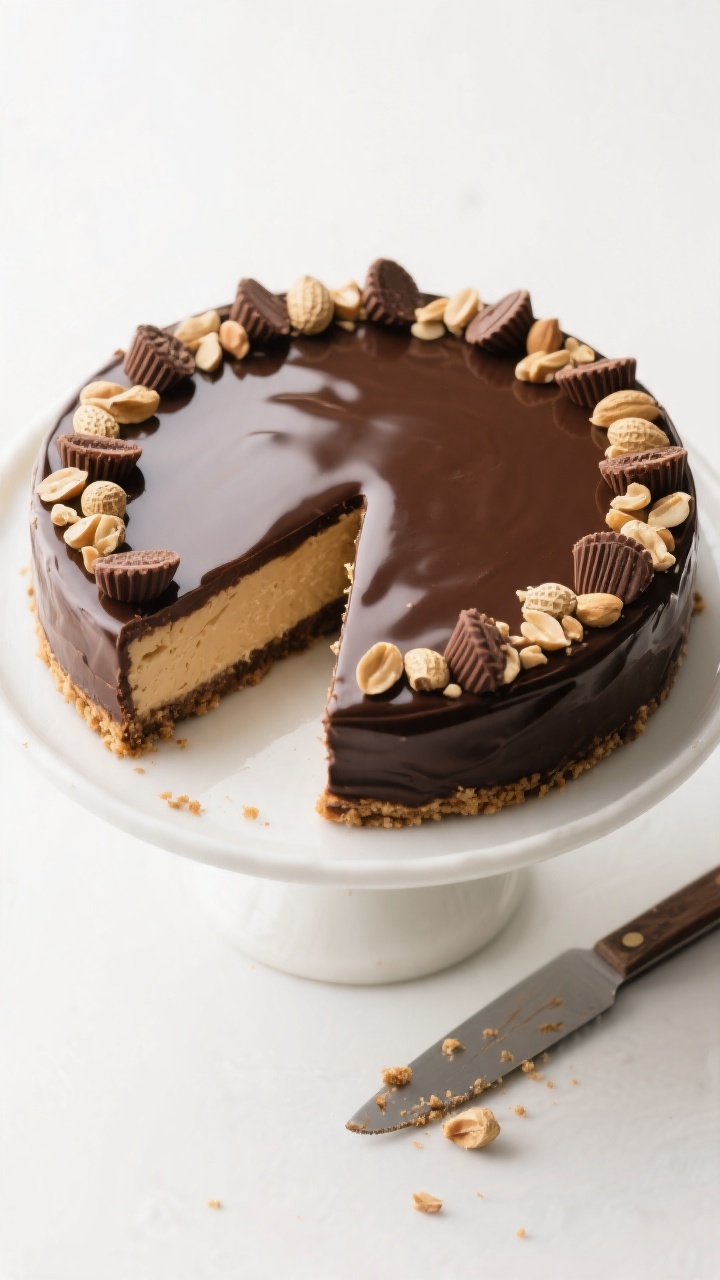
- Add toppings (optional): For ganache, warm cream to steaming, pour over chopped chocolate, let sit 2 minutes, then whisk smooth.Cool slightly, then pour over the chilled cheesecake. Add peanuts or peanut butter cups if you like.
- Slice and serve: Run a thin knife around the edge before unclipping the pan. Use a hot, dry knife for clean slices, wiping between cuts.
What Makes This Special
This recipe brings full cheesecake satisfaction with a fraction of the work. There’s no water bath, no cracked tops, and no guesswork with doneness.
The texture lands between mousse and cheesecake—light but still indulgent. Best of all, it holds beautifully when sliced, so every piece looks picture-perfect.
- No oven required: Keep your kitchen cool and your prep easy.
- Foolproof texture: Whipped cream plus cream cheese gives it lift and stability.
- Balanced flavor: Sweet, salty, and slightly tangy for a satisfying bite.
- Make-ahead friendly: It sets in the fridge and keeps well for days.
Ingredients
- For the crust:
- 2 cups (about 200 g) chocolate cookie crumbs or graham cracker crumbs
- 6 tablespoons (85 g) unsalted butter, melted
- 2 tablespoons granulated sugar (optional if using chocolate cookies)
- Pinch of salt
- For the filling:
- 16 ounces (450 g) full-fat cream cheese, softened
- 1 cup (250 g) creamy peanut butter (no-stir, shelf-stable style works best)
- 3/4 cup (90 g) powdered sugar
- 1 teaspoon pure vanilla extract
- 1 cup (240 ml) cold heavy whipping cream
- 1/3 cup (80 ml) sour cream or plain Greek yogurt (for light tang and silkiness)
- Pinch of fine sea salt
- For topping (optional but great):
- Warm chocolate ganache (1/2 cup cream + 1 cup chopped chocolate)
- Chopped roasted peanuts
- Mini peanut butter cups or a drizzle of melted peanut butter
How to Make It
- Prep your pan: Use a 9-inch springform pan. Lightly grease the sides and line the bottom with parchment for easy release.
- Make the crust: Stir crumbs, melted butter, sugar, and a pinch of salt until it feels like damp sand.
Press firmly into the bottom and 1 inch up the sides of the pan. Use the bottom of a measuring cup to pack it tight. Chill while you make the filling.
- Whip the cream: In a cold bowl, whip the heavy cream to medium-stiff peaks.
Don’t overbeat. Set aside.
- Beat the base: In a separate bowl, beat cream cheese until smooth and fluffy, 1–2 minutes. Add peanut butter, powdered sugar, vanilla, sour cream, and salt.
Beat until silky and no lumps remain. Scrape the bowl once or twice.
- Fold it together: Gently fold the whipped cream into the peanut butter mixture in two additions. Keep the motion light to preserve airiness.
- Fill and smooth: Spoon the filling into the chilled crust.
Smooth the top with an offset spatula. Tap the pan lightly to release any large air bubbles.
- Chill to set: Cover and refrigerate for at least 6 hours, ideally overnight. The longer rest helps the texture firm up and flavors meld.
- Add toppings (optional): For ganache, warm cream to steaming, pour over chopped chocolate, let sit 2 minutes, then whisk smooth.
Cool slightly, then pour over the chilled cheesecake. Add peanuts or peanut butter cups if you like.
- Slice and serve: Run a thin knife around the edge before unclipping the pan. Use a hot, dry knife for clean slices, wiping between cuts.
Keeping It Fresh
Cover the cheesecake snugly and refrigerate for up to 5 days.
For longer storage, freeze slices on a sheet until firm, then wrap tightly and freeze for up to 1 month. Thaw overnight in the fridge or for 30–45 minutes at room temperature before serving. Keep toppings like ganache or peanuts separate until closer to serving if you want the textures crisp and glossy.
Why This is Good for You
- Protein and healthy fats: Peanut butter adds staying power, so a small slice is satisfying.
- Lower stress dessert: No bake means fewer steps where things can go wrong, which makes home baking more approachable.
- Customizable sweetness: You control the sugar and can choose darker chocolate or less sweet toppings.
- Make-ahead ease: Planning ahead can reduce last-minute cooking stress and help with portion control.
Pitfalls to Watch Out For
- Lumpy filling: Start with fully softened cream cheese and beat until smooth before adding other ingredients.
- Runny set: Use full-fat dairy and a no-stir peanut butter.
Natural peanut butter with separated oil can lead to a looser texture.
- Crumbly crust: Pack it firmly and use enough butter. If it looks dry, add another tablespoon of melted butter.
- Overwhipped cream: If it looks grainy, it’s gone too far and won’t fold in smoothly. Stop at medium-stiff peaks.
- Rushing the chill: Give it the full 6 hours, preferably overnight, or slices won’t hold cleanly.
Alternatives
- Crust swaps: Try Oreos (no extra sugar), Biscoff cookies for a caramel note, or pretzels for a sweet-salty twist.
- Lighten it up: Use Neufchâtel cheese and swap half the peanut butter for powdered peanut butter.
Expect a slightly softer set.
- Dairy-free: Use dairy-free cream cheese and coconut whipped cream. Choose a plant-based butter for the crust.
- Flavor spins: Add 2–3 tablespoons of cocoa to the filling for a chocolate-peanut version, or swirl in raspberry jam for brightness.
- No springform pan? Press into a 9×9-inch pan and serve as bars. Lining with parchment makes lifting easy.
FAQ
Can I use natural peanut butter?
You can, but it’s trickier.
Stir it extremely well to recombine the oil, and be aware the filling may set a bit softer. No-stir peanut butter is more reliable and gives a smoother texture.
How long does it need to chill?
Plan for at least 6 hours. Overnight is best for structure and flavor.
If your fridge runs warm or the filling seems soft, give it a few extra hours.
Do I need gelatin?
No, not for this version. The combo of cream cheese, peanut butter, and whipped cream sets nicely on its own. If you want extra firmness for hot weather, you can bloom 1 teaspoon powdered gelatin in 1 tablespoon cold water, melt gently, and mix into the filling.
What if I don’t have powdered sugar?
Use granulated sugar, but beat longer to dissolve it fully, or pulse granulated sugar in a blender to make a quick powdered version.
Powdered sugar blends faster and gives a silkier finish.
How do I get clean slices?
Use a thin, sharp knife dipped in hot water and wiped dry between slices. A gentle sawing motion prevents drag on the crust and keeps edges neat.
Can I make it ahead for a party?
Absolutely. Make it 1–2 days in advance and add toppings the day of serving.
It actually tastes better after resting overnight.
What’s the best pan size?
A 9-inch springform is standard. An 8-inch pan will give you a taller cheesecake; add 1–2 hours to the chill time. For bars, use a 9×9-inch square pan.
Is there a gluten-free option?
Yes.
Use gluten-free cookie crumbs for the crust. The filling is naturally gluten-free, but always check labels on peanut butter and chocolate.
Wrapping Up
This no bake peanut butter cheesecake delivers big flavor with low effort, and it’s flexible enough to fit your taste and pantry. With a crisp crust, a creamy middle, and endless topping options, it’s the kind of dessert you’ll come back to all year long.
Keep it classic, dress it up, or tweak it for your crowd—either way, it’s a guaranteed crowd-pleaser with zero oven time.
Printable Recipe Card
Want just the essential recipe details without scrolling through the article? Get our printable recipe card with just the ingredients and instructions.