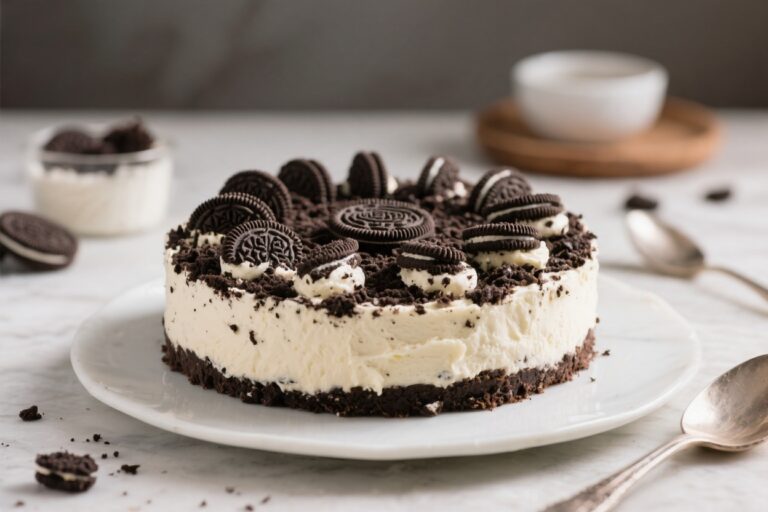
No Bake Chocolate Cheesecake – Creamy, Easy, and Totally Indulgent
This No Bake Chocolate Cheesecake is the kind of dessert that makes people think you spent all day in the kitchen, but it actually comes together with very little effort. It’s silky, rich, and wonderfully chocolatey without being heavy. You don’t need an oven, a water bath, or any fancy tools—just a mixer and a little patience while it chills.
It’s perfect for holidays, birthdays, or anytime you want a showstopper that’s simple to pull off. If you love chocolate and creamy desserts, this one is a keeper.

No Bake Chocolate Cheesecake - Creamy, Easy, and Totally Indulgent
Ingredients
Method
- Prep the pan: Line the bottom of a 9-inch springform pan with parchment. Lightly grease the sides if you like for easy release.
- Make the crust: In a bowl, combine chocolate cookie crumbs, melted butter, sugar (if using), and salt.Stir until the mixture looks like damp sand and holds together when pressed.
- Press and chill: Firmly press the crumb mixture into the bottom and slightly up the sides of the pan. Use a flat-bottomed glass for an even layer. Chill in the fridge while you make the filling.
- Melt the chocolate: Place chopped chocolate in a heatproof bowl.Microwave in 20–30 second bursts, stirring between each, until smooth. Or melt over a double boiler. Let it cool to just warm, not hot.
- Beat the cream cheese: In a large bowl, beat the softened cream cheese with sugar until smooth and no lumps remain, about 2 minutes.Scrape the bowl well.
- Add cocoa, vanilla, and salt: Mix in the cocoa powder, vanilla, and salt until fully combined. The mixture should look creamy and uniform.
- Stream in the chocolate: With the mixer on low, slowly add the melted chocolate and beat until evenly incorporated. Scrape the bowl and beat again briefly.
- Whip the cream: In a separate bowl, whip the cold heavy cream to medium-stiff peaks.Don’t overwhip; it should hold its shape but still look smooth.
- Fold it together: Gently fold the whipped cream into the chocolate cream cheese mixture in two additions. Use broad, light strokes to keep it airy.
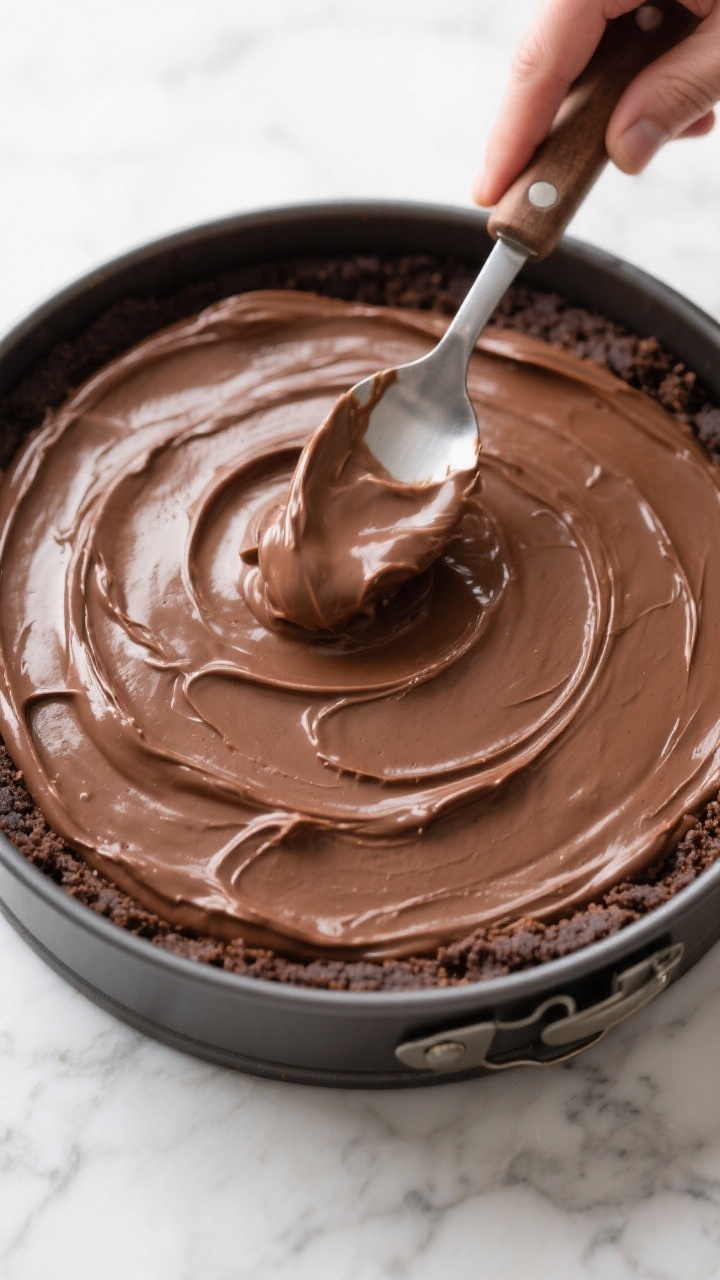
- Fill the crust: Spoon the filling into the chilled crust. Smooth the top with an offset spatula.Tap the pan gently on the counter to release any large air bubbles.
- Chill to set: Cover and refrigerate for at least 6 hours, preferably overnight, until firm enough to slice cleanly.
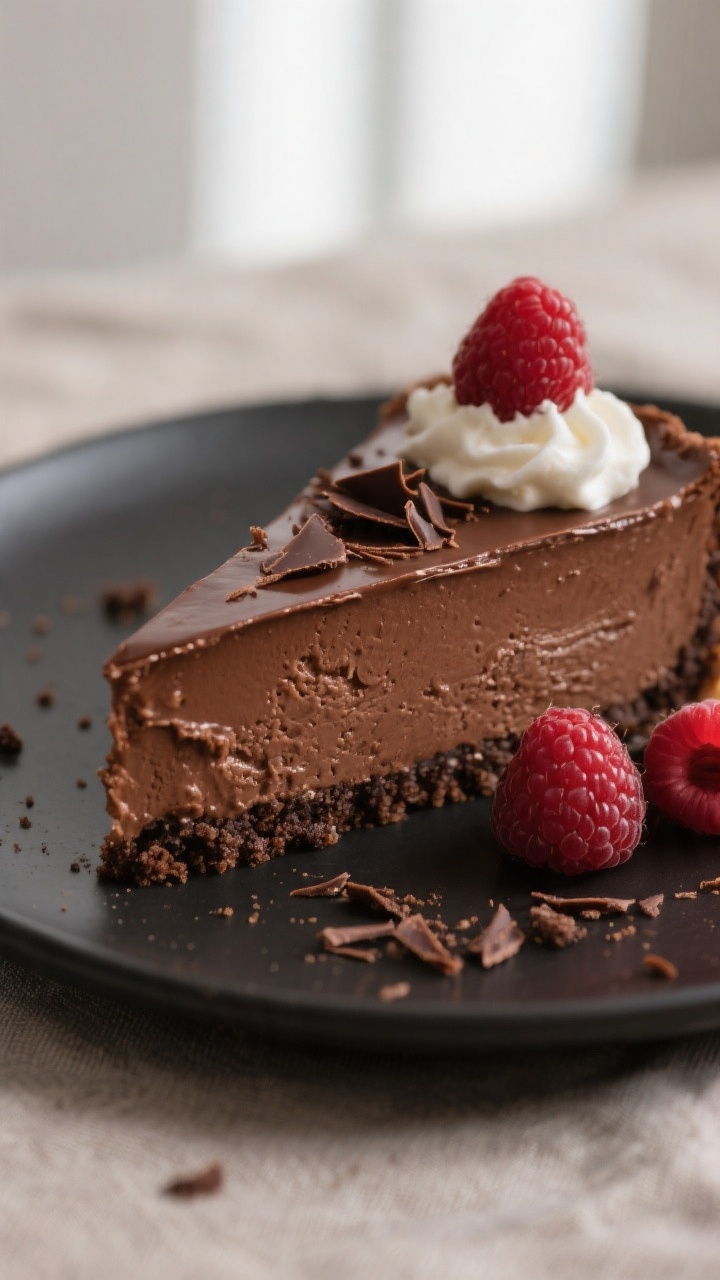
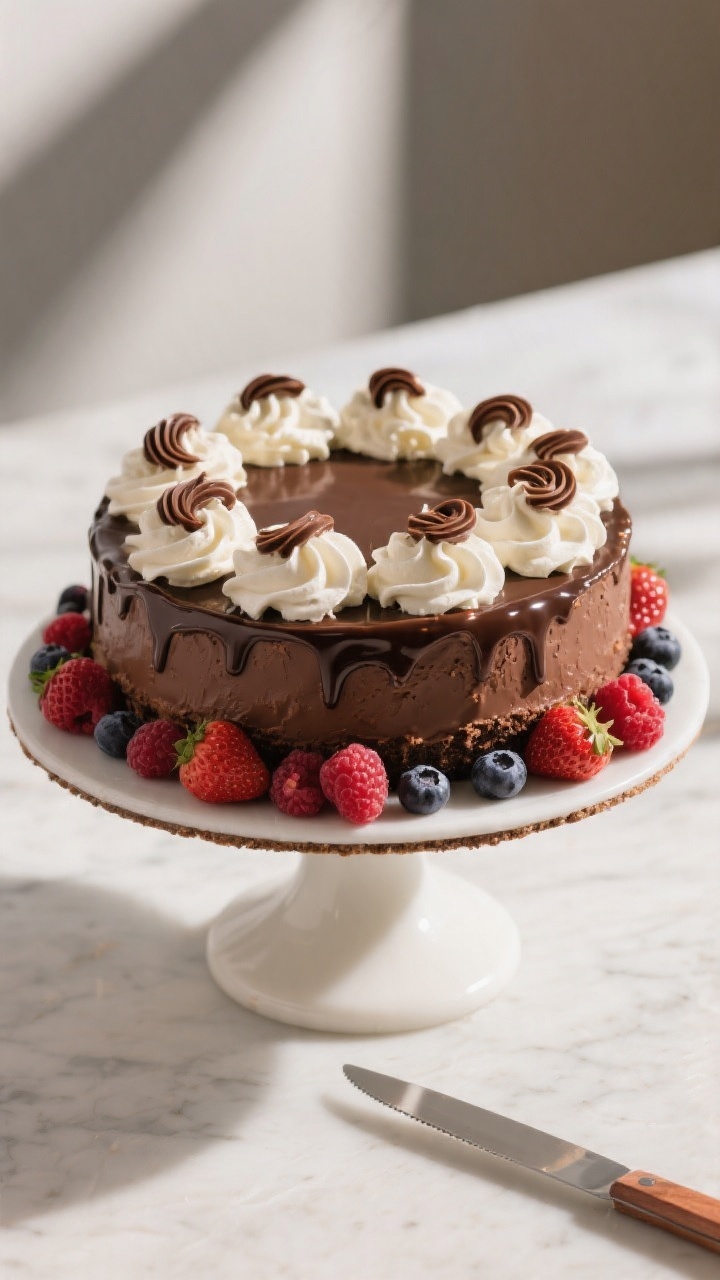
- Finish and serve: Run a thin knife around the edge and release the springform. Top with whipped cream, chocolate shavings, or berries. Slice with a warm, dry knife for neat edges.
What Makes This Recipe So Good
- No oven required: Perfect for warm days or when you need your oven for other dishes.
- Ultra creamy texture: A smooth, mousse-like filling that sets beautifully in the fridge.
- Balanced chocolate flavor: Deep cocoa notes without being overly sweet or bitter.
- Simple ingredients: Pantry staples and easy-to-find items make this an accessible recipe.
- Make-ahead friendly: It actually tastes better after resting overnight.
Ingredients
- For the crust:
- 2 cups (about 200 g) chocolate cookie crumbs (like chocolate graham crackers or Oreos without filling)
- 6 tablespoons (85 g) unsalted butter, melted
- 2 tablespoons sugar (optional, skip if using sweet cookies)
- Pinch of salt
- For the filling:
- 12 ounces (340 g) semi-sweet chocolate, finely chopped (or good-quality chocolate chips)
- 24 ounces (680 g) cream cheese, softened to room temperature
- 3/4 cup (150 g) granulated sugar
- 1/4 cup (25 g) unsweetened cocoa powder
- 1 teaspoon pure vanilla extract
- 1/4 teaspoon fine salt
- 1 cup (240 ml) heavy whipping cream, cold
- Optional toppings:
- Lightly sweetened whipped cream
- Chocolate shavings or curls
- Fresh berries
- Caramel or chocolate sauce drizzle
Instructions
- Prep the pan: Line the bottom of a 9-inch springform pan with parchment. Lightly grease the sides if you like for easy release.
- Make the crust: In a bowl, combine chocolate cookie crumbs, melted butter, sugar (if using), and salt.
Stir until the mixture looks like damp sand and holds together when pressed.
- Press and chill: Firmly press the crumb mixture into the bottom and slightly up the sides of the pan. Use a flat-bottomed glass for an even layer. Chill in the fridge while you make the filling.
- Melt the chocolate: Place chopped chocolate in a heatproof bowl.
Microwave in 20–30 second bursts, stirring between each, until smooth. Or melt over a double boiler. Let it cool to just warm, not hot.
- Beat the cream cheese: In a large bowl, beat the softened cream cheese with sugar until smooth and no lumps remain, about 2 minutes.
Scrape the bowl well.
- Add cocoa, vanilla, and salt: Mix in the cocoa powder, vanilla, and salt until fully combined. The mixture should look creamy and uniform.
- Stream in the chocolate: With the mixer on low, slowly add the melted chocolate and beat until evenly incorporated. Scrape the bowl and beat again briefly.
- Whip the cream: In a separate bowl, whip the cold heavy cream to medium-stiff peaks.
Don’t overwhip; it should hold its shape but still look smooth.
- Fold it together: Gently fold the whipped cream into the chocolate cream cheese mixture in two additions. Use broad, light strokes to keep it airy.
- Fill the crust: Spoon the filling into the chilled crust. Smooth the top with an offset spatula.
Tap the pan gently on the counter to release any large air bubbles.
- Chill to set: Cover and refrigerate for at least 6 hours, preferably overnight, until firm enough to slice cleanly.
- Finish and serve: Run a thin knife around the edge and release the springform. Top with whipped cream, chocolate shavings, or berries. Slice with a warm, dry knife for neat edges.
Storage Instructions
- Refrigerator: Cover tightly and refrigerate for up to 5 days.
Keep toppings like whipped cream or fruit off until serving for best texture.
- Freezer: Freeze whole or in slices, well wrapped, for up to 2 months. Thaw in the fridge overnight. Avoid thawing at room temperature to prevent weeping or a soggy crust.
- Make-ahead tip: The flavor improves after 12–24 hours in the fridge, so it’s ideal to prepare it a day in advance.
Benefits of This Recipe
- Low effort, high payoff: Minimal steps with a stunning result.
- Reliable set without gelatin: The combination of melted chocolate and whipped cream creates a stable, mousse-like texture.
- Customizable: Easy to adapt to different chocolates, crusts, and toppings.
- Great for entertaining: Frees up oven space and can be made ahead.
- Kid- and crowd-friendly: Familiar flavors with an elegant finish.
What Not to Do
- Don’t add hot chocolate to cold filling: Hot chocolate can seize or melt the mixture.
Let it cool to just warm before mixing.
- Don’t skip softening the cream cheese: Cold cream cheese leads to lumps that are hard to fix.
- Don’t overwhip the cream: Overwhipped cream turns grainy and can affect the cheesecake’s texture.
- Don’t rush the chill time: If you cut too soon, it won’t slice cleanly and may slump.
- Don’t use low-fat cream cheese: It can make the filling watery and less stable.
Variations You Can Try
- Dark chocolate: Use 70% dark chocolate for a more intense, less sweet flavor. Increase sugar slightly if desired.
- Milk chocolate: Sweeter and creamier. Reduce added sugar by 2–3 tablespoons to balance.
- Mocha swirl: Dissolve 1–2 teaspoons instant espresso in 1 tablespoon hot water and mix into the filling.
- Peanut butter crunch: Stir in 1/2 cup peanut butter and top with chopped peanuts and chocolate sauce.
- Mint chocolate: Add 1/2 teaspoon peppermint extract and finish with crushed chocolate mints.
- Salted caramel: Swirl 1/3 cup thick caramel into the top before chilling.
Finish with flaky sea salt.
- Alternate crusts: Try Biscoff cookies, graham crackers, or almond flour mixed with cocoa and butter.
- Gluten-free: Use gluten-free chocolate cookies for the crust.
FAQ
Can I make this without a springform pan?
Yes. Use a 9-inch deep pie dish or a 9×9-inch square pan and serve as slices or bars. Line with parchment for easy removal.
What kind of chocolate works best?
Use good-quality semi-sweet chocolate (around 50–60% cocoa).
Baking bars melt smoothly and taste great. Chocolate chips can work, but choose a brand that melts well.
How do I prevent a soggy crust?
Pack the crumbs tightly and chill before adding the filling. If you want extra insurance, bake the crust at 350°F (175°C) for 8 minutes and let it cool—still mostly “no bake,” but it firms things up.
Can I reduce the sugar?
You can cut the sugar in the filling by 2–3 tablespoons without issues, especially if using milk chocolate.
The texture will remain stable.
How long does it need to chill?
At least 6 hours, but 12–24 hours is ideal for a clean slice and the best texture.
Can I use whipped topping instead of heavy cream?
You can, but heavy cream whipped from scratch tastes better and holds up well. If you use whipped topping, fold gently and reduce added sugar slightly.
Why is my filling lumpy?
Likely the cream cheese was too cold or the chocolate too cool and thick. Beat the cream cheese until smooth before adding chocolate, and ensure the chocolate is fluid but not hot.
What’s the best way to slice it neatly?
Use a sharp chef’s knife warmed under hot water, then dried.
Wipe the blade clean between cuts.
Final Thoughts
This No Bake Chocolate Cheesecake delivers rich flavor and a smooth, airy texture with almost no fuss. It’s flexible, forgiving, and perfect for making ahead. Keep the steps simple—soften your cream cheese, let the chocolate cool a bit, and give it enough time to chill.
Add your favorite toppings, slice with a warm knife, and enjoy a dessert that feels special any day of the week.
Printable Recipe Card
Want just the essential recipe details without scrolling through the article? Get our printable recipe card with just the ingredients and instructions.