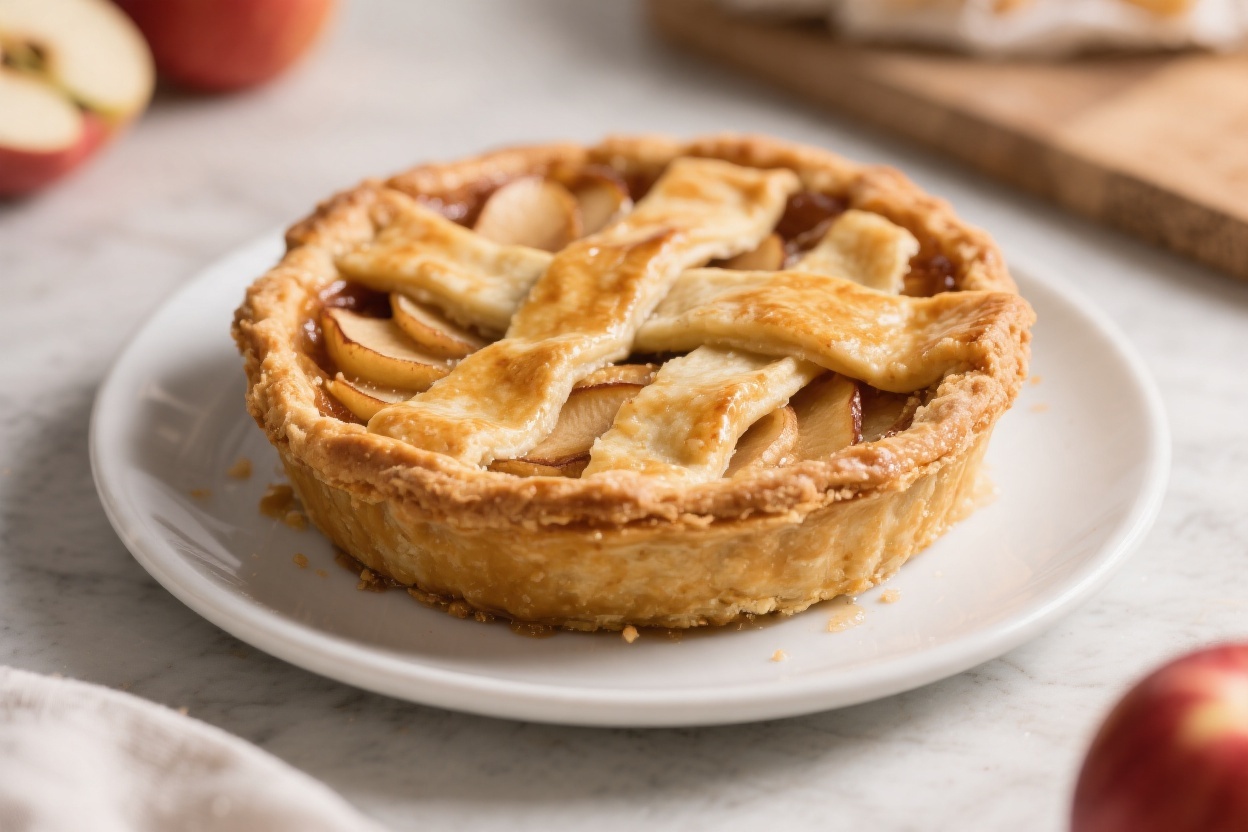
Air Fryer Apple Pie – A Cozy Classic Made Fast
A warm slice of apple pie feels like home, but making one from scratch can take all afternoon. This version gives you that same golden crust and cinnamon-spiced filling in a fraction of the time, thanks to the air fryer. It’s simple, reliable, and perfect when you want dessert without heating up the whole kitchen.
Whether you’re baking for a small crowd or just craving a slice after dinner, this recipe delivers. You’ll get crisp edges, tender apples, and a bubbling, fragrant filling every time.
Air Fryer Apple Pie - A Cozy Classic Made Fast
Ingredients
Method
- Prep the apples: Peel, core, and slice the apples evenly. Aim for 1/4-inch slices so they cook through without turning mushy.
- Season the fruit: In a large bowl, combine apples with granulated sugar, brown sugar, cinnamon, nutmeg, allspice, salt, lemon juice, and vanilla.Toss well and let sit 10 minutes to draw out some juices.
- Thicken the filling: In a small bowl, stir cornstarch with water to make a slurry. Transfer the apple mixture to a skillet over medium heat, stir in the slurry, and cook 3–5 minutes until slightly thickened and glossy. Remove from heat and cool 10–15 minutes.
- Prepare the crust: Unroll one pie crust and fit it into a 6- to 7-inch pie tin or a small, air fryer–safe pan.Press gently into the corners and trim excess, leaving a slight overhang.
- Fill and dot with butter: Spoon the cooled apples and any thickened juices into the crust. Scatter the butter cubes over the top.
- Top crust: Place the second crust over the filling. Trim excess, then crimp the edges to seal.Cut 4–5 small slits on top for steam. Alternatively, make a simple lattice.
- Egg wash: Brush the top crust with beaten egg. Sprinkle with coarse sugar if you like extra crunch.
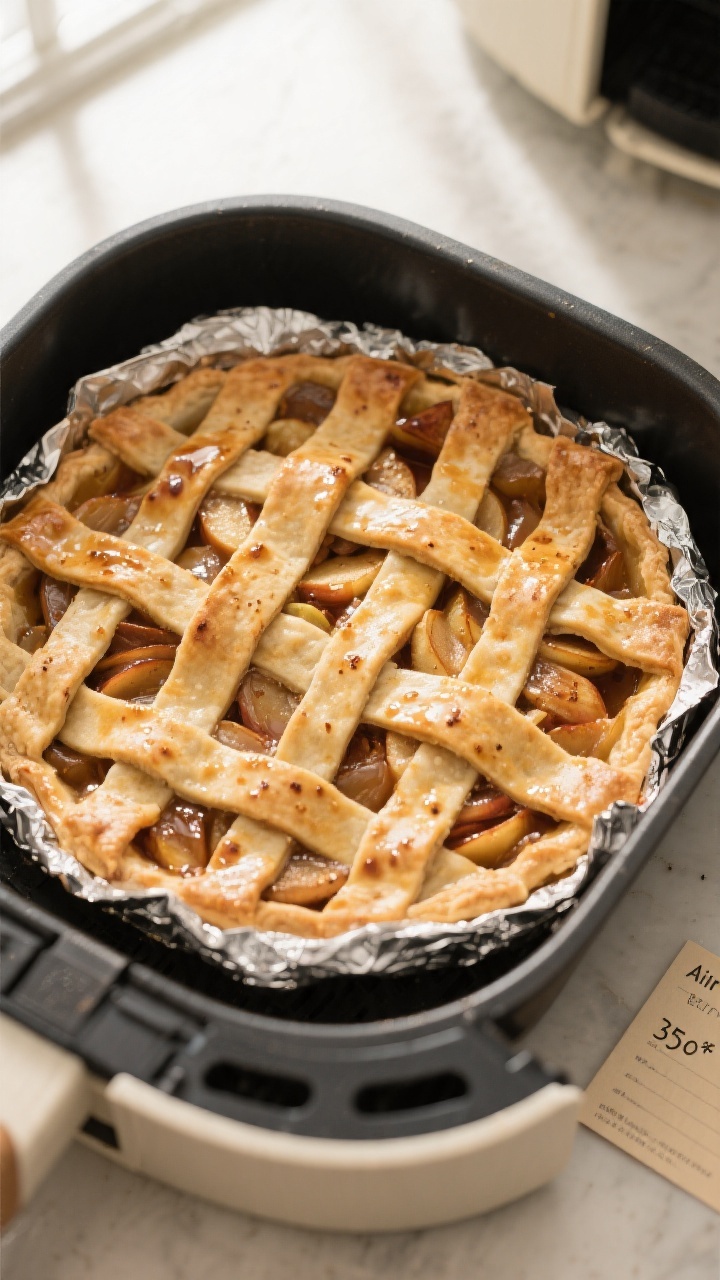
- Preheat the air fryer: Heat to 350°F (175°C) for 3–5 minutes.Lightly mist the basket with nonstick spray or brush with oil.
- Shield the edges: To prevent over-browning, cover the crimped rim with thin strips of foil. You can remove these later to finish browning.
- Air fry, part 1: Place the pie in the basket. Cook at 350°F (175°C) for 18–22 minutes until the top is light golden.
- Air fry, part 2: Carefully remove the foil from the edges.Continue cooking 8–12 minutes more, until the crust is deep golden and the filling is bubbling through the vents. Total time is usually 26–34 minutes, depending on your air fryer model and pie size.
- Rest before slicing: Let the pie cool at least 45–60 minutes. This sets the filling so slices hold together.
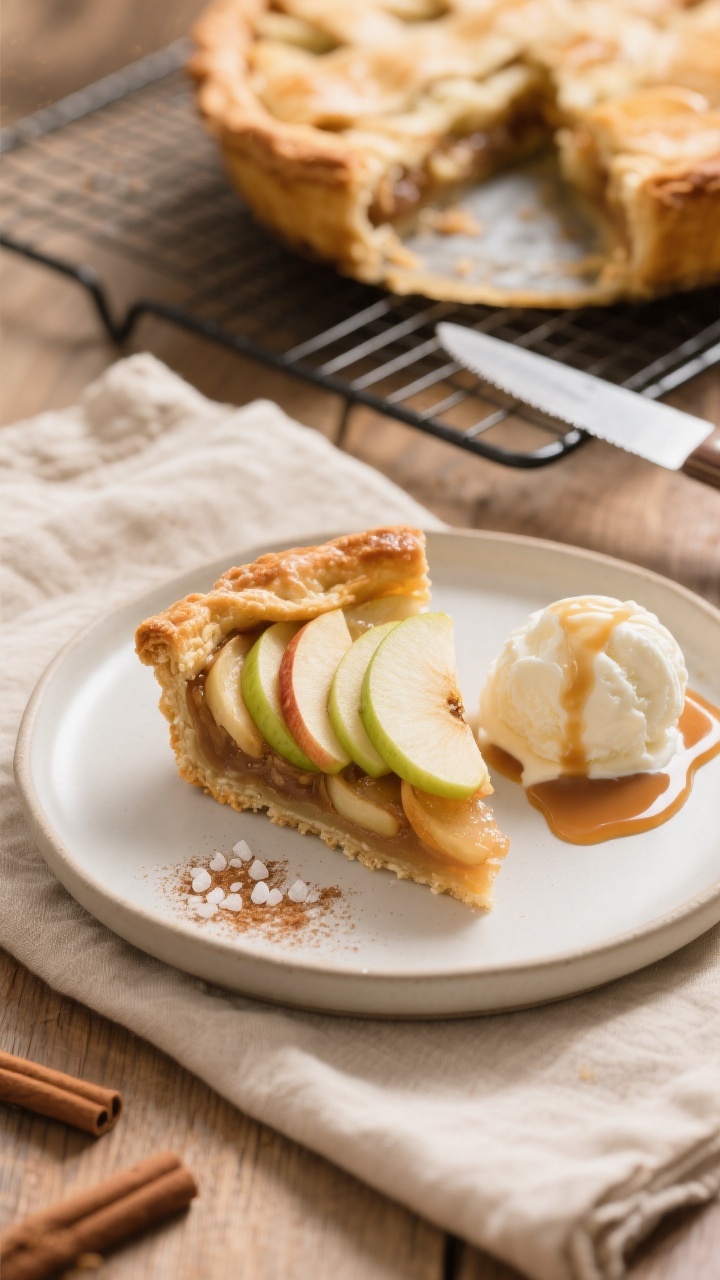
- Serve: Slice and serve warm or at room temperature.Add vanilla ice cream or whipped cream if you’re feeling classic.
Why This Recipe Works

- Air fryer efficiency: The rapid circulation crisps the crust faster than a conventional oven, so you get a flaky, golden finish.
- Controlled portions: You can make a 6- to 7-inch pie or even mini pies, ideal for weeknights or smaller households.
- Balanced filling: The mix of tart and sweet apples keeps the pie lively, while a cornstarch slurry thickens the juices so the crust doesn’t get soggy.
- Less mess, less guesswork: Pre-cooking the filling slightly gives consistent results and prevents undercooked apples.
Ingredients
- 1 package (14–16 oz) refrigerated pie crusts (2 crusts), or use homemade
- 4 cups apples, peeled, cored, and sliced 1/4-inch thick (a mix of Granny Smith and Honeycrisp works well)
- 1/3 cup granulated sugar
- 2 tablespoons light brown sugar
- 1 1/2 teaspoons ground cinnamon
- 1/8 teaspoon ground nutmeg (optional)
- 1/8 teaspoon ground allspice (optional)
- 1/4 teaspoon fine sea salt
- 1 1/2 tablespoons lemon juice
- 1 teaspoon vanilla extract
- 2 tablespoons unsalted butter, cut into small cubes
- 1 1/2 tablespoons cornstarch
- 1 tablespoon water (for the cornstarch slurry)
- 1 egg, beaten (for egg wash)
- 1–2 teaspoons coarse sugar for sprinkling (optional)
- Nonstick spray or a little oil for the air fryer basket
How to Make It
- Prep the apples: Peel, core, and slice the apples evenly. Aim for 1/4-inch slices so they cook through without turning mushy.
- Season the fruit: In a large bowl, combine apples with granulated sugar, brown sugar, cinnamon, nutmeg, allspice, salt, lemon juice, and vanilla.
Toss well and let sit 10 minutes to draw out some juices.
- Thicken the filling: In a small bowl, stir cornstarch with water to make a slurry. Transfer the apple mixture to a skillet over medium heat, stir in the slurry, and cook 3–5 minutes until slightly thickened and glossy. Remove from heat and cool 10–15 minutes.
- Prepare the crust: Unroll one pie crust and fit it into a 6- to 7-inch pie tin or a small, air fryer–safe pan.
Press gently into the corners and trim excess, leaving a slight overhang.
- Fill and dot with butter: Spoon the cooled apples and any thickened juices into the crust. Scatter the butter cubes over the top.
- Top crust: Place the second crust over the filling. Trim excess, then crimp the edges to seal.
Cut 4–5 small slits on top for steam. Alternatively, make a simple lattice.
- Egg wash: Brush the top crust with beaten egg. Sprinkle with coarse sugar if you like extra crunch.
- Preheat the air fryer: Heat to 350°F (175°C) for 3–5 minutes.
Lightly mist the basket with nonstick spray or brush with oil.
- Shield the edges: To prevent over-browning, cover the crimped rim with thin strips of foil. You can remove these later to finish browning.
- Air fry, part 1: Place the pie in the basket. Cook at 350°F (175°C) for 18–22 minutes until the top is light golden.
- Air fry, part 2: Carefully remove the foil from the edges.
Continue cooking 8–12 minutes more, until the crust is deep golden and the filling is bubbling through the vents. Total time is usually 26–34 minutes, depending on your air fryer model and pie size.
- Rest before slicing: Let the pie cool at least 45–60 minutes. This sets the filling so slices hold together.
- Serve: Slice and serve warm or at room temperature.
Add vanilla ice cream or whipped cream if you’re feeling classic.
How to Store
- Room temperature: Keep loosely covered for up to 24 hours if your kitchen is cool.
- Refrigerator: Store covered for 3–4 days. Reheat slices in the air fryer at 320°F (160°C) for 3–5 minutes to re-crisp the crust.
- Freezer: Wrap cooled pie or individual slices tightly and freeze up to 3 months. Reheat from frozen at 320°F (160°C) for 8–12 minutes, watching the edges.
Why This is Good for You
- Apples bring fiber and antioxidants: You get pectin for digestion and polyphenols that support overall health.
- Air frying uses less energy: It cooks faster than a full oven, which is handy for busy days and keeps your kitchen cooler.
- Control the sweetness: You decide how much sugar to use.
Tart apples let you reduce sugar without losing flavor.
- Portion-friendly: A smaller pie makes it easier to enjoy dessert without days of leftovers.
Pitfalls to Watch Out For
- Soggy bottom crust: Pre-cook and thicken the filling so excess liquid doesn’t pool. Avoid overfilling the pie.
- Over-browned edges: Use foil shields during the first half of cooking and remove to finish browning.
- Undercooked apples: Slice evenly and don’t skip the brief stovetop cook. Very thick slices take longer and can stay firm.
- Leaking juices: Cut steam vents and let the pie rest.
Cutting too soon releases hot, thin juices.
- Pan choice: Use a metal or air fryer–safe pan that fits comfortably. Crowding can block airflow and cause uneven browning.
Variations You Can Try
- Mini hand pies: Cut circles from the crust, fill with 1–2 tablespoons of apples, fold, crimp, and air fry 10–14 minutes at 350°F. Great for portion control.
- Crumb topping: Skip the top crust and mix 1/2 cup flour, 1/3 cup brown sugar, 1/2 teaspoon cinnamon, and 4 tablespoons cold butter into crumbs.
Sprinkle over apples and air fry until browned.
- Maple or caramel twist: Replace some sugar with maple syrup, or drizzle warm caramel over slices before serving.
- Bourbon vanilla: Add 1 tablespoon bourbon to the filling with the vanilla for a deeper flavor.
- Gluten-free option: Use a gluten-free crust and confirm your cornstarch and flavorings are certified GF.
- No added sugar: Use only naturally sweet apples and a bit of cinnamon; skip the sugars and adjust to taste.
FAQ
Can I use store-bought pie filling?
Yes, but it can be sweeter and looser. If using canned filling, stir in 1–2 teaspoons cornstarch and let it sit a few minutes to thicken before assembling.
Which apples are best for air fryer apple pie?
A mix works best. Try Granny Smith for tartness and structure, plus Honeycrisp, Pink Lady, or Braeburn for sweetness and aroma.
Do I need to par-bake the bottom crust?
Not if you thicken the filling and avoid excess liquid.
The air fryer’s airflow helps crisp it. If your model runs cool, you can preheat the empty pan for 3 minutes before adding the crust.
How do I keep the crust from flying or shifting in the air fryer?
Use a pie tin or small pan that fits snugly in the basket. The weight of the filling also anchors the crust, so this usually isn’t an issue.
Can I make this dairy-free?
Yes.
Omit the butter or swap in a dairy-free alternative, and use a dairy-free crust. The results are still tender and flavorful.
What if my crust browns too fast?
Lower the temperature to 330°F (165°C) and tent with foil. Continue cooking until the filling bubbles.
How do I know the pie is done?
Look for a deep golden crust and visible bubbling through the slits.
Bubbling means the filling has thickened properly.
Can I make the pie ahead?
Assemble the pie up to 4 hours ahead and refrigerate, then air fry just before serving. You may need an extra 3–5 minutes of cook time from cold.
Final Thoughts
Air Fryer Apple Pie gives you the comfort of a classic dessert with weeknight-friendly timing. The crust turns beautifully golden, the apples stay tender, and the kitchen stays cool.
With a few smart steps—like pre-cooking the filling and shielding the edges—you’ll get consistent, bakery-worthy results. Keep this recipe in your back pocket for holidays, cozy weekends, or any time a warm, spiced slice sounds right. It’s simple, reliable, and always worth it.
Printable Recipe Card
Want just the essential recipe details without scrolling through the article? Get our printable recipe card with just the ingredients and instructions.