Chocolate Ganache Cake – Rich, Glossy, and Surprisingly Simple
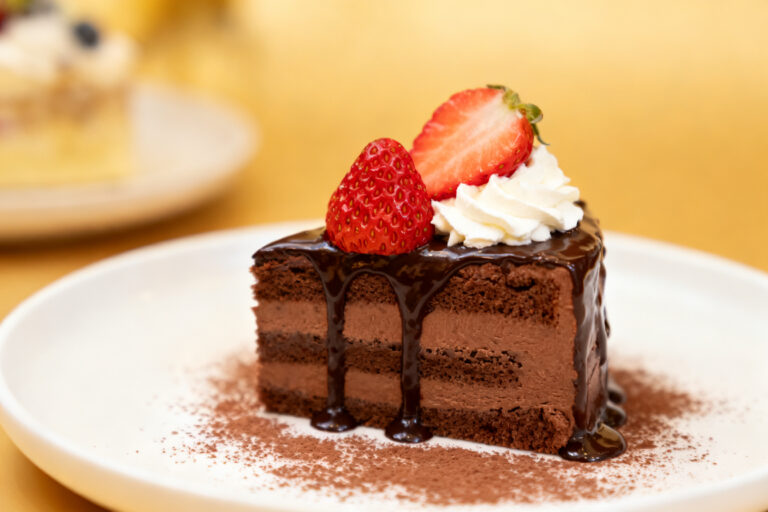
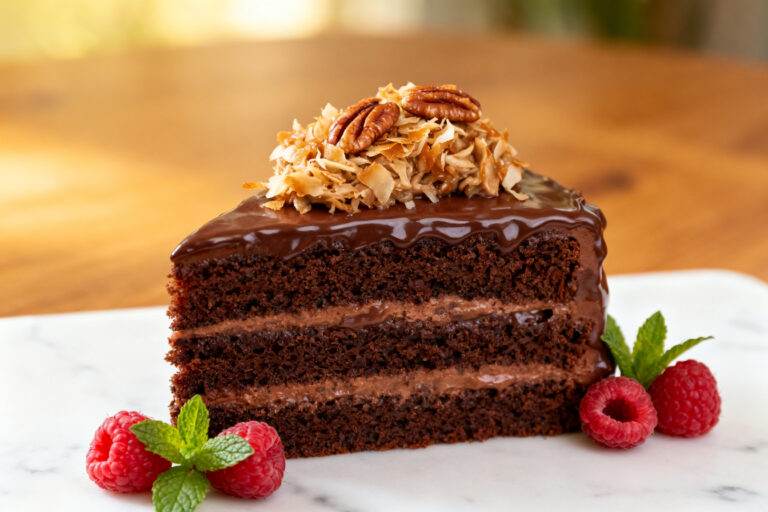
A good chocolate ganache cake feels like a little celebration on a plate. It’s rich without being heavy, glossy without any tricky techniques, and tastes like pure chocolate joy. This version keeps the steps simple while delivering bakery-level results.
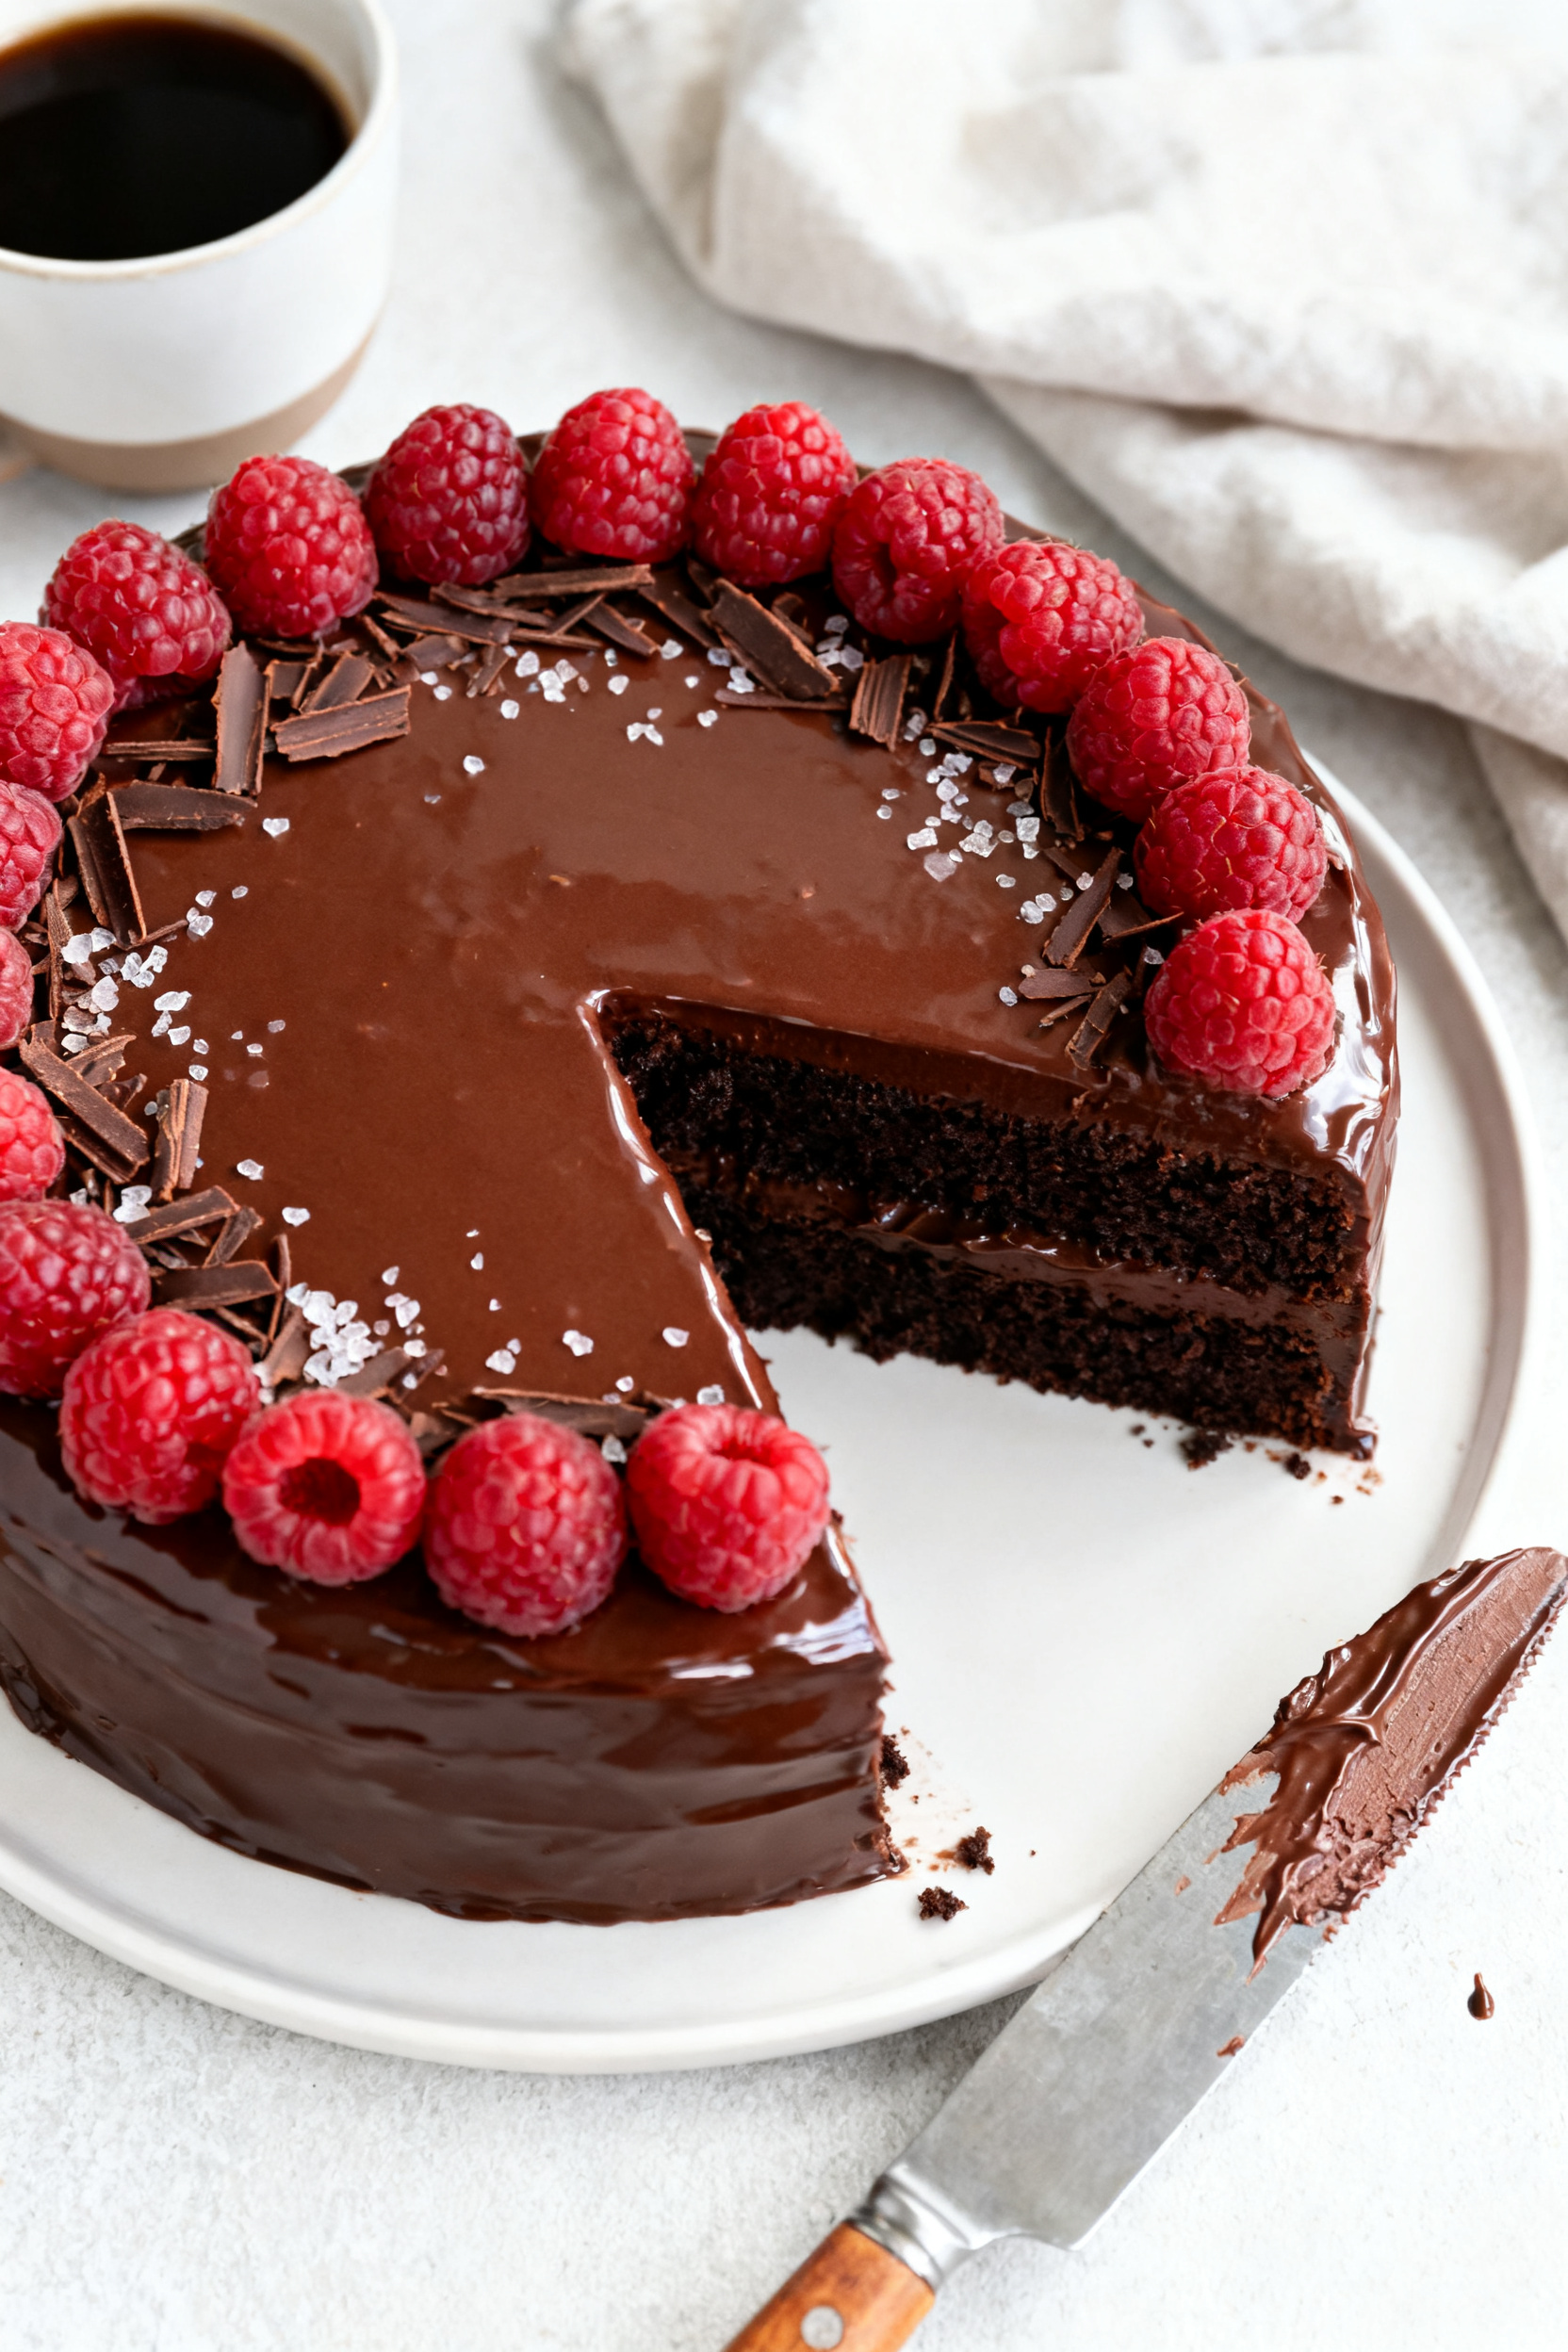
You’ll make a tender chocolate sponge and finish it with a silky ganache that sets to a beautiful shine. Serve it for birthdays, dinner parties, or just because you want a perfect slice with your coffee.
Chocolate Ganache Cake - Rich, Glossy, and Surprisingly Simple
Ingredients
Method
- Prep the pans and oven. Heat the oven to 350°F (175°C).Grease and line two 8-inch round cake pans with parchment on the bottom. Lightly dust the sides with cocoa powder to prevent sticking.
- Whisk the dry ingredients. In a large bowl, whisk flour, cocoa powder, sugar, baking powder, baking soda, and salt until well combined. This helps prevent lumps and ensures even rise.
- Mix the wet ingredients. In a separate bowl, whisk eggs, buttermilk, oil, and vanilla until smooth.The mixture should look glossy and uniform.
- Combine wet and dry. Pour the wet mixture into the dry ingredients and whisk until just combined. The batter will be thick at this point.
- Add the hot coffee. Carefully whisk in the hot coffee (or hot water). The batter will become thin, which is expected.Avoid overmixing; stop once it’s smooth.
- Fill and bake. Divide the batter evenly between the two pans. Bake for 28–32 minutes, or until a toothpick comes out with a few moist crumbs. The tops should spring back lightly to the touch.
- Cool the layers. Let cakes cool in the pans for 10 minutes.Invert onto a wire rack, peel off the parchment, and cool completely. A fully cooled cake prevents melting the ganache.
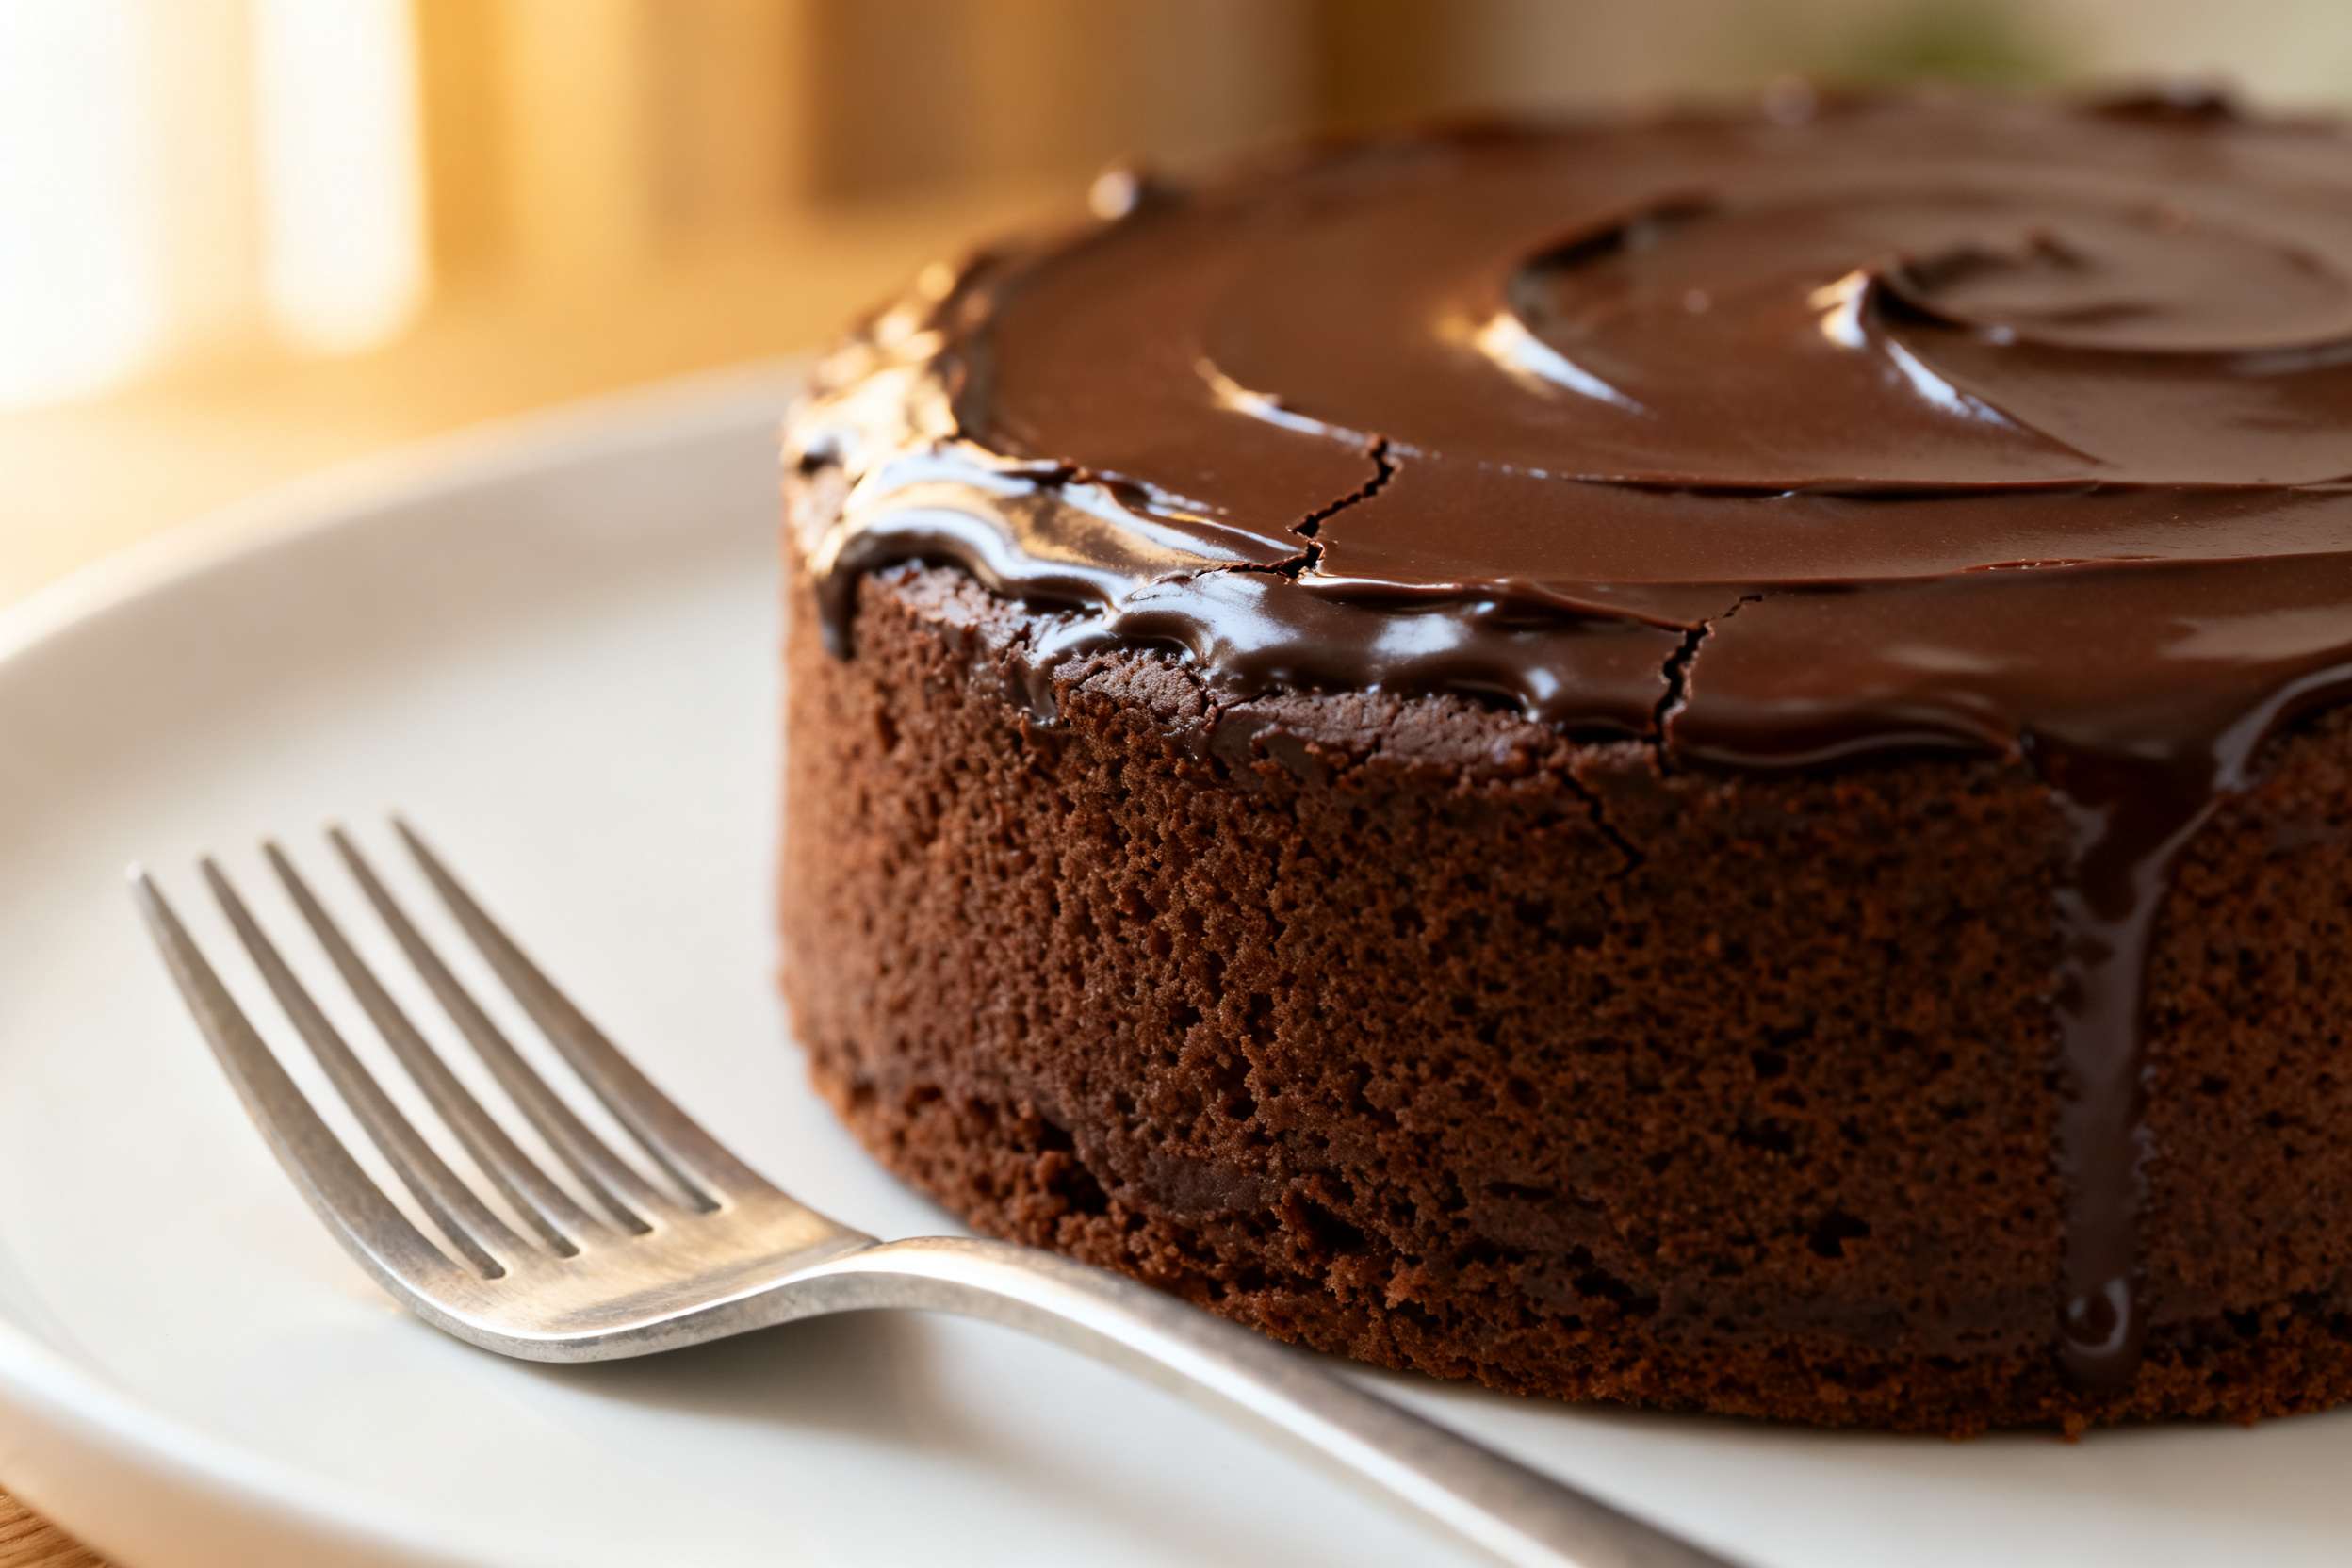
- Make the ganache. Place chopped chocolate in a heatproof bowl. Heat the cream in a small saucepan until steaming and just starting to simmer at the edges.Pour it over the chocolate, cover the bowl for 2 minutes, then gently stir from the center out until glossy. Stir in butter and a pinch of salt.
- Let ganache thicken slightly. Set the ganache aside for 10–15 minutes, stirring occasionally, until it’s pourable but not runny. It should ribbon off a spoon and hold a soft shape.
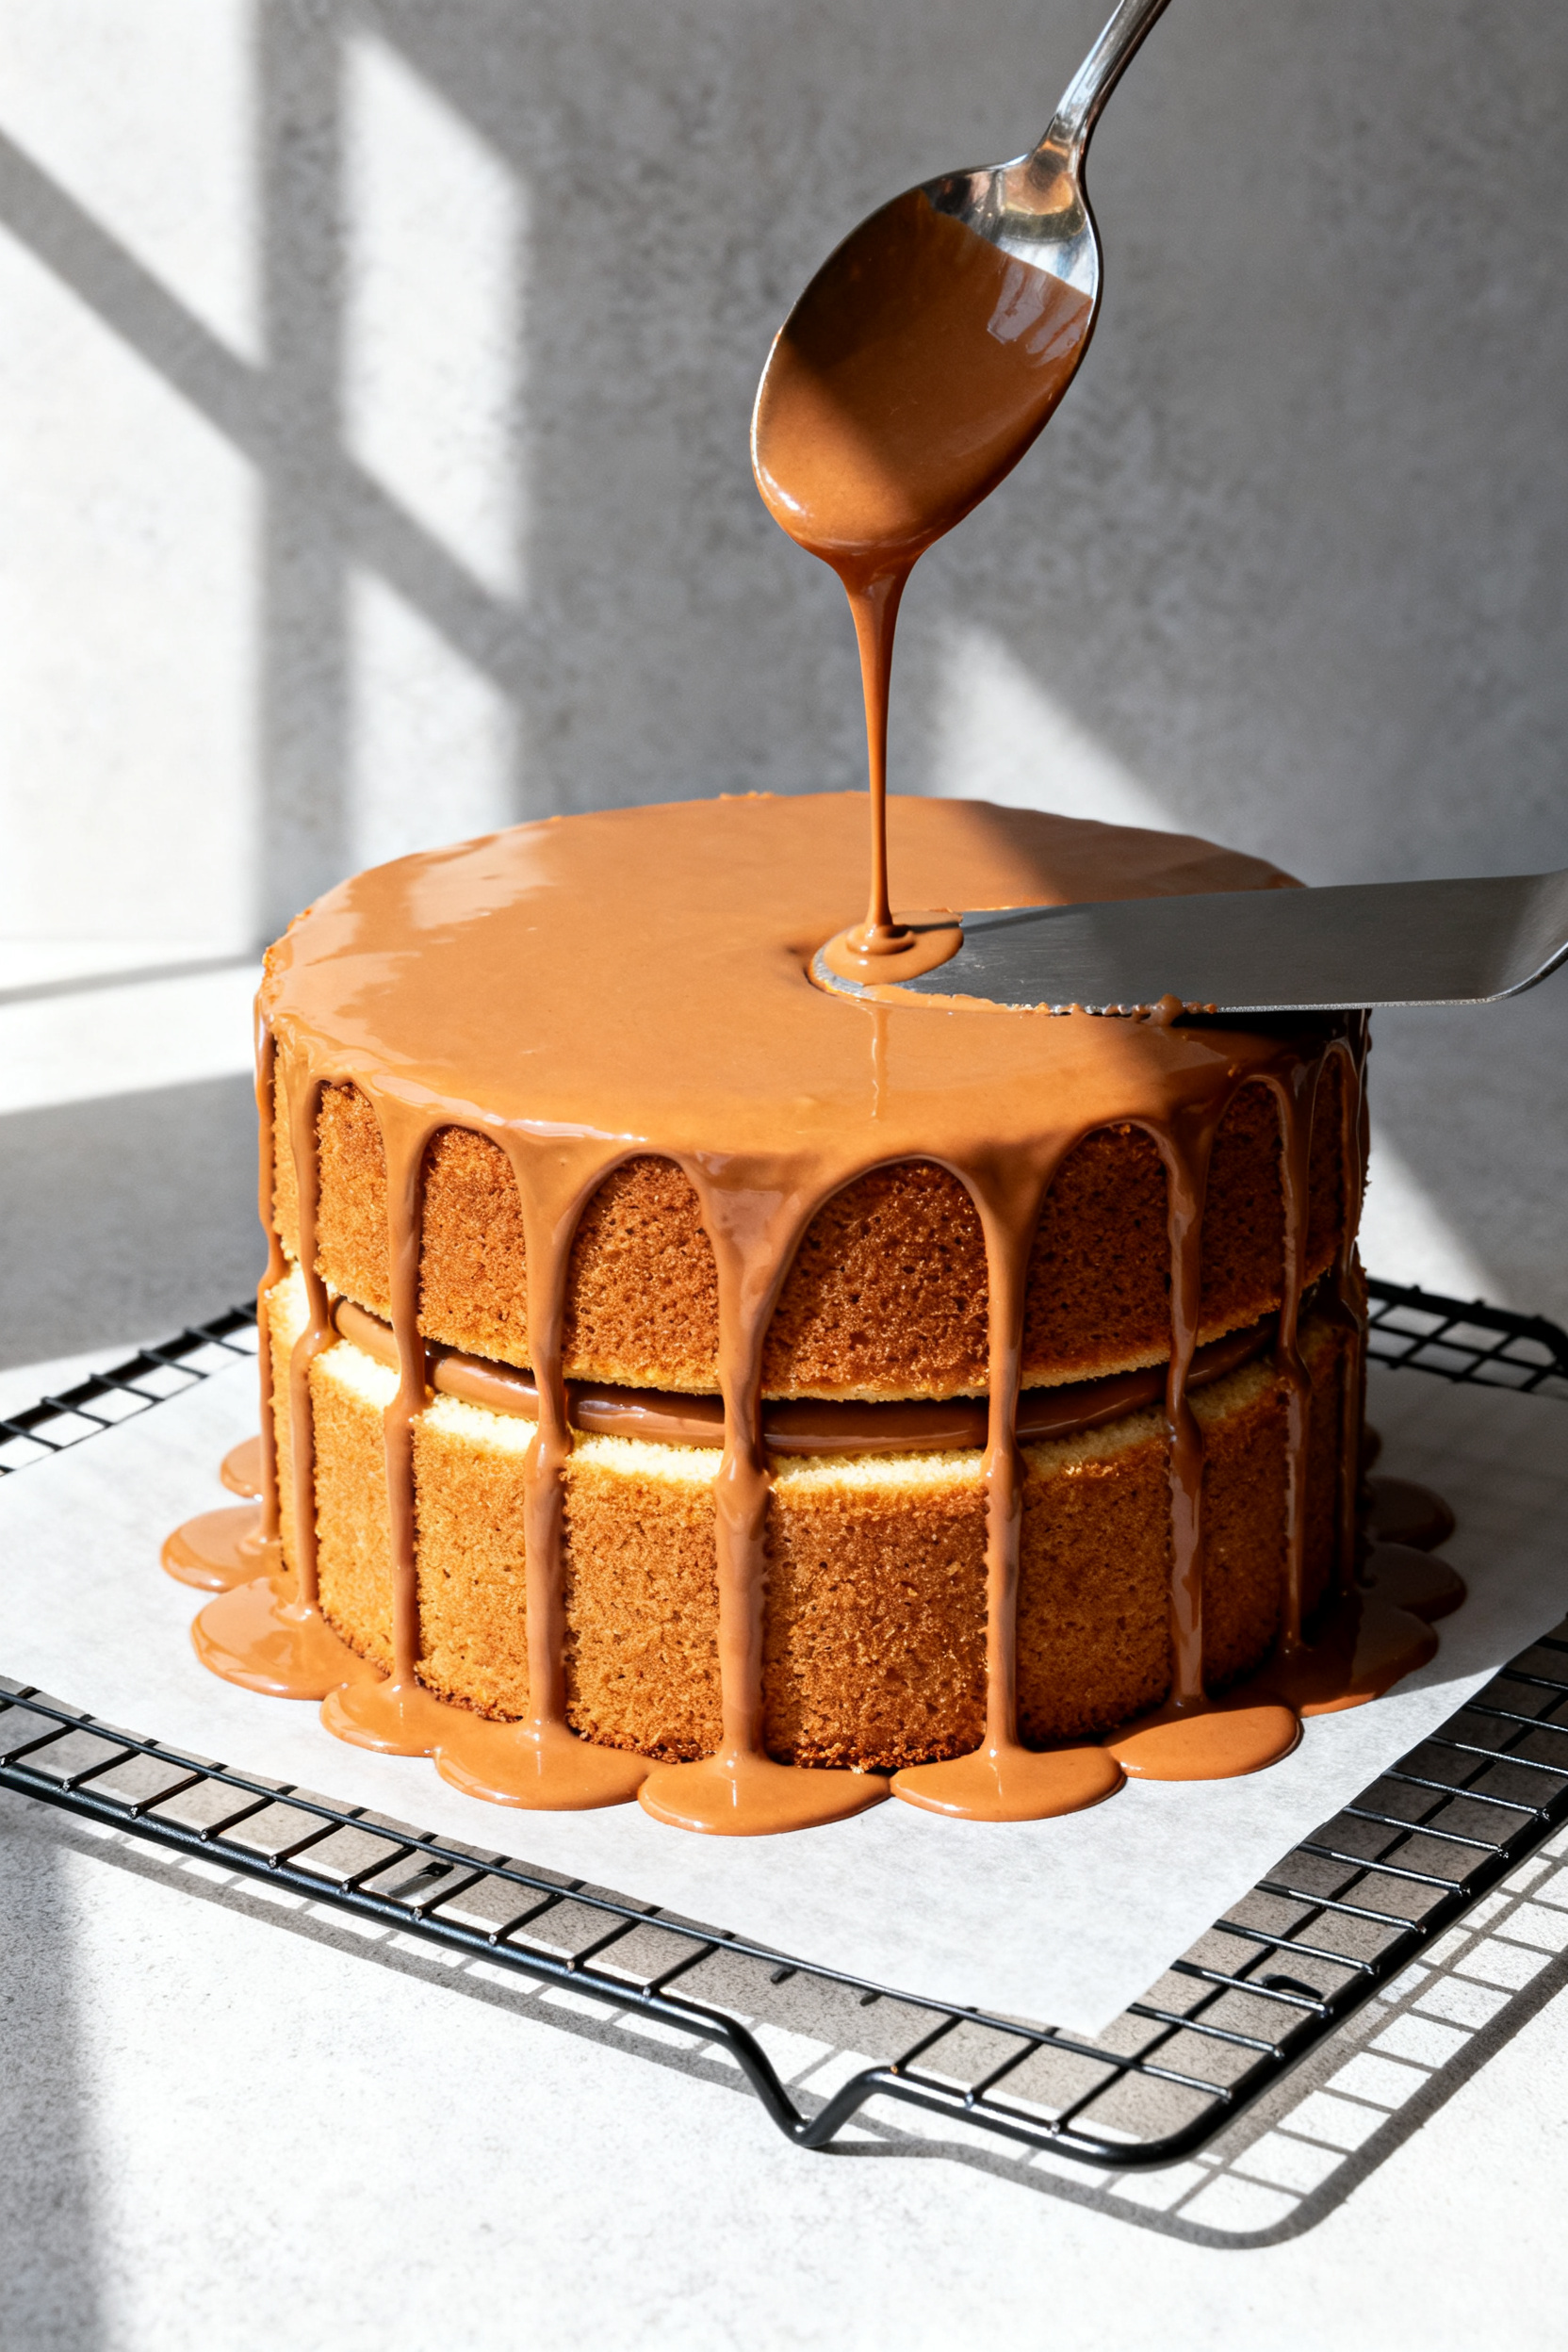
- Assemble the cake. Place one cake layer on a serving plate.Spread 1/3 of the ganache over the top. Set the second layer on top. Pour the remaining ganache over the center, nudging it to the edges with an offset spatula so it drips evenly down the sides.
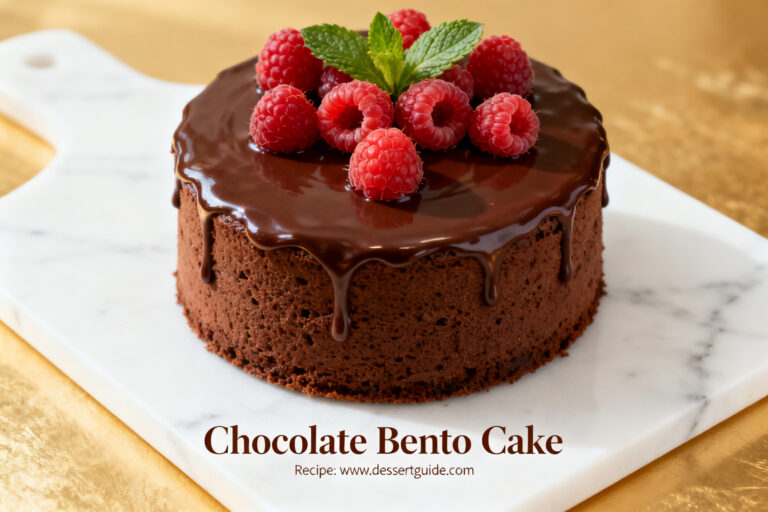
- Finish and set. Let the cake sit at room temperature for 30–45 minutes to let the ganache firm.Garnish with berries, chocolate curls, or a pinch of flaky salt if you like.
- Slice and serve. Use a warm, clean knife for neat slices. Wipe the knife between cuts for a tidy finish.
Why This Recipe Works
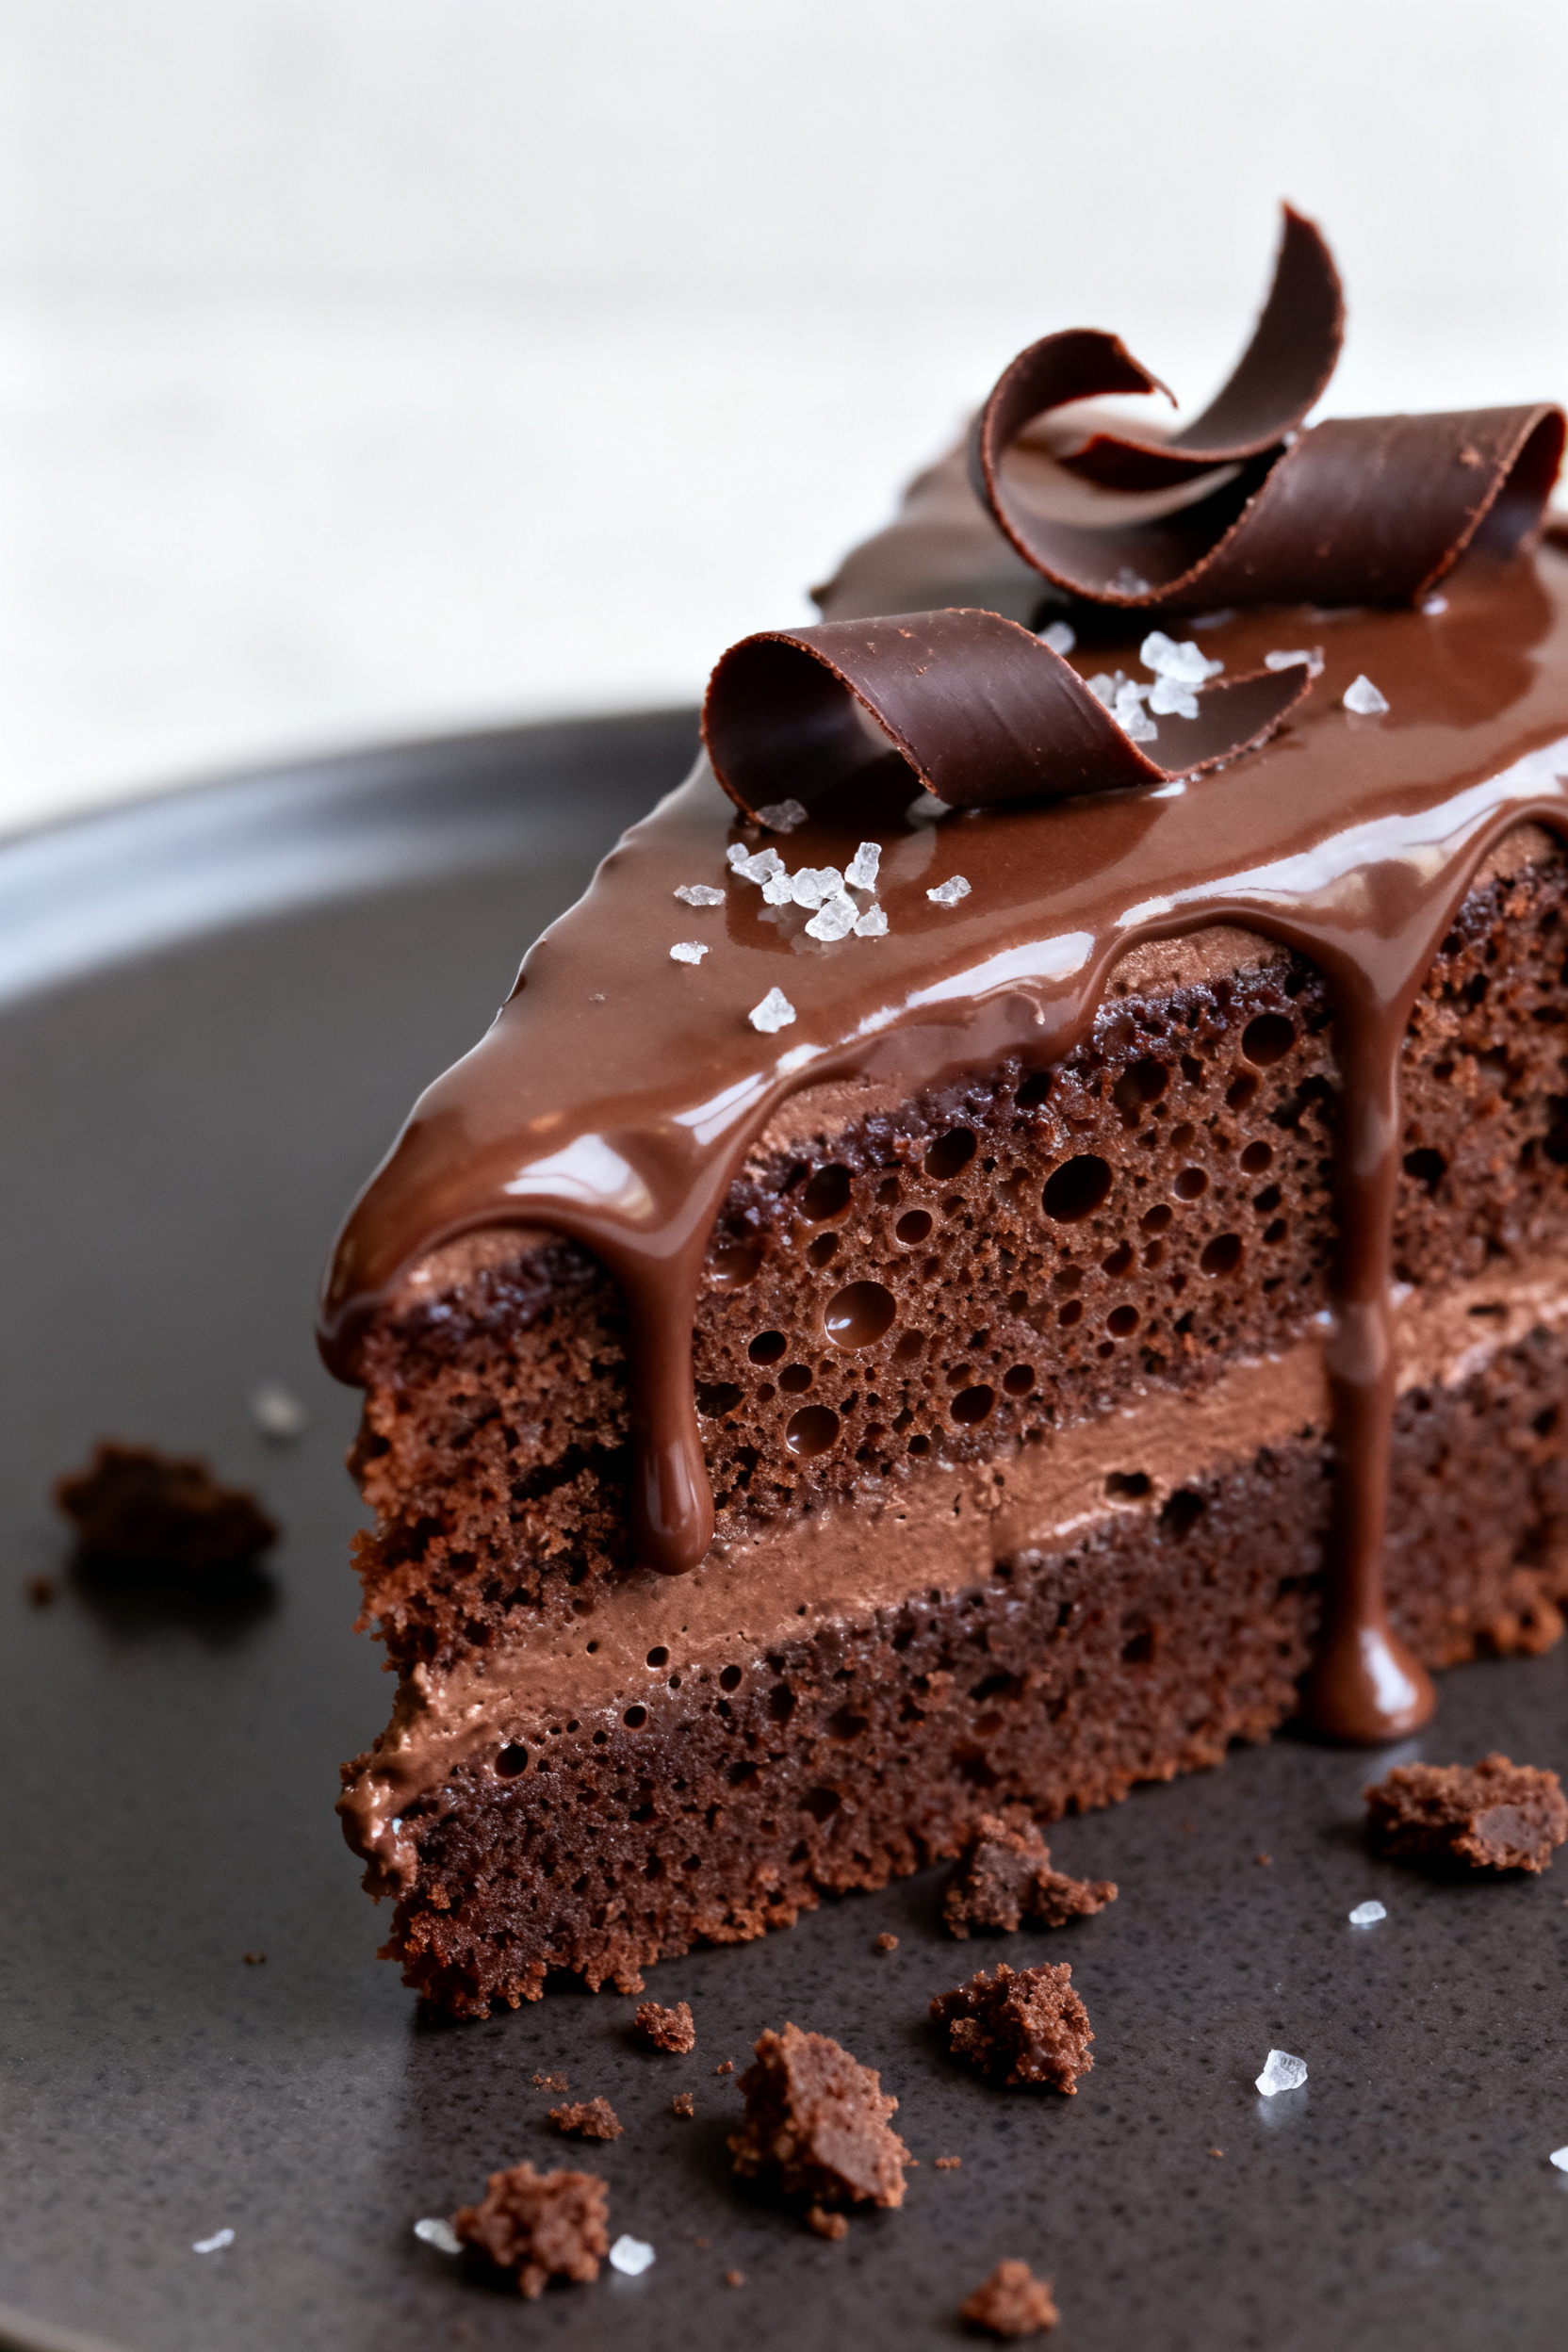
This cake balances flavor and texture in a way that feels special but is easy to pull off at home. The batter uses oil and buttermilk for a moist crumb that stays soft for days.
A mix of cocoa and hot coffee deepens the chocolate taste without making it bitter. The ganache uses a classic cream-to-chocolate ratio, yielding a smooth, pourable finish that firms into a luscious, truffle-like coating. Best of all, every step is straightforward, with no fancy equipment needed.
Ingredients
- For the Cake:
- 1 3/4 cups (220 g) all-purpose flour
- 3/4 cup (65 g) unsweetened cocoa powder
- 1 3/4 cups (350 g) granulated sugar
- 1 1/2 teaspoons baking powder
- 1 1/2 teaspoons baking soda
- 1 teaspoon fine salt
- 2 large eggs, room temperature
- 1 cup (240 ml) buttermilk, room temperature
- 1/2 cup (120 ml) neutral oil (canola or vegetable)
- 2 teaspoons vanilla extract
- 3/4 cup (180 ml) hot brewed coffee or hot water
- For the Ganache:
- 12 oz (340 g) semi-sweet or dark chocolate, finely chopped
- 1 cup (240 ml) heavy cream
- 1 tablespoon unsalted butter (optional, for extra sheen)
- Pinch of salt
- Optional Garnishes:
- Fresh berries
- Chocolate curls or shavings
- Flaky sea salt
Step-by-Step Instructions
- Prep the pans and oven. Heat the oven to 350°F (175°C).
Grease and line two 8-inch round cake pans with parchment on the bottom. Lightly dust the sides with cocoa powder to prevent sticking.
- Whisk the dry ingredients. In a large bowl, whisk flour, cocoa powder, sugar, baking powder, baking soda, and salt until well combined. This helps prevent lumps and ensures even rise.
- Mix the wet ingredients. In a separate bowl, whisk eggs, buttermilk, oil, and vanilla until smooth.
The mixture should look glossy and uniform.
- Combine wet and dry. Pour the wet mixture into the dry ingredients and whisk until just combined. The batter will be thick at this point.
- Add the hot coffee. Carefully whisk in the hot coffee (or hot water). The batter will become thin, which is expected.
Avoid overmixing; stop once it’s smooth.
- Fill and bake. Divide the batter evenly between the two pans. Bake for 28–32 minutes, or until a toothpick comes out with a few moist crumbs. The tops should spring back lightly to the touch.
- Cool the layers. Let cakes cool in the pans for 10 minutes.
Invert onto a wire rack, peel off the parchment, and cool completely. A fully cooled cake prevents melting the ganache.
- Make the ganache. Place chopped chocolate in a heatproof bowl. Heat the cream in a small saucepan until steaming and just starting to simmer at the edges.
Pour it over the chocolate, cover the bowl for 2 minutes, then gently stir from the center out until glossy. Stir in butter and a pinch of salt.
- Let ganache thicken slightly. Set the ganache aside for 10–15 minutes, stirring occasionally, until it’s pourable but not runny. It should ribbon off a spoon and hold a soft shape.
- Assemble the cake. Place one cake layer on a serving plate.
Spread 1/3 of the ganache over the top. Set the second layer on top. Pour the remaining ganache over the center, nudging it to the edges with an offset spatula so it drips evenly down the sides.
- Finish and set. Let the cake sit at room temperature for 30–45 minutes to let the ganache firm.
Garnish with berries, chocolate curls, or a pinch of flaky salt if you like.
- Slice and serve. Use a warm, clean knife for neat slices. Wipe the knife between cuts for a tidy finish.
How to Store
- Room temperature: Keep the cake covered at cool room temperature for up to 2 days. If your kitchen is warm, move it to the fridge.
- Refrigerator: Store covered for up to 5 days.
Let slices sit out 20–30 minutes before serving so the ganache softens.
- Freezer: Wrap individual slices tightly and freeze for up to 2 months. Thaw in the fridge overnight, then bring to room temperature before enjoying.
Health Benefits
Chocolate isn’t just a treat—it can offer small perks when enjoyed in moderation. Dark chocolate provides antioxidants like flavonoids, which may support heart health.
Using oil and buttermilk creates a moist cake without needing excessive butter. You’re also able to control sweetness by choosing higher-cocoa chocolate for the ganache, which tends to be less sugary.
That said, this is still a dessert. Balance it with nutrient-dense meals and consider smaller portions.
A little goes a long way with such a rich, satisfying cake.
Pitfalls to Watch Out For
- Overbaking the cake: Even a few extra minutes can dry it out. Start checking at 28 minutes.
- Ganache too thin: If it runs off the cake, it likely needs more time to cool and thicken. Give it 5–10 more minutes and stir again.
- Chocolate seized or grainy: Avoid getting water into the chocolate and don’t overheat the cream.
It should be hot, not boiling hard.
- Warm cake layers: Pouring ganache on a warm cake leads to sliding and melting. Cool layers completely.
- Uneven layers: Level domed tops with a serrated knife, or flip layers so flat sides face outward for a smooth finish.
Recipe Variations
- Salted Caramel Twist: Spread a thin layer of salted caramel between the layers before adding ganache. Finish with flaky salt.
- Mocha Ganache: Stir 1 teaspoon espresso powder into the hot cream before pouring over the chocolate.
- Raspberry Layer: Add a thin swipe of raspberry jam between layers for tart contrast.
- Gluten-Free: Use a gluten-free 1:1 baking flour blend.
Check that your chocolate is certified GF.
- Dairy-Free: Swap buttermilk for almond milk mixed with 1 tablespoon lemon juice (let sit 5 minutes), and use coconut cream for the ganache with dairy-free dark chocolate.
- Sheet Cake: Bake in a 9×13-inch pan for about 30–35 minutes. Pour ganache on top and spread to the edges.
FAQ
Can I make the cake layers ahead of time?
Yes. Bake and cool the layers, then wrap tightly in plastic and refrigerate for up to 2 days or freeze for up to 2 months.
Thaw in the fridge, then assemble with fresh ganache.
What chocolate is best for ganache?
Use good-quality semi-sweet or dark chocolate, around 55–70% cocoa. Avoid chips if possible, as they contain stabilizers and don’t melt as smoothly. If using chips, chop them finer and stir longer.
How can I fix split or grainy ganache?
Warm it gently over a double boiler or in short 5–10 second bursts in the microwave, stirring constantly, until smooth.
If it still looks broken, whisk in 1–2 teaspoons of warm milk or cream.
Can I make cupcakes with this recipe?
Absolutely. Divide the batter into lined muffin tins, filling each about two-thirds full. Bake 16–20 minutes.
Dip or spoon ganache over cooled cupcakes.
Do I need to refrigerate the cake because of the ganache?
Not immediately. Ganache is stable at cool room temperature for a day or two. If your kitchen is warm or you need to keep it longer, refrigerate and bring to room temp before serving.
Why add coffee to the batter?
Hot coffee enhances the chocolate flavor and blooms the cocoa.
You won’t taste coffee in the final cake, just a deeper, more rounded chocolate note. Hot water works too if you prefer.
In Conclusion
This chocolate ganache cake delivers big flavor with simple steps and reliable results. The tender crumb, glossy finish, and balanced sweetness make it a crowd-pleaser for any occasion.
Keep the tips in mind, and you’ll have a dessert that looks polished and tastes even better. One slice in, and you’ll know why this is a keeper recipe.
Printable Recipe Card
Want just the essential recipe details without scrolling through the article? Get our printable recipe card with just the ingredients and instructions.