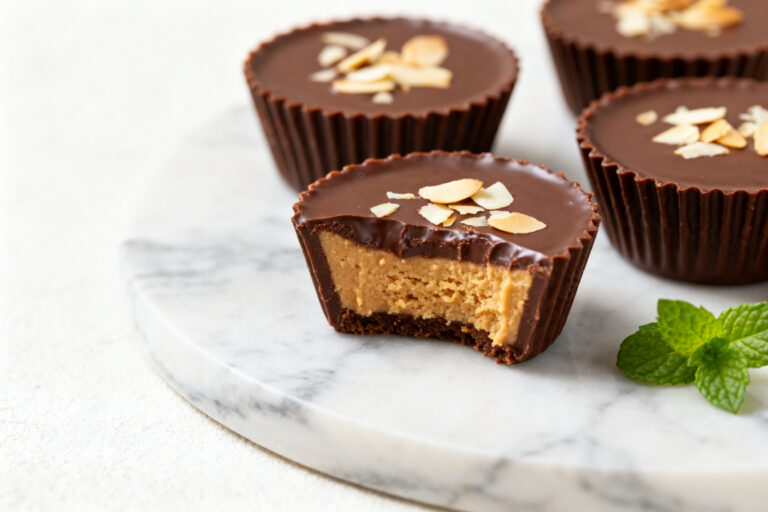
Keto Hazelnut Spread – Rich, Creamy, and Low-Carb
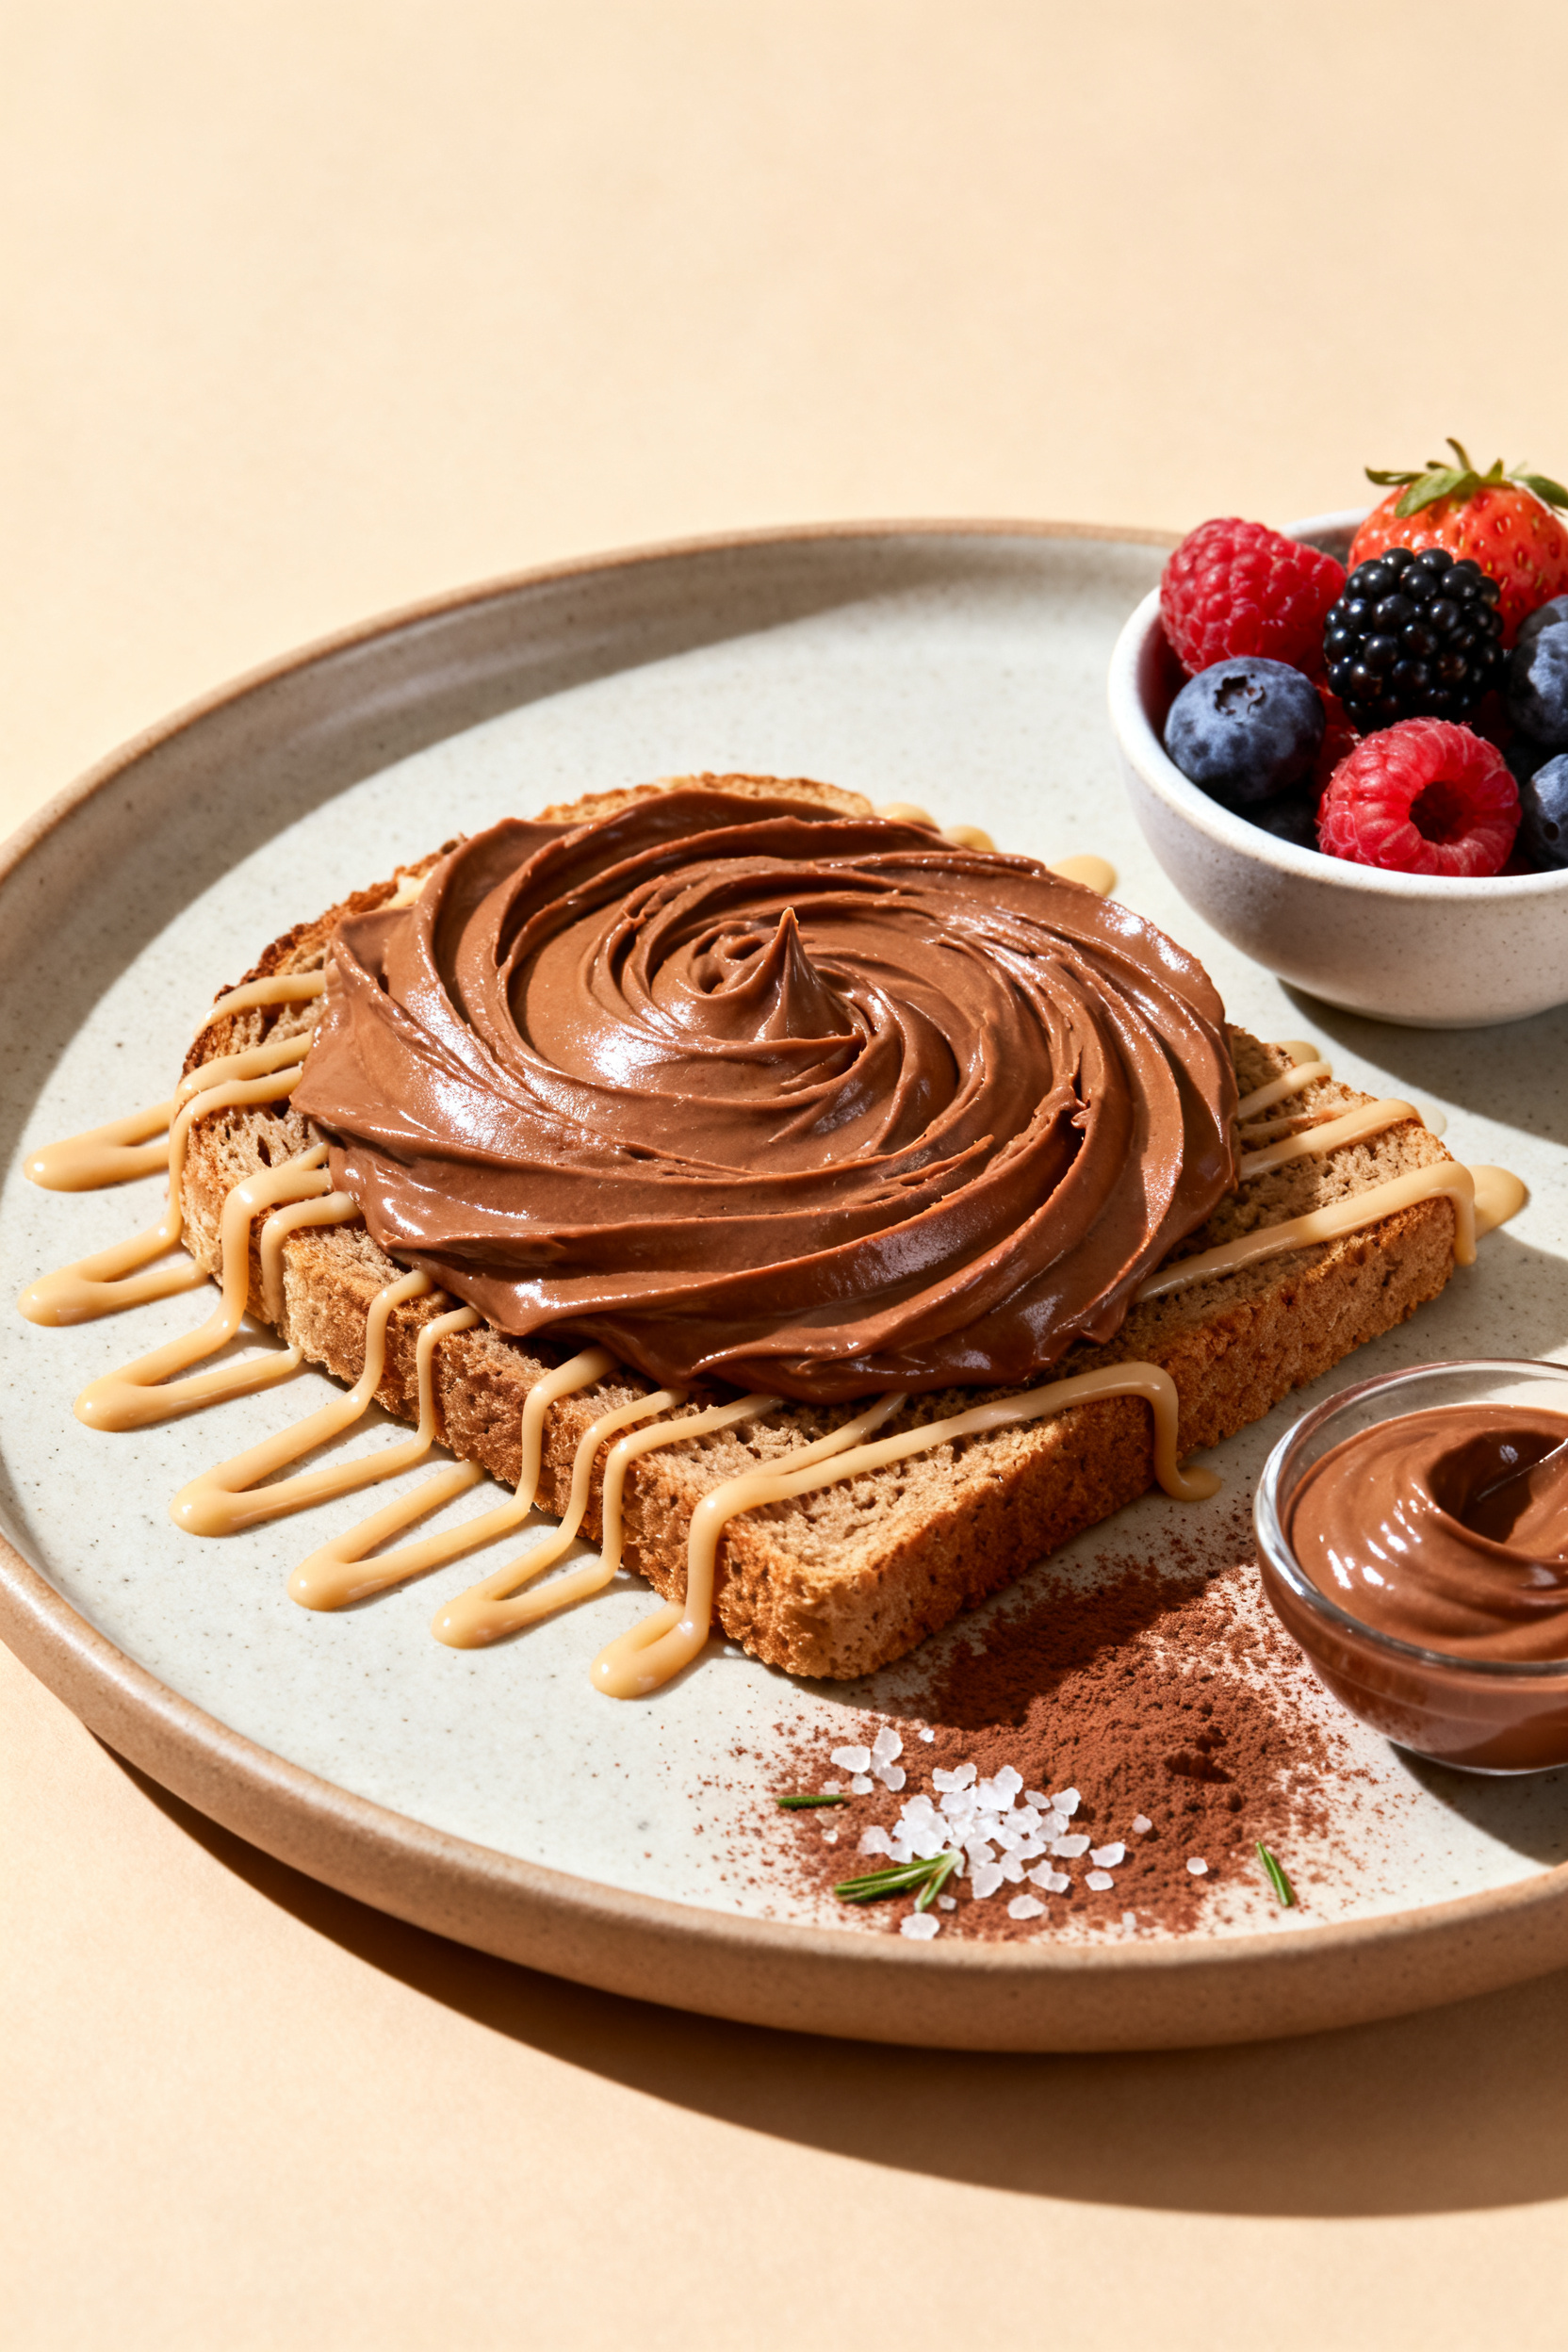
This keto hazelnut spread tastes like a treat but fits neatly into a low-carb lifestyle. It’s silky, chocolatey, and packed with roasted hazelnut flavor. You can spoon it over berries, swirl it into yogurt, or spread it on low-carb toast.
Best of all, it’s simple to make at home with just a handful of ingredients and a good blender. No mystery oils or added sugars—just pure, real ingredients you can feel good about.
Keto Hazelnut Spread - Rich, Creamy, and Low-Carb
Ingredients
Method
- Roast the hazelnuts: Preheat the oven to 350°F (175°C). Spread hazelnuts on a baking sheet and roast for 10–12 minutes, shaking the pan halfway, until fragrant and lightly browned.
- Remove most of the skins: Transfer warm hazelnuts to a clean kitchen towel.Rub them together to loosen the skins. Don’t worry about stubborn bits—some skin is fine and adds flavor.
- Process into a butter: Add the warm, peeled hazelnuts to a high-powered food processor or blender. Blend until they turn into a smooth nut butter, scraping down the sides as needed.This can take 3–8 minutes.
- Add cocoa and sweetener: Sprinkle in the cocoa powder and 1/3 cup powdered sweetener. Pulse to combine, then blend.
- Stream in oil: With the machine running, slowly add 2 tablespoons of oil. Keep blending until the mixture loosens and becomes glossy.Add more oil, 1 tablespoon at a time, until you reach a spreadable consistency.
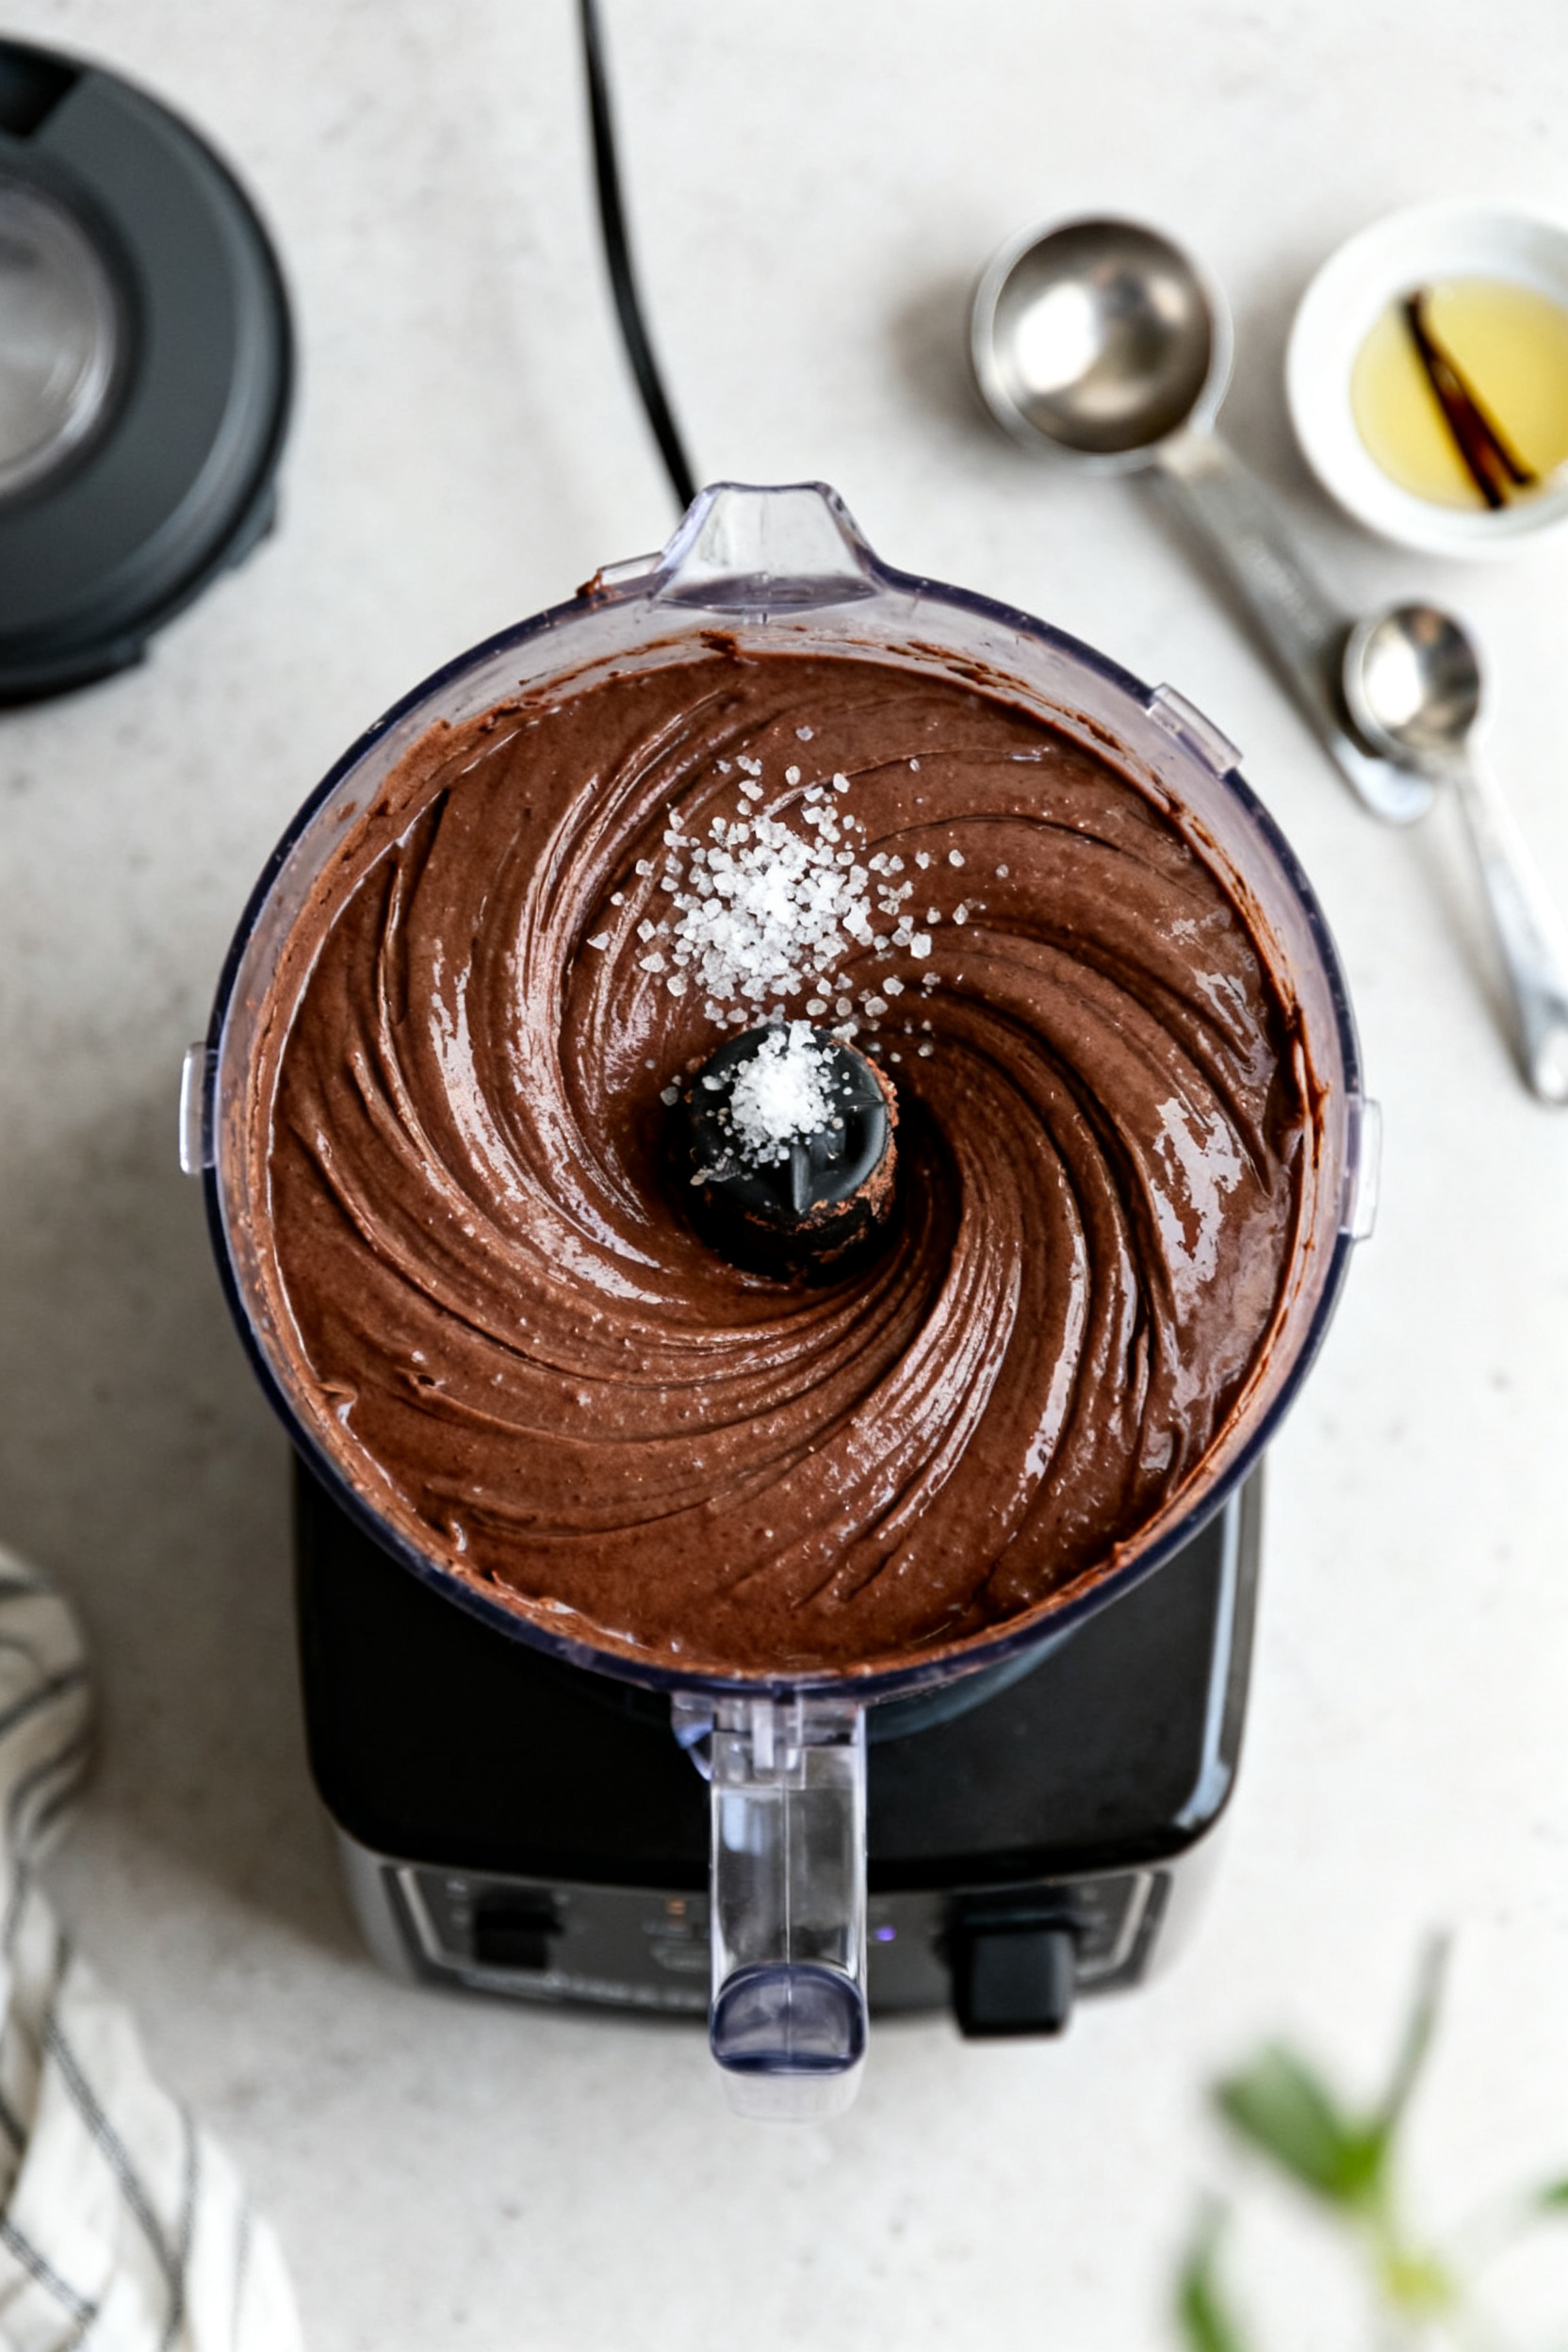
- Flavor and balance: Add vanilla and salt. Blend again. Taste and adjust sweetness, salt, or cocoa.If you want extra richness, blend in the optional cream a little at a time.
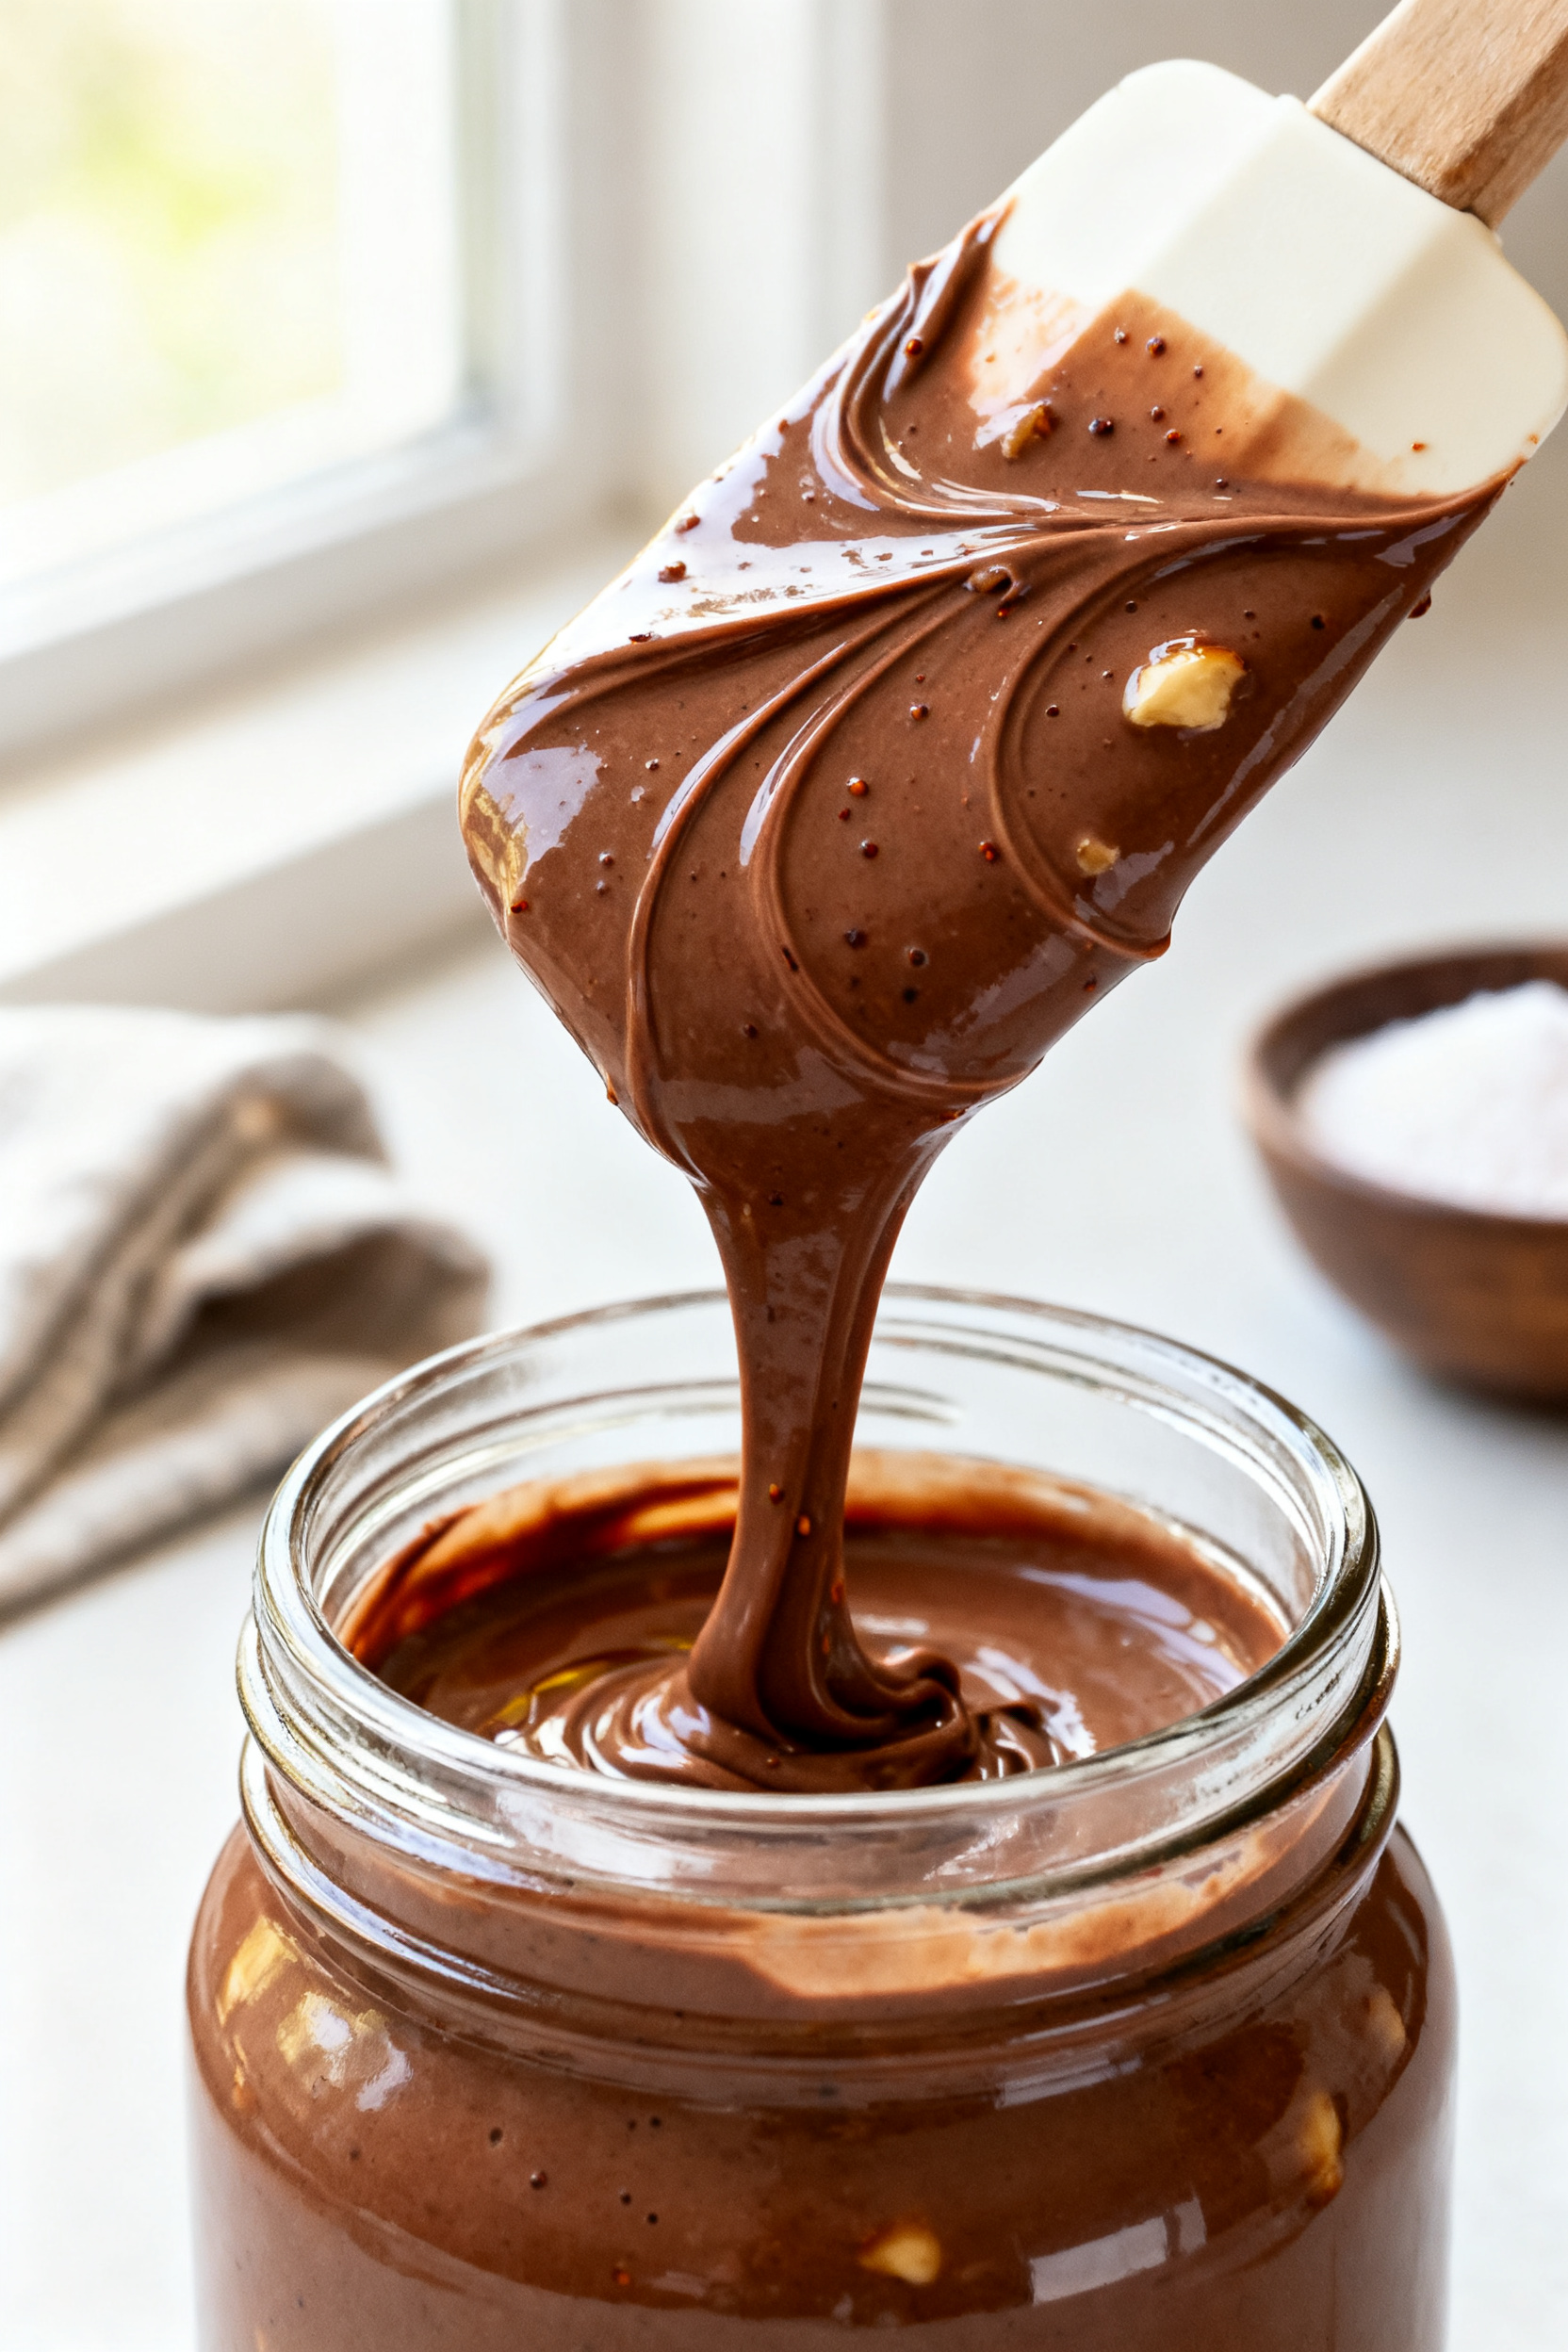
- Smooth it out: For a silkier texture, blend 1–2 more minutes. The spread should be thick yet pourable when warm; it will firm up as it cools.
- Jar and cool: Transfer to a clean jar. Let it cool to room temperature, then seal.
Why This Recipe Works
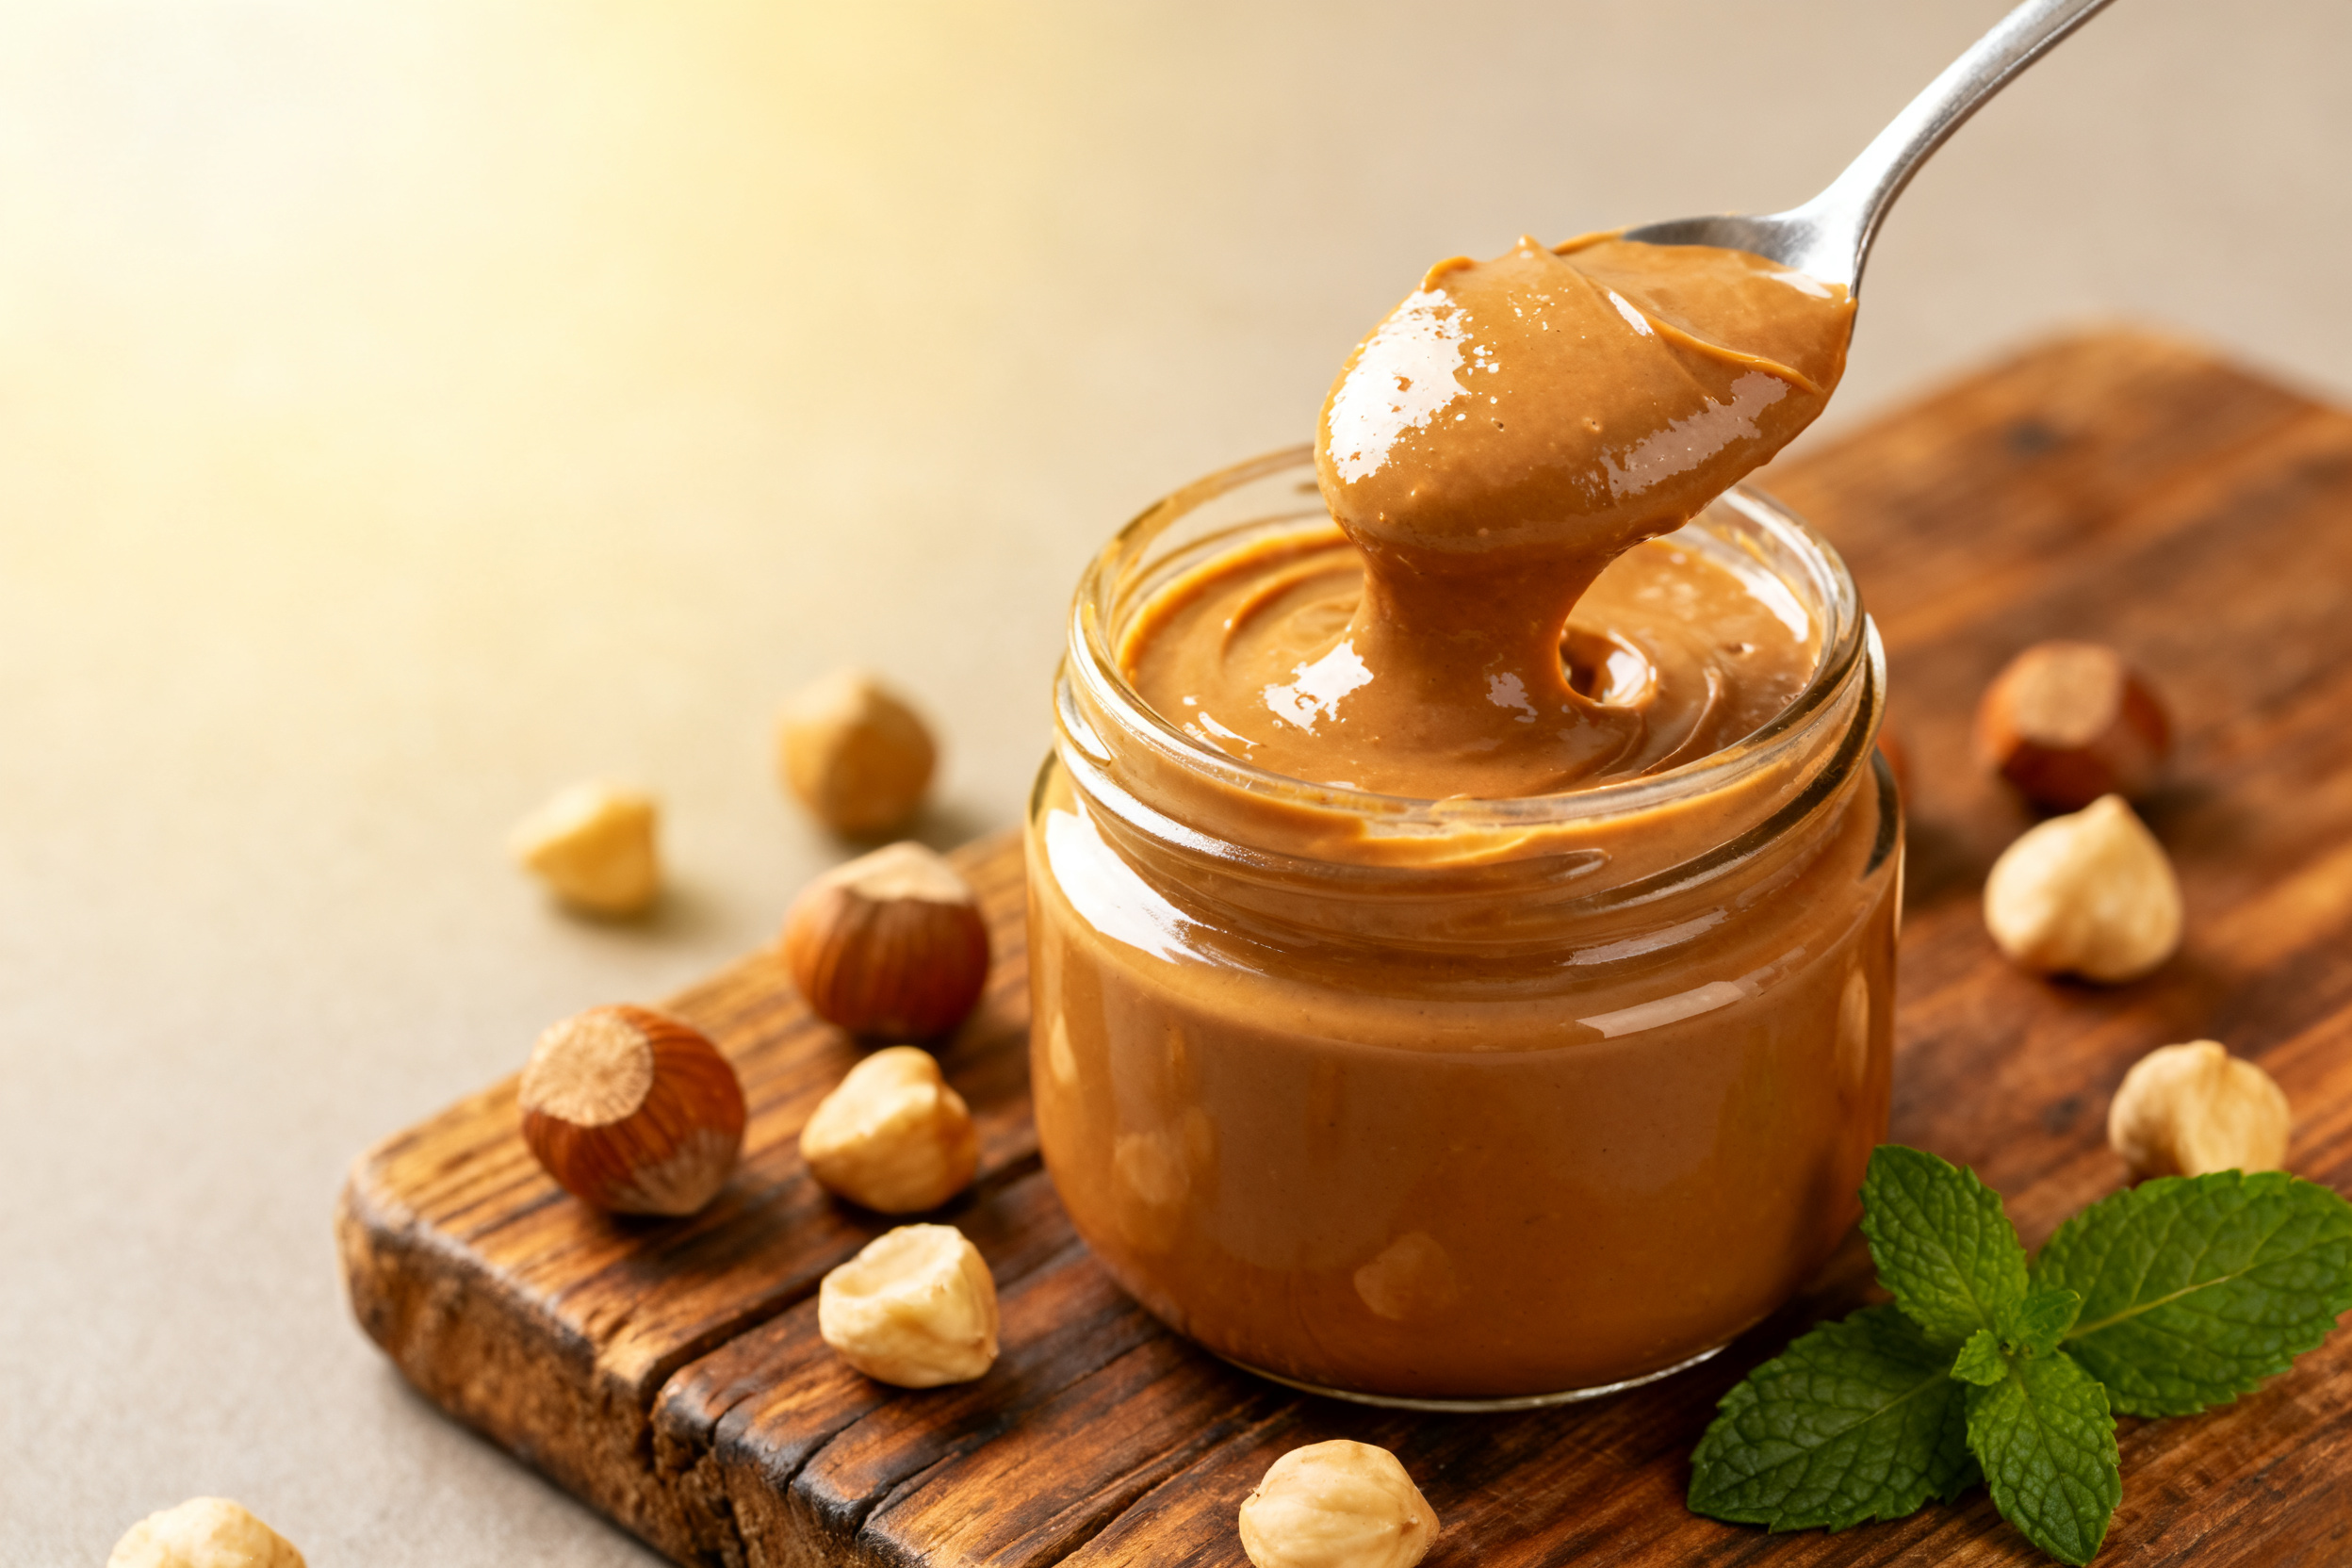
- Roasted hazelnuts create deep flavor: Roasting draws out natural oils and adds a toasty note that makes the spread taste luxurious.
- Powdered sweetener blends smoothly: Using a powdered, zero-calorie sweetener prevents grittiness and keeps carbs low.
- Cocoa powder for classic chocolate taste: It gives that familiar chocolate-hazelnut vibe without the sugar spike.
- MCT or avocado oil for creaminess: A neutral, keto-friendly oil helps the spread turn silky and spreadable.
- Customizable sweetness and texture: Adjust sweetener, salt, and oil to match your preferred flavor and thickness.
Ingredients
- 2 cups raw hazelnuts
- 1/4 cup unsweetened cocoa powder (Dutch-process for smoother flavor, optional)
- 1/3 to 1/2 cup powdered erythritol, allulose, or a blend (to taste)
- 2–4 tablespoons MCT oil, avocado oil, or light olive oil
- 1 teaspoon pure vanilla extract
- 1/8 to 1/4 teaspoon fine sea salt (to taste)
- Optional: 1–2 tablespoons heavy cream or coconut cream for extra richness
- Optional: 1 tablespoon hazelnut butter (if your nuts are dry and need a boost)
How to Make It
- Roast the hazelnuts: Preheat the oven to 350°F (175°C). Spread hazelnuts on a baking sheet and roast for 10–12 minutes, shaking the pan halfway, until fragrant and lightly browned.
- Remove most of the skins: Transfer warm hazelnuts to a clean kitchen towel.
Rub them together to loosen the skins. Don’t worry about stubborn bits—some skin is fine and adds flavor.
- Process into a butter: Add the warm, peeled hazelnuts to a high-powered food processor or blender. Blend until they turn into a smooth nut butter, scraping down the sides as needed.
This can take 3–8 minutes.
- Add cocoa and sweetener: Sprinkle in the cocoa powder and 1/3 cup powdered sweetener. Pulse to combine, then blend.
- Stream in oil: With the machine running, slowly add 2 tablespoons of oil. Keep blending until the mixture loosens and becomes glossy.
Add more oil, 1 tablespoon at a time, until you reach a spreadable consistency.
- Flavor and balance: Add vanilla and salt. Blend again. Taste and adjust sweetness, salt, or cocoa.
If you want extra richness, blend in the optional cream a little at a time.
- Smooth it out: For a silkier texture, blend 1–2 more minutes. The spread should be thick yet pourable when warm; it will firm up as it cools.
- Jar and cool: Transfer to a clean jar. Let it cool to room temperature, then seal.
How to Store
- Refrigerator: Store in an airtight jar for up to 3 weeks.
It will thicken in the fridge.
- Counter: If your kitchen is cool, you can keep it at room temperature for up to 5 days. Use a clean spoon to avoid contamination.
- Freezer: Freeze in a sealed container for up to 3 months. Thaw overnight in the fridge and stir well before using.
- To soften: If it firms up, let the jar sit at room temperature for 15–20 minutes or warm gently in a water bath.
Stir to restore creaminess.
Health Benefits
- Low in net carbs: Using a zero-calorie sweetener keeps sugars down and helps maintain ketosis.
- Healthy fats: Hazelnuts provide monounsaturated fats that support heart health and satiety.
- Micronutrient boost: Hazelnuts are a source of vitamin E, magnesium, and manganese.
- Fiber for fullness: Nuts and cocoa add fiber that can help curb cravings and support digestion.
- No seed oils or additives: You control the ingredients, avoiding fillers found in many store-bought spreads.
What Not to Do
- Don’t skip roasting: Raw hazelnuts won’t blend as smoothly and lack that deep, nutty flavor.
- Don’t use granulated sweetener: It won’t dissolve well and can make the spread gritty. Powdered is best.
- Don’t add all the oil at once: You might overshoot and end up with a runny spread. Add gradually.
- Don’t blend with a weak appliance: Underpowered blenders can overheat or yield a chunky texture.
A strong food processor or high-speed blender is ideal.
- Don’t forget the salt: A pinch lifts the chocolate and hazelnut flavors. Skipping it can make the spread taste flat.
Variations You Can Try
- Dark chocolate swirl: Melt 1–2 ounces of 85–90% dark chocolate and blend in for a richer, shinier finish.
- Mocha version: Add 1–2 teaspoons espresso powder for a subtle coffee kick.
- Hazelnut-coconut: Replace 1–2 tablespoons of oil with coconut oil for a hint of coconut and a firmer set in the fridge.
- Maple-keto vibe: Use a maple-flavored keto syrup or a few drops of maple extract with your sweetener.
- Protein boost: Blend in 1 scoop of unflavored or chocolate whey isolate. You may need a little extra oil to keep it smooth.
- Nut mix: Swap 1/2 cup of hazelnuts for almonds or macadamias for a different flavor profile.
FAQ
Can I use a liquid sweetener?
Yes, but go slowly.
Liquid sweeteners can thin the spread. Start with a small amount and reduce the added oil to maintain a creamy texture.
What if my spread is too thick?
Blend in 1 teaspoon of oil at a time until it loosens. If flavor is too intense, you can also add a tablespoon of heavy cream or warm water, then blend until smooth.
What if my spread is too runny?
Add 1–2 teaspoons of additional cocoa powder or powdered sweetener, then blend.
Chill the spread for 30 minutes to help it set, and avoid adding more oil.
Do I have to remove all the hazelnut skins?
No. Removing most of them helps reduce bitterness and improve texture, but some skin is fine. The spread will still be delicious.
Which sweetener tastes best?
Allulose is very smooth and less cooling than erythritol.
A blend of erythritol and monk fruit also works well. Choose powdered forms to keep the texture silky.
Can I make it without dairy?
Absolutely. Use oil only or add coconut cream instead of heavy cream.
The recipe is naturally dairy-free unless you add cream or chocolate with dairy.
Is Dutch-process cocoa necessary?
Not necessary, but it gives a smoother, less acidic chocolate flavor. Natural cocoa is fine if you prefer a brighter chocolate note.
Can I toast the nuts on the stovetop?
Yes. Toast in a dry skillet over medium heat, stirring often, for 7–9 minutes until fragrant.
Watch closely to prevent scorching.
Final Thoughts
This keto hazelnut spread brings together rich flavor, simple ingredients, and a texture you’ll actually want to lick off the spoon. It’s easy to customize, budget-friendly, and ready in about 20 minutes. Keep a jar in the fridge for quick breakfasts, snacks, or desserts that won’t knock you off your goals.
Once you taste the homemade version, the store-bought stuff won’t tempt you nearly as much.
Printable Recipe Card
Want just the essential recipe details without scrolling through the article? Get our printable recipe card with just the ingredients and instructions.