Protein Crepes – Light, Flexible, and Perfect for Any Filling
Protein crepes are a simple upgrade to a classic breakfast favorite. They’re thin, flexible, and delicious, but with a satisfying boost of protein that actually keeps you full. You don’t need fancy tools or tricky techniques—just a blender, a nonstick pan, and a few pantry staples.
Make them sweet or savory, stack them high, and fill them with whatever you’re craving. Once you’ve tried this version, it’s hard to go back to the traditional kind.

Protein Crepes – Light, Flexible, and Perfect for Any Filling
Ingredients
Method
- Blend the batter. Add eggs, milk, flour, protein powder, Greek yogurt, melted butter, salt, and any optional sweetener or flavorings to a blender.Blend until completely smooth, 20–30 seconds. The batter should be thin and pourable like heavy cream.
- Rest the batter. Let it sit for 10–15 minutes at room temperature. This relaxes the flour and helps the bubbles settle, which makes crepes that don’t tear.
- Preheat your pan. Heat a nonstick 8–10 inch skillet over medium heat for 2–3 minutes.Lightly brush with butter or oil. A hot pan prevents sticking and helps the batter spread thinly.
- Pour and swirl. Lift the pan off the heat. Pour in about 1/4 cup of batter, then quickly tilt and swirl to coat the bottom in a thin, even layer.Return the pan to the heat.
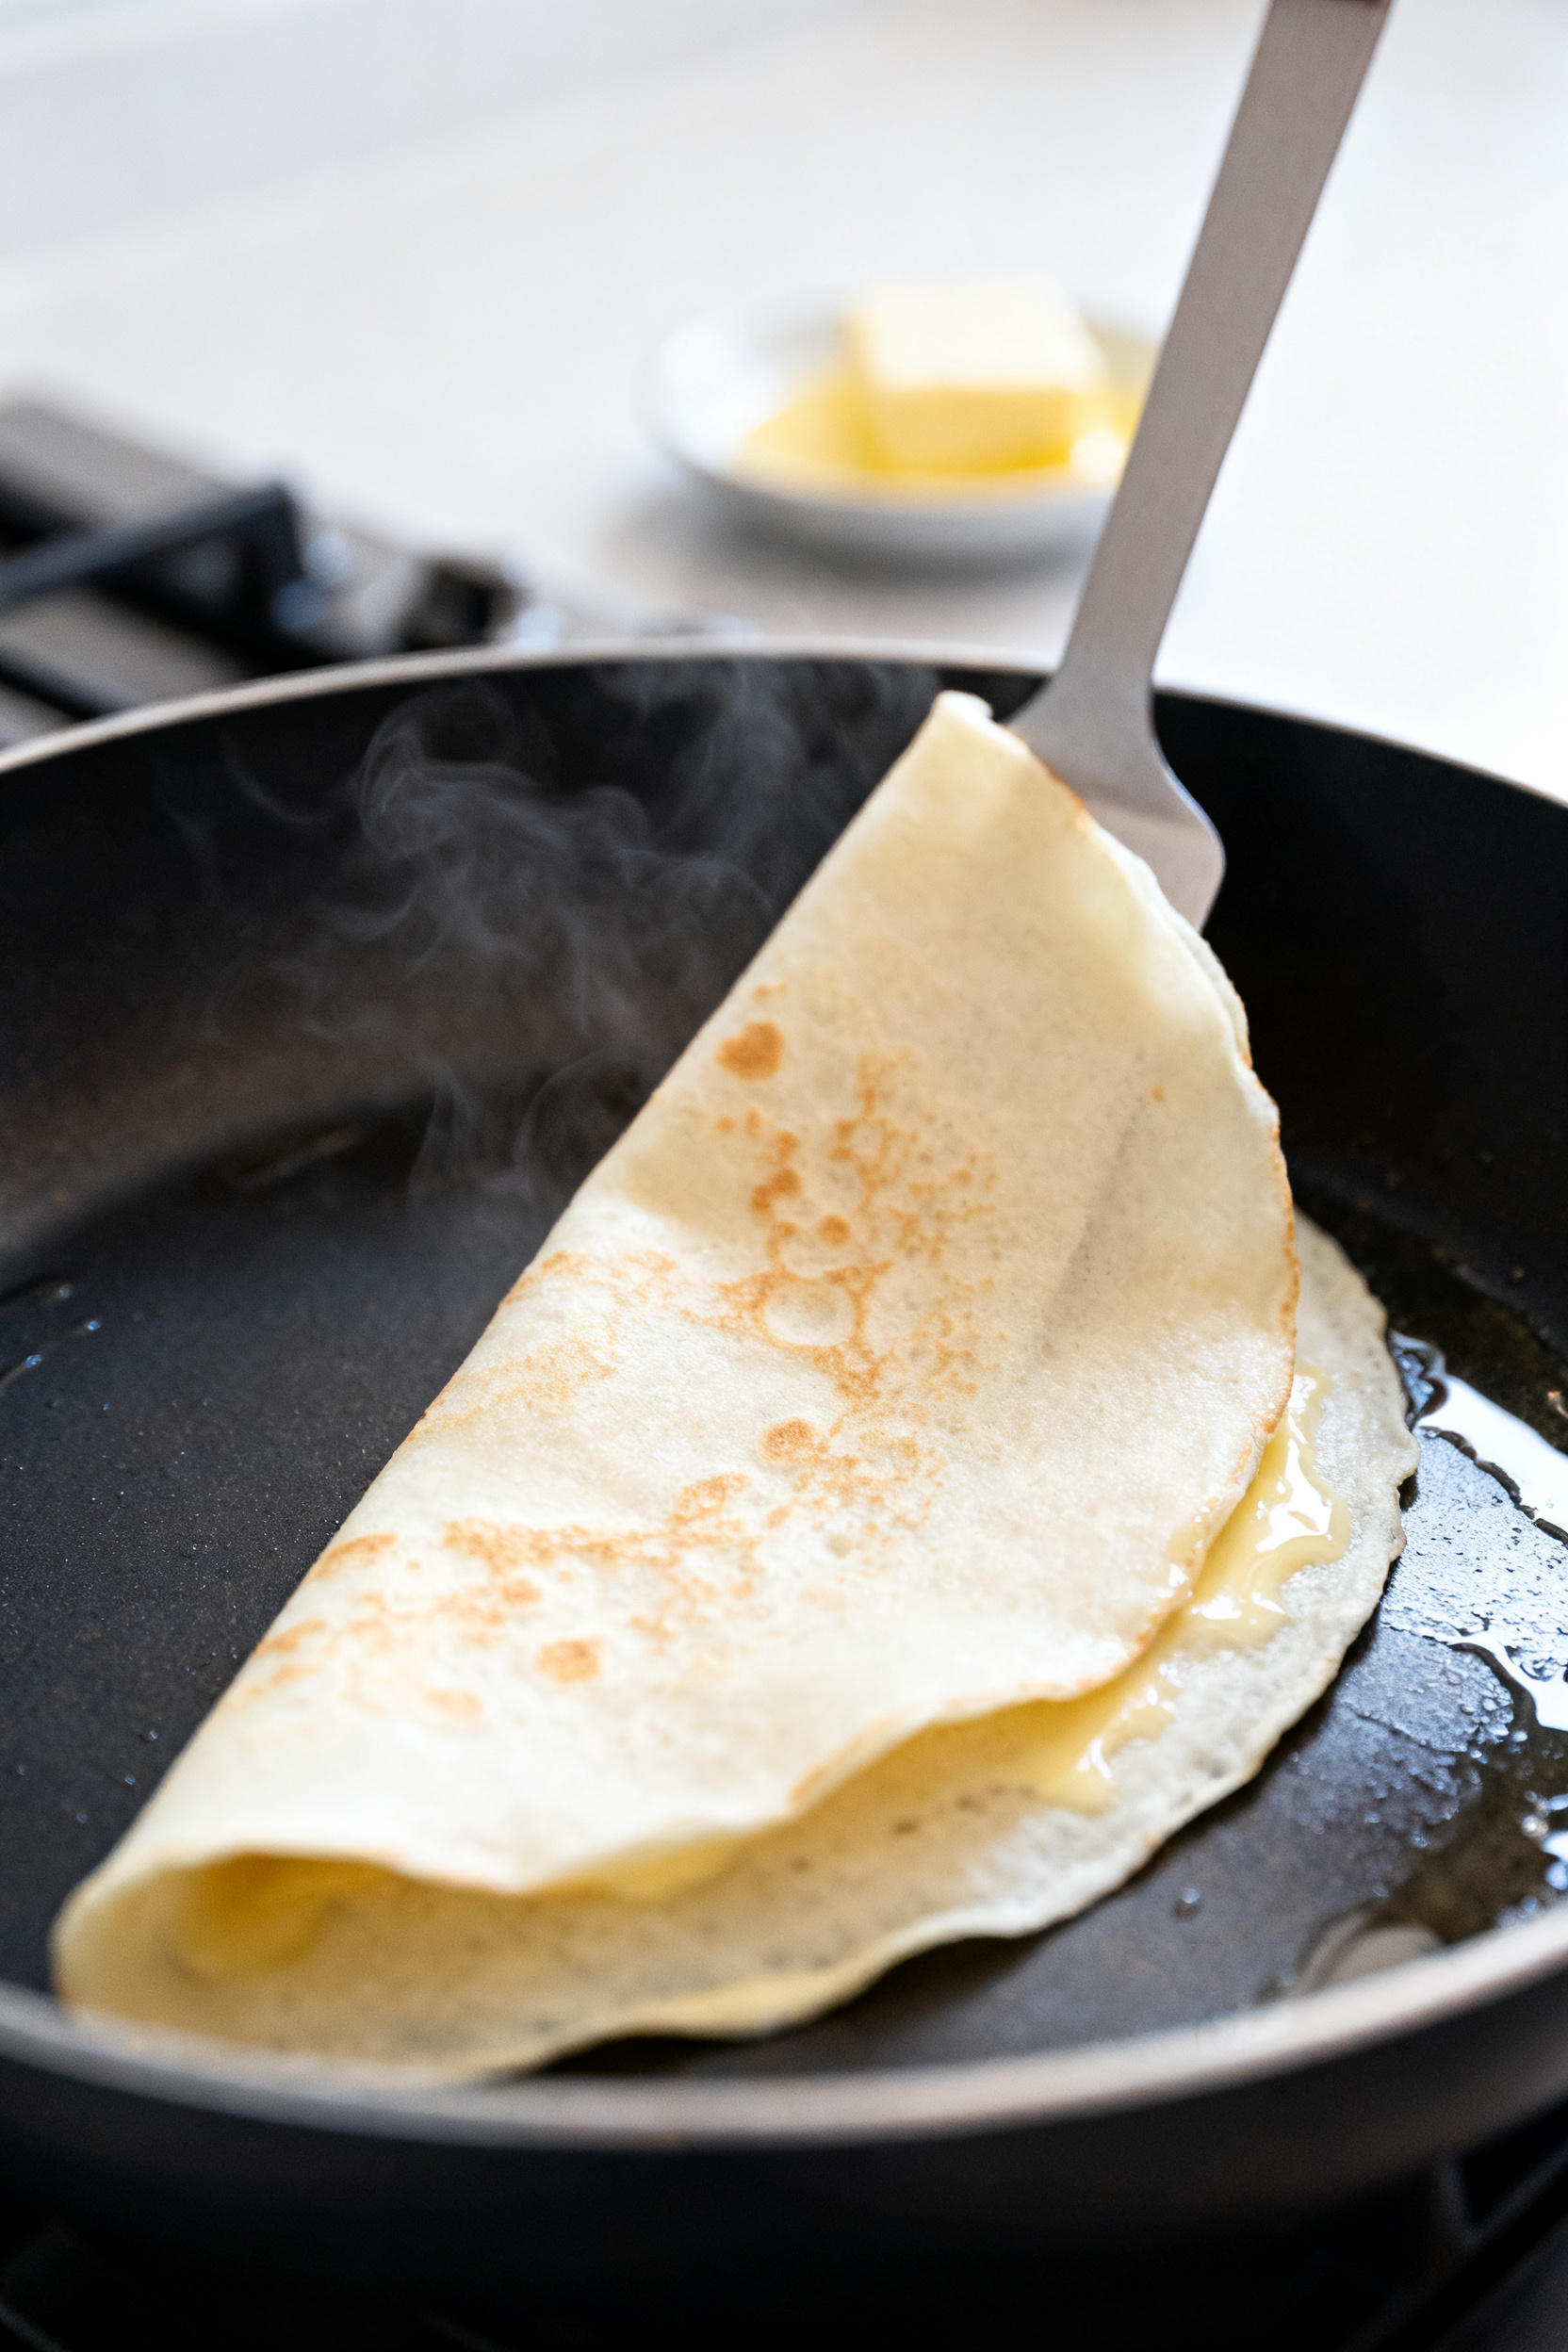
- Cook the first side. Cook for 45–60 seconds until the edges look dry and lift slightly, and the surface loses its shine. The underside should have light golden spots.
- Flip carefully. Run a thin spatula under the edge and flip in one smooth motion. Cook the second side for 20–30 seconds.Don’t overcook or they’ll turn brittle.
- Repeat. Transfer the crepe to a plate and cover with a clean kitchen towel to keep it soft. Lightly grease the pan as needed. Continue until all batter is used.
- Fill and serve. Add your favorite fillings and roll, fold into quarters, or stack into a crepe cake.Serve warm or at room temperature.
What Makes This Recipe So Good
These crepes cook up thin, tender, and pliable, just like the classic French version, but with extra protein to help balance your meal. The batter blends in seconds and smooths out easily, so you won’t fight lumps or sticky texture.
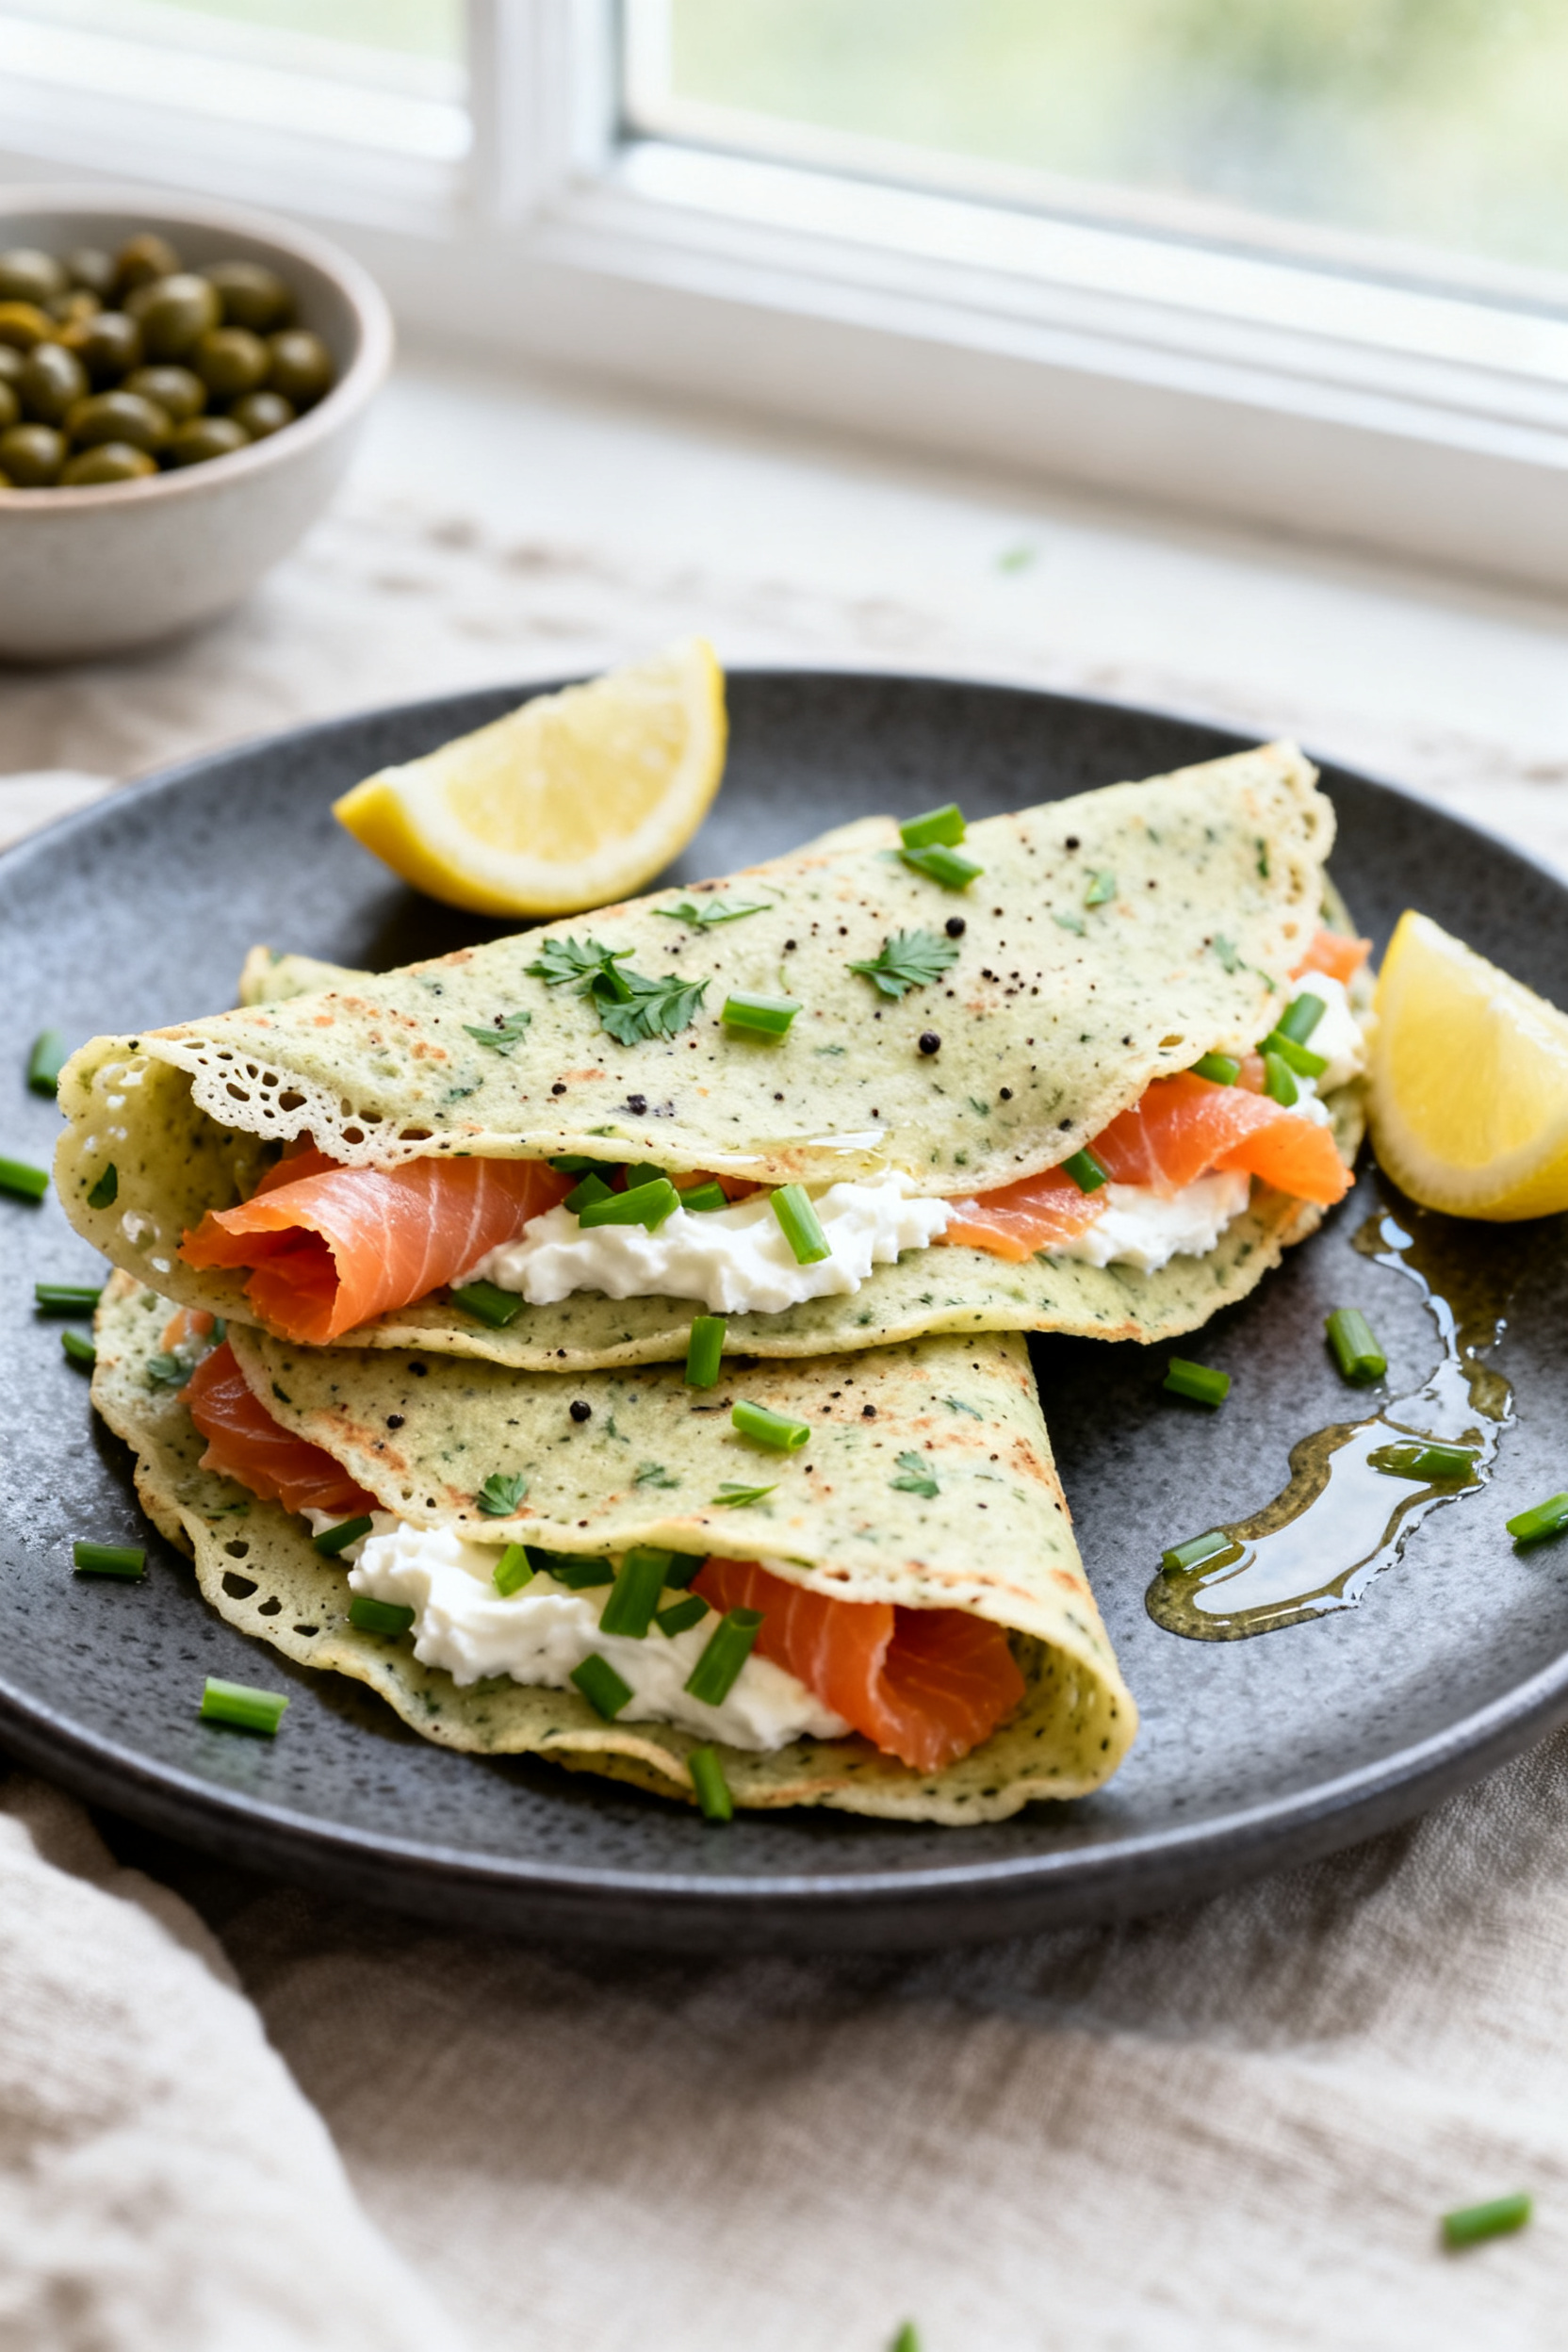
They’re versatile: think berries and yogurt for brunch, smoked salmon and cream cheese for lunch, or peanut butter and banana for a snack. They also reheat beautifully and taste great warm or chilled. If you’re watching macros, these give you a high-protein, lower-sugar base that still feels like a treat.
Shopping List (Ingredients)
- Eggs – 3 large
- Milk – 1 cup (dairy or unsweetened almond milk)
- All-purpose flour – 3/4 cup (or oat flour for a whole-grain option)
- Vanilla or unflavored whey protein powder – 1/4 cup
- Greek yogurt – 2 tablespoons (adds tenderness and protein)
- Butter or neutral oil – 2 tablespoons, melted (plus more for the pan)
- Salt – a pinch
- Optional sweetener – 1 to 2 teaspoons maple syrup, honey, or sugar (skip for savory)
- Optional flavor boosts – 1/2 teaspoon vanilla extract; a dash of cinnamon or lemon zest
How to Make It
- Blend the batter. Add eggs, milk, flour, protein powder, Greek yogurt, melted butter, salt, and any optional sweetener or flavorings to a blender.
Blend until completely smooth, 20–30 seconds. The batter should be thin and pourable like heavy cream.
- Rest the batter. Let it sit for 10–15 minutes at room temperature. This relaxes the flour and helps the bubbles settle, which makes crepes that don’t tear.
- Preheat your pan. Heat a nonstick 8–10 inch skillet over medium heat for 2–3 minutes.
Lightly brush with butter or oil. A hot pan prevents sticking and helps the batter spread thinly.
- Pour and swirl. Lift the pan off the heat. Pour in about 1/4 cup of batter, then quickly tilt and swirl to coat the bottom in a thin, even layer.
Return the pan to the heat.
- Cook the first side. Cook for 45–60 seconds until the edges look dry and lift slightly, and the surface loses its shine. The underside should have light golden spots.
- Flip carefully. Run a thin spatula under the edge and flip in one smooth motion. Cook the second side for 20–30 seconds.
Don’t overcook or they’ll turn brittle.
- Repeat. Transfer the crepe to a plate and cover with a clean kitchen towel to keep it soft. Lightly grease the pan as needed. Continue until all batter is used.
- Fill and serve. Add your favorite fillings and roll, fold into quarters, or stack into a crepe cake.
Serve warm or at room temperature.
How to Store
Let crepes cool completely, then stack with a small piece of parchment between each one. Store in an airtight container in the fridge for up to 4 days. For longer storage, freeze the stacked crepes in a freezer bag for up to 2 months.
Thaw overnight in the fridge or briefly at room temperature, then warm in a dry skillet over low heat or in the microwave for 10–15 seconds.
Benefits of This Recipe
- High protein without heaviness – The combo of eggs, whey, and Greek yogurt boosts protein while keeping the crepes light.
- Balanced energy – Pair with fiber-rich fillings like berries or sautéed veggies to stay full longer.
- Meal prep friendly – Make a batch on Sunday and enjoy easy breakfasts or snacks all week.
- Customizable – Works with sweet or savory fillings and different milks and flours.
- Beginner-friendly – The blender batter and nonstick pan lower the risk of tearing or sticking.
What Not to Do
- Don’t skip the rest period. Batter that goes straight from blender to pan tends to bubble and tear.
- Don’t use high heat. Too hot and the crepes brown too fast and turn crisp. Medium is safest.
- Don’t overload with protein powder. More is not better; too much creates rubbery, dry crepes.
- Don’t add thick fillings while the crepe is in the pan. It can tear. Fill after moving to a plate.
- Don’t skip greasing the pan. Even nonstick pans need a light brush of fat for flawless release.
Variations You Can Try
- Oat Flour Crepes – Replace all-purpose flour with oat flour for a nutty taste and extra fiber.
Add 1–2 tablespoons more milk if the batter feels thick.
- Chocolate Protein Crepes – Use chocolate protein powder and add 1 tablespoon cocoa powder. Fill with strawberries and Greek yogurt or almond butter and banana.
- Savory Herb Crepes – Skip sweetener and vanilla. Add a pinch of black pepper and chopped chives or parsley.
Fill with scrambled eggs, smoked salmon, or sautéed mushrooms and spinach.
- Gluten-Free Version – Use a 1:1 gluten-free baking blend or buckwheat flour. With buckwheat, expect a heartier flavor and slightly darker color.
- Dairy-Free Option – Use almond or oat milk, dairy-free yogurt, and plant-based protein powder. Brush the pan with coconut oil or vegan butter.
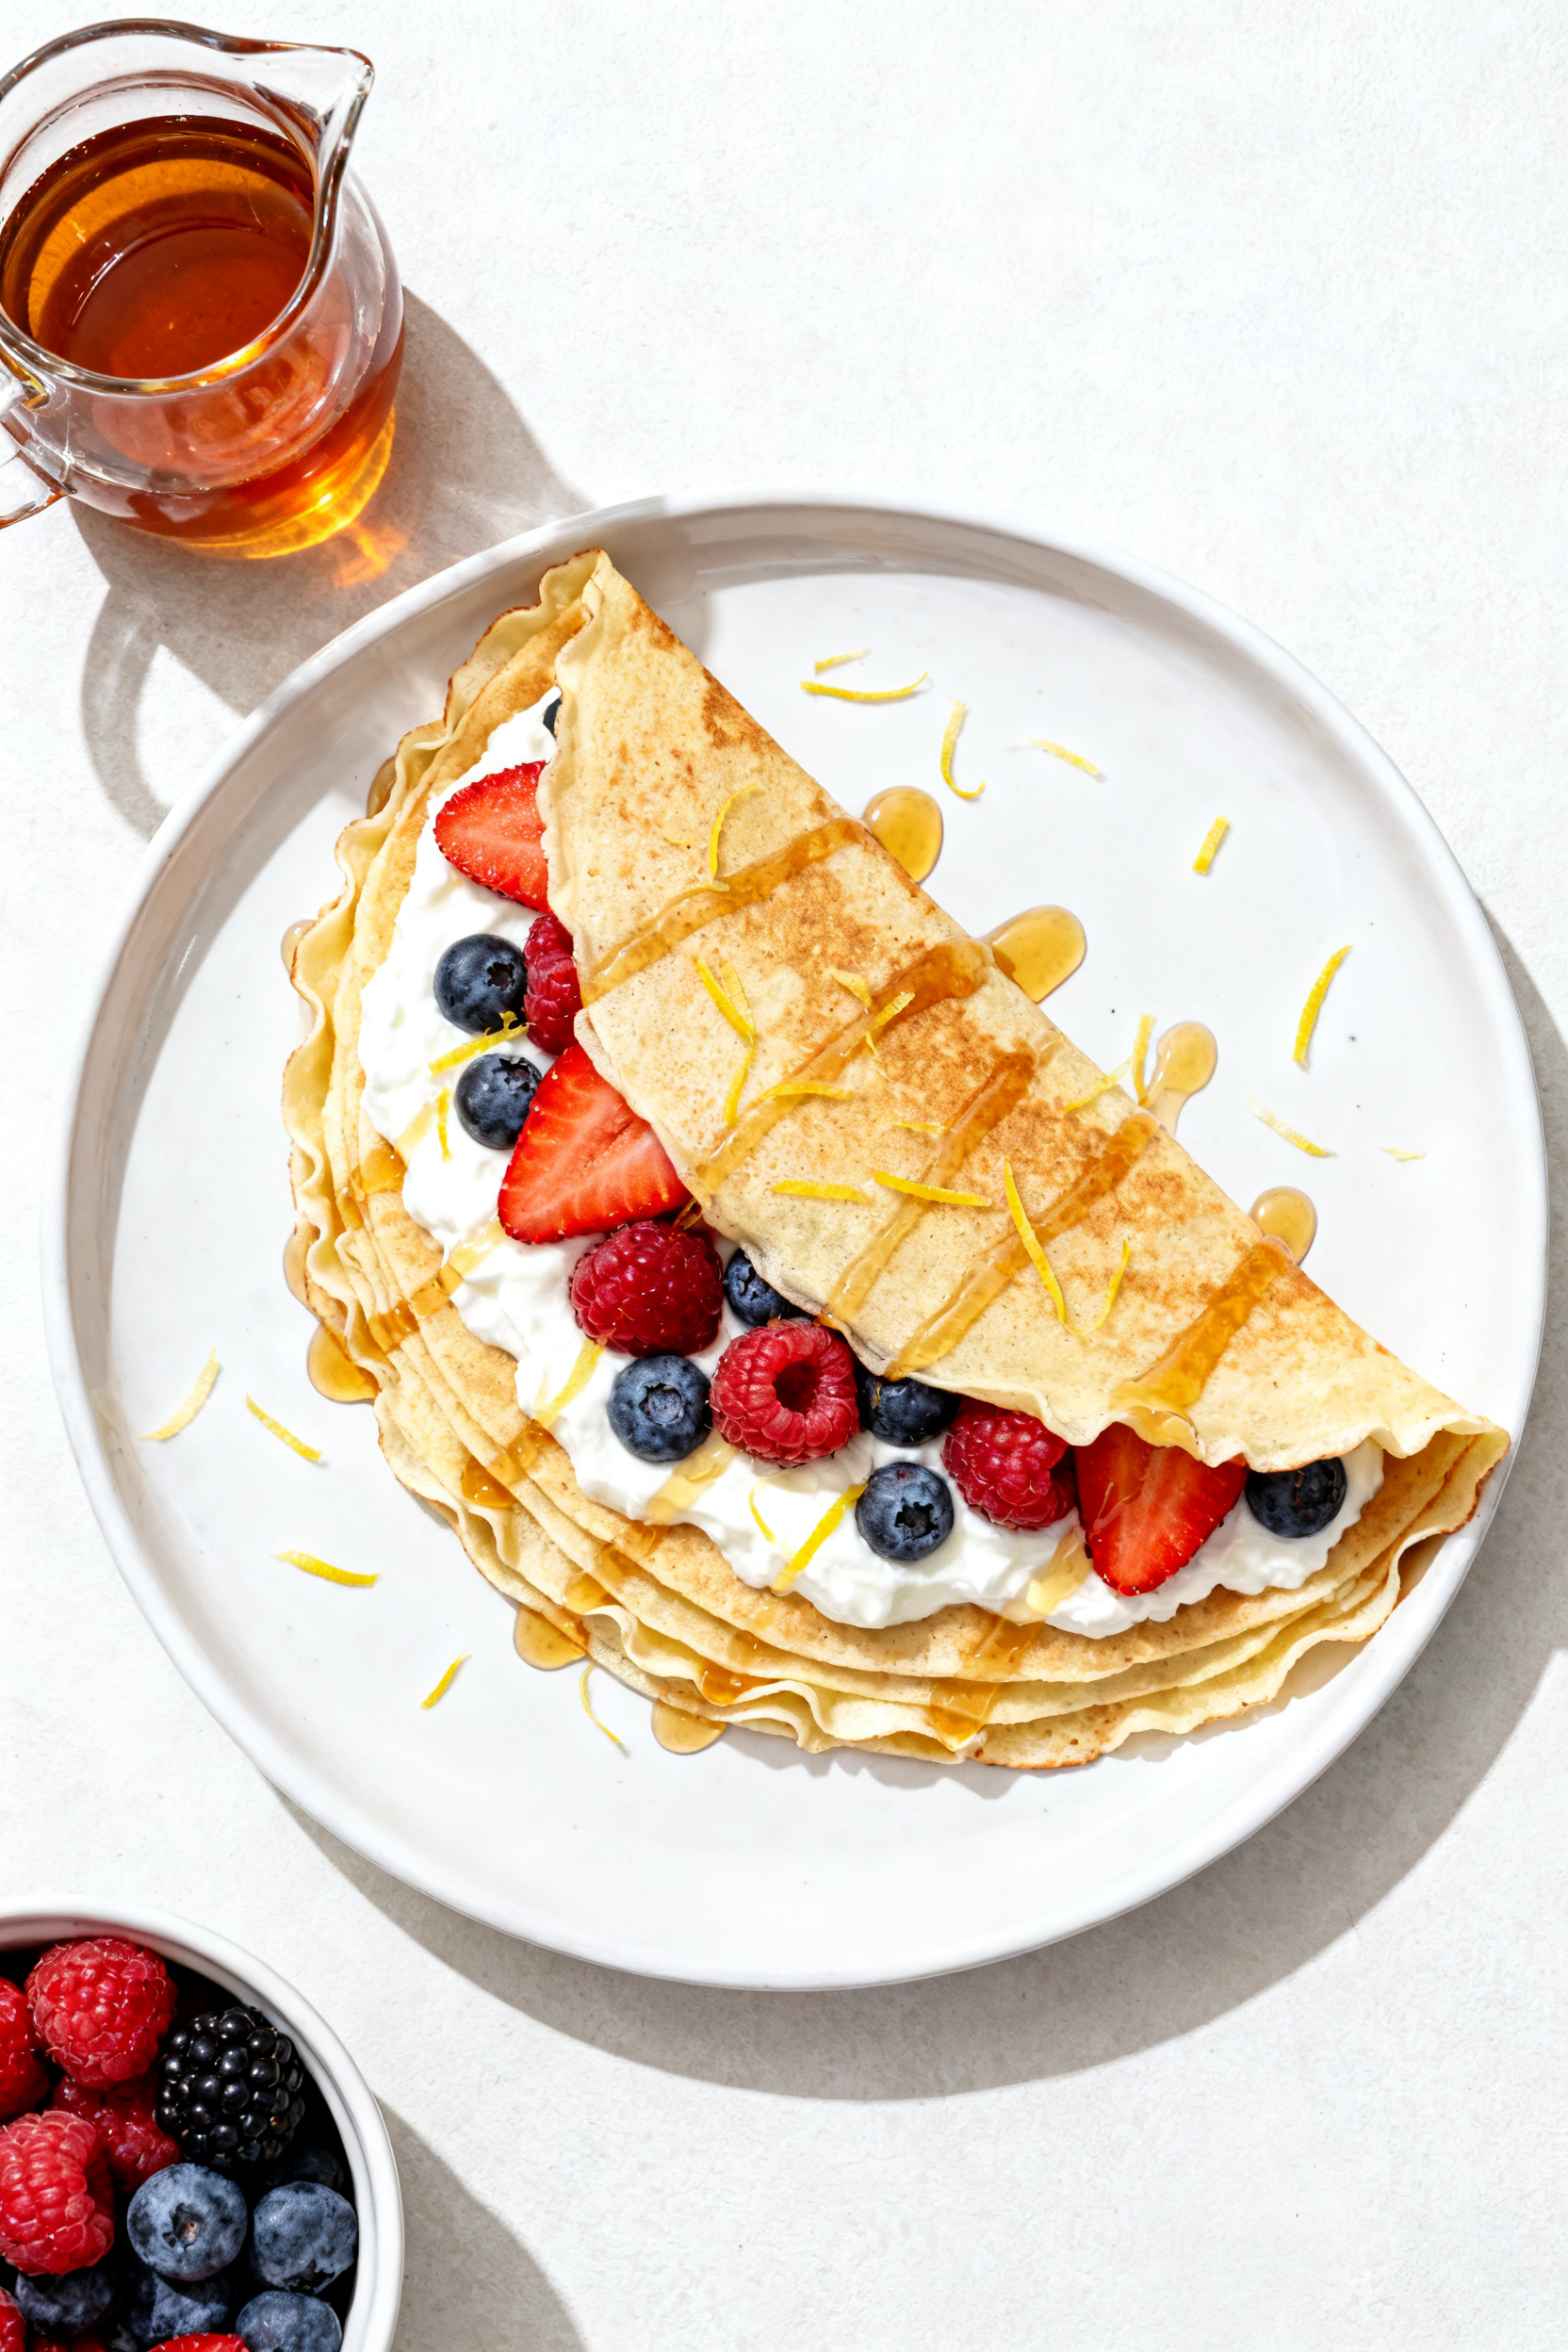
- Lemon Berry Crepes – Add lemon zest to the batter and fill with fresh berries, a spoon of Greek yogurt, and a drizzle of honey.
- High-Fiber Add-In – Blend in 1 tablespoon ground flaxseed or chia to the batter.
Add a splash more milk if needed.
FAQ
Why are my crepes tearing?
Usually the pan is too cool, the batter didn’t rest, or the crepe is too thick. Make sure the pan is evenly heated, let the batter sit for at least 10 minutes, and swirl quickly to create a thin layer. A touch more milk can also help if the batter feels heavy.
How do I prevent sticking?
Use a good nonstick skillet, preheat it properly, and lightly grease between crepes.
If your first crepe sticks, the pan likely wasn’t hot enough. Adjust the heat and try again with a bit more butter or oil.
Can I make the batter ahead?
Yes. Refrigerate the batter for up to 24 hours.
Stir well before cooking since flour and protein powder can settle. If it thickens overnight, add 1–2 tablespoons of milk to loosen it.
What fillings work best for protein crepes?
For sweet: Greek yogurt and berries, cottage cheese with peaches, peanut butter and banana, or a light drizzle of maple syrup. For savory: scrambled eggs, ham and cheese, turkey and avocado, or roasted vegetables with a smear of hummus.
Do I have to use whey protein?
No.
Whey blends smoothly and keeps crepes tender, but you can use casein, a whey-casein blend, or a plant protein. If using a gritty plant powder, blend longer and add a splash more milk for a silky batter.
Can I make mini crepes?
Absolutely. Use 2–3 tablespoons of batter per crepe in a small pan.
They cook faster, so watch closely and flip as soon as the edges lift.
How many crepes does this make?
Expect about 10–12 crepes from an 8–10 inch pan, depending on thickness. If you prefer ultra-thin crepes, you may get a couple more.
Wrapping Up
Protein crepes are a simple way to make breakfast feel special while still hitting your goals. The batter is easy, the technique is forgiving, and the results are endlessly adaptable.
Keep a stack in the fridge, switch up the fillings, and you’ve got a quick meal any time of day. Once you find your favorite combo, this recipe will be a regular in your rotation.
Printable Recipe Card
Want just the essential recipe details without scrolling through the article? Get our printable recipe card with just the ingredients and instructions.