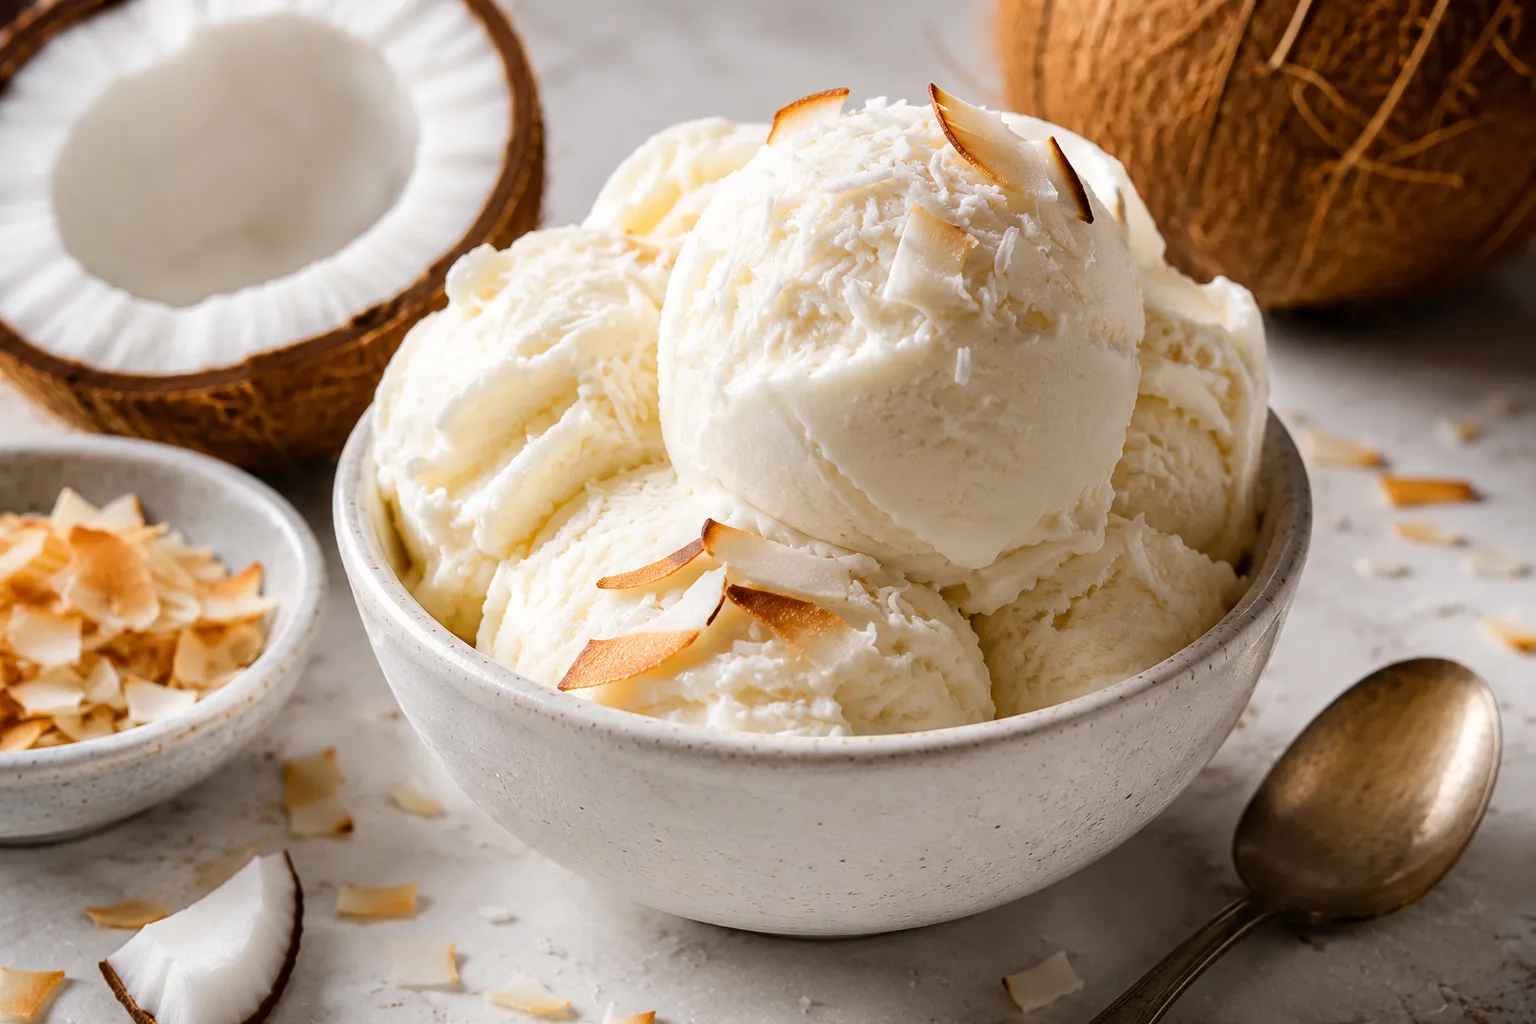
Sugar-Free Coconut Ice Cream – Creamy, Light, and Easy
Coconut ice cream without the sugar rush? Yes, please. This recipe is creamy, rich, and full of tropical flavor, but it’s made with simple ingredients and a gentle, balanced sweetness.
You don’t need to be a pro to get great texture, either—just follow a few easy steps. Whether you’re cutting back on sugar or just want a lighter dessert, this one hits the spot. It’s perfect for summer nights, dinner parties, or a quiet treat on the couch.
Ingredients
Method
- Chill your tools. Place the ice cream maker bowl in the freezer for at least 24 hours if required by your machine. Chill a mixing bowl in the fridge for 30 minutes to help the base stay cold.
- Blend the base. In the chilled bowl, whisk together coconut milk, coconut cream, powdered erythritol or allulose, vanilla, coconut extract (if using), salt, and alcohol (if using). Whisk until the sweetener fully dissolves and the mixture is smooth.
- Taste and adjust. Taste the base.If you want it sweeter, add 2–3 drops of stevia and whisk again. Remember that cold mutes sweetness slightly, so aim for just a touch sweeter than you’d like the final ice cream.
- Chill thoroughly. Cover and refrigerate the base for at least 2 hours, or up to overnight. A colder base churns faster and gets creamier.
- Churn. Pour the cold base into your ice cream maker and churn according to the manufacturer’s instructions, usually 18–25 minutes, until it reaches a soft-serve consistency.
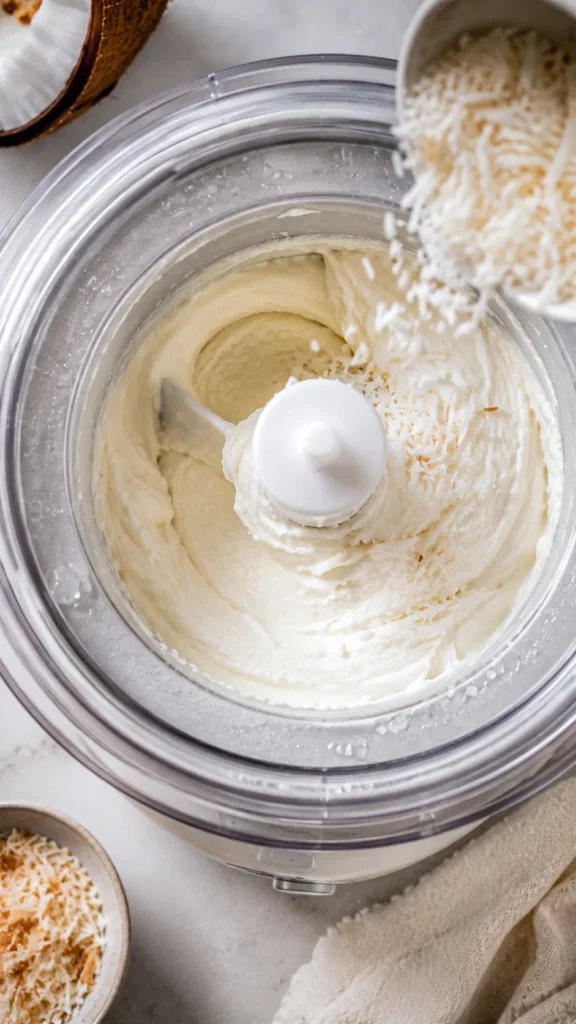
- Add mix-ins. In the last minute of churning, sprinkle in the shredded coconut if you’re using it.This keeps it evenly distributed.
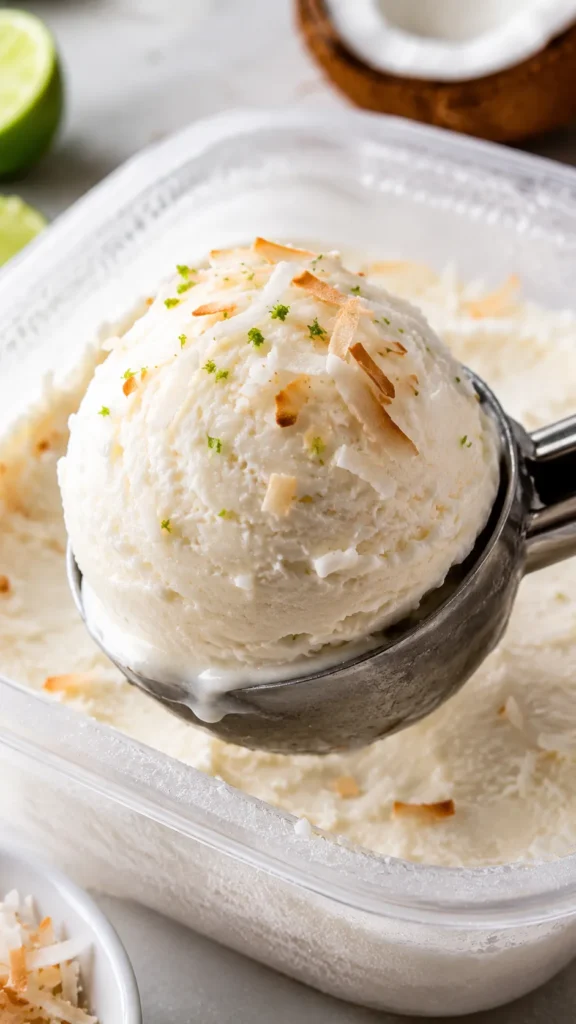
- Firm up. Transfer the soft ice cream to a lidded, freezer-safe container. Press parchment paper directly onto the surface to prevent ice crystals. Freeze 2–4 hours for scoopable firmness.
- Serve. Let the container sit at room temperature for 5–10 minutes before scooping.Use a warm scoop for smooth, round scoops.
What Makes This Recipe So Good
- Truly creamy texture: Coconut milk and coconut cream create a luscious base without heavy cream or added sugar.
- Balanced sweetness: A mix of erythritol or allulose with a touch of stevia (optional) gives a clean, pleasant sweetness that doesn’t taste artificial.
- Simple ingredients: Nothing fancy or hard to find—just pantry staples you can grab from most grocery stores.
- Dairy-free and low-carb: Ideal for people with dietary preferences or sensitivities.
It’s also naturally gluten-free.
- Easy to customize: Add cocoa nibs, lime zest, toasted coconut, or even a swirl of peanut butter for a personal twist.
What You’ll Need (Ingredients)
- 1 can (13.5–14 oz) full-fat coconut milk (well-shaken)
- 1 can (13.5–14 oz) coconut cream (for extra richness)
- 1/2 cup powdered erythritol or allulose (powdered blends dissolve better)
- 1–2 tablespoons vodka or white rum (optional) to reduce iciness and improve scoopability
- 1 teaspoon pure vanilla extract
- 1/4 teaspoon coconut extract (optional) for a stronger coconut flavor
- Pinch of fine sea salt to round out the flavors
- 2–3 tablespoons unsweetened shredded coconut (optional) for texture
- Optional sweetener adjuster: A few drops of liquid stevia if you prefer a slightly sweeter finish
Instructions
- Chill your tools. Place the ice cream maker bowl in the freezer for at least 24 hours if required by your machine. Chill a mixing bowl in the fridge for 30 minutes to help the base stay cold.
- Blend the base. In the chilled bowl, whisk together coconut milk, coconut cream, powdered erythritol or allulose, vanilla, coconut extract (if using), salt, and alcohol (if using). Whisk until the sweetener fully dissolves and the mixture is smooth.
- Taste and adjust. Taste the base.
If you want it sweeter, add 2–3 drops of stevia and whisk again. Remember that cold mutes sweetness slightly, so aim for just a touch sweeter than you’d like the final ice cream.
- Chill thoroughly. Cover and refrigerate the base for at least 2 hours, or up to overnight. A colder base churns faster and gets creamier.
- Churn. Pour the cold base into your ice cream maker and churn according to the manufacturer’s instructions, usually 18–25 minutes, until it reaches a soft-serve consistency.
- Add mix-ins. In the last minute of churning, sprinkle in the shredded coconut if you’re using it.
This keeps it evenly distributed.
- Firm up. Transfer the soft ice cream to a lidded, freezer-safe container. Press parchment paper directly onto the surface to prevent ice crystals. Freeze 2–4 hours for scoopable firmness.
- Serve. Let the container sit at room temperature for 5–10 minutes before scooping.
Use a warm scoop for smooth, round scoops.
Storage Instructions
- Container: Store in a shallow, airtight container to freeze quickly and evenly.
- Surface protection: Keep parchment or plastic wrap pressed against the surface to limit ice crystals.
- Freezer time: Best within 2 weeks for peak texture and flavor.
- Softening: If it’s too firm, let it rest on the counter for a few minutes or microwave the container (not metal) in brief 5–8 second bursts until scoopable.

Benefits of This Recipe
- Lower in sugar: Great for those watching their sugar intake or managing blood sugar, with sweeteners that don’t add traditional sugar.
- Dairy-free and vegan-friendly: Coconut milk and cream create a luscious base without dairy.
- Simple and affordable: Most ingredients are pantry-friendly and cost-effective compared to store-bought specialty ice creams.
- Customizable: Easy to tailor for different flavor profiles, textures, and dietary needs.
- No weird aftertaste: Using powdered erythritol or allulose with a tiny amount of stevia (optional) keeps flavors clean and balanced.
Common Mistakes to Avoid
- Skipping the chill: Churning a warm base leads to icier texture and longer churn time. A well-chilled base is key to creaminess.
- Using granular sweetener: Granules don’t fully dissolve and can feel gritty. Choose powdered or blitz granular sweetener in a blender first.
- Omitting salt: A small pinch makes the coconut and vanilla pop.
Don’t skip it.
- Overdoing stevia: A few drops go a long way. Too much can taste bitter. Start small, taste, and adjust.
- Freezing too long without softening: Sugar-free ice creams can firm up more.
Let it sit a few minutes for the best scoop.
Recipe Variations
- Toasted Coconut Crunch: Toast 1/3 cup unsweetened shredded coconut in a dry skillet until golden and add it at the end of churning.
- Lime Coconut: Add 1–2 teaspoons lime zest and 1 tablespoon lime juice to the base. A hint of zest brightens the coconut beautifully.
- Chocolate Chip: Stir in 1/3 cup sugar-free dark chocolate chips or chopped 85–90% chocolate in the last minute of churning.
- Almond Joy Vibes: Add 1/4 teaspoon almond extract and fold in toasted coconut and chopped sugar-free chocolate.
- Pina Colada: Swap the vanilla for 1 teaspoon rum extract and fold in well-drained, finely chopped no-sugar-added pineapple right before freezing.
- Protein Boost: Whisk in 1–2 scoops unflavored or vanilla plant-based protein powder. Add an extra 2–3 tablespoons coconut milk if it thickens too much.
FAQ
Can I make this without an ice cream maker?
Yes.
Whisk the base well, chill it, then pour into a shallow pan. Freeze for 45 minutes, whisk vigorously or beat with a hand mixer, then return to the freezer. Repeat every 30–45 minutes for 3–4 rounds until creamy, then freeze until firm.
It won’t be quite as airy, but it will still be delicious.
Which sweetener works best?
Allulose gives the softest texture and resists crystallization. Powdered erythritol also works well but can be a bit firmer after freezing. A couple of drops of stevia can fine-tune sweetness without adding bulk.
Avoid monk fruit blends with high erythritol crystal size unless powdered.
Is this keto-friendly?
Yes, if you use low-carb sweeteners like allulose, erythritol, or stevia and avoid high-carb mix-ins. Always check labels on coconut milk and coconut cream to make sure there’s no added sugar.
Can I use light coconut milk?
You can, but the texture will be icier and less creamy. For the best mouthfeel, stick with full-fat coconut milk plus coconut cream.
If you must lighten it, add 1 tablespoon of MCT oil or avocado oil to help with texture.
What if I don’t want to use alcohol?
Skip it. The ice cream may freeze a bit firmer, so let it sit at room temperature longer before scooping. Alternatively, add 1–2 tablespoons of vegetable glycerin (food grade) to help with softness, if you’re comfortable using it.
How do I prevent ice crystals?
Start with a very cold base, use powdered sweeteners, churn until thick, and press parchment onto the surface before freezing.
A little alcohol or glycerin also helps. Avoid frequent thawing and refreezing.
Can I make this nut-free?
It already is nut-free as written. Just skip almond extract or nut-based mix-ins if using a variation.
How many servings does this make?
This recipe makes about 6–8 small scoops, depending on how generously you serve.
For larger batches, simply double the ingredients and churn in two rounds if your machine is small.
Wrapping Up
Sugar-Free Coconut Ice Cream proves that you don’t need sugar or dairy to make a creamy, satisfying dessert. With a short ingredient list and simple steps, it’s a recipe you’ll come back to again and again. Keep a batch in your freezer for an easy treat, and make it your own with a few flavorful twists.
When you want something cool, silky, and not too sweet, this one checks every box. Enjoy your scoop, your way.
Printable Recipe Card
Want just the essential recipe details without scrolling through the article? Get our printable recipe card with just the ingredients and instructions.