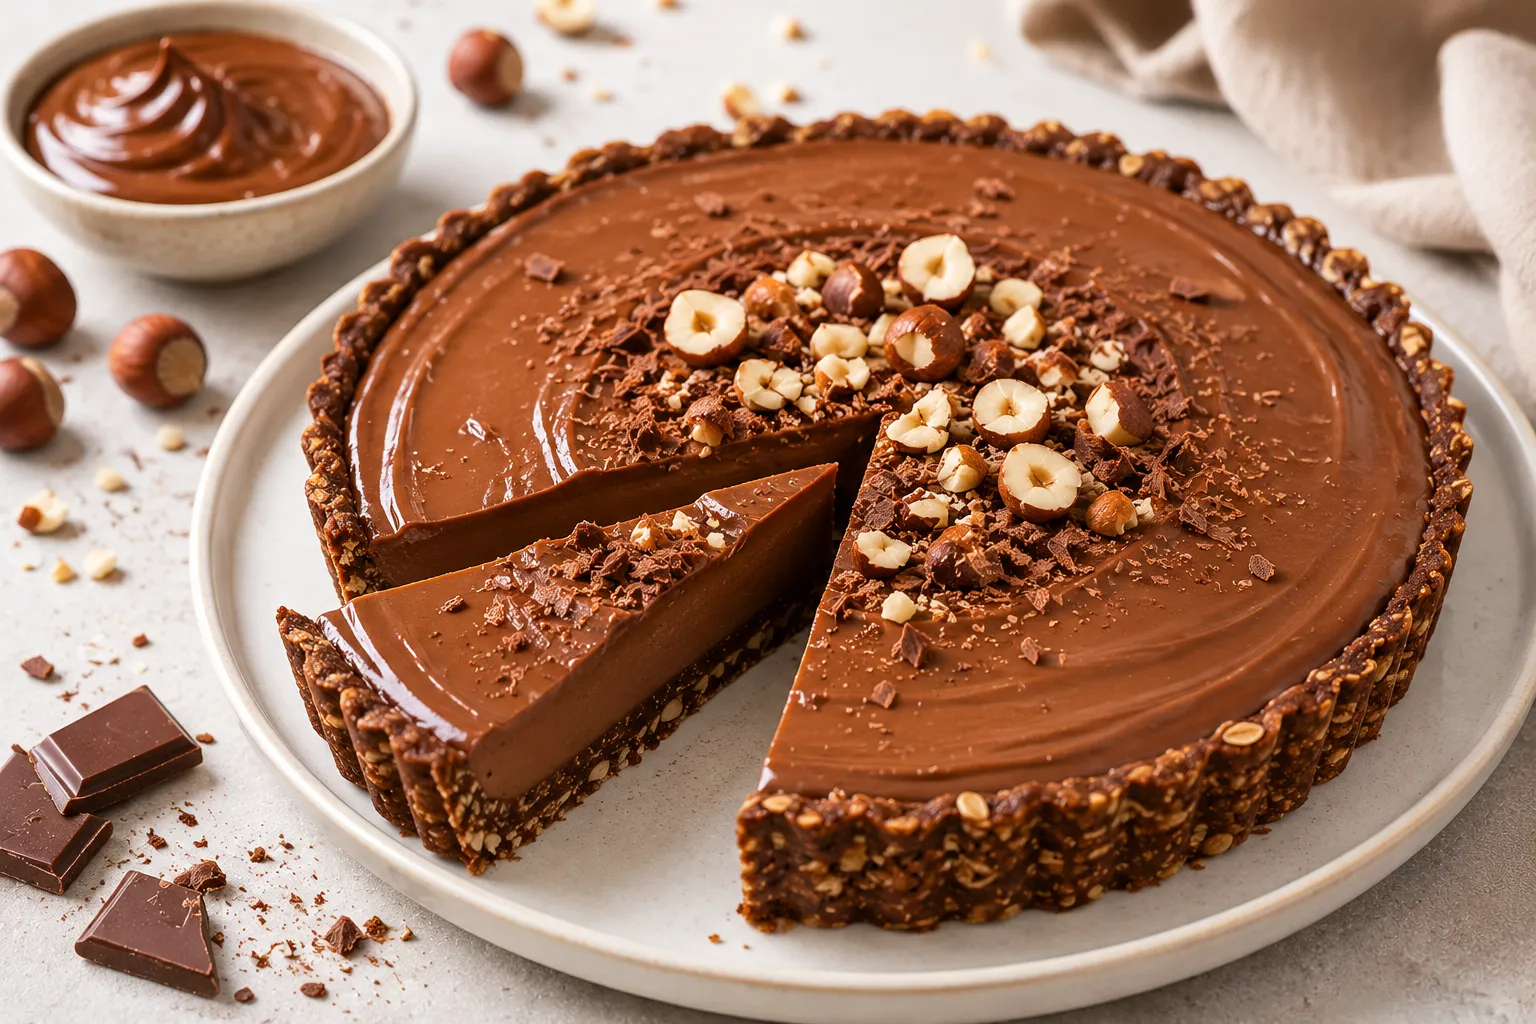
No Bake Nutella Tart – Rich, Creamy, and Effortless
If you love desserts that taste bakery-level but take minimal effort, this No Bake Nutella Tart is your kind of recipe. It’s smooth, chocolate-hazelnut heaven nestled in a crunchy cookie crust, and you don’t even have to turn on the oven. The texture is silky, the flavor is deep and nutty, and the process is refreshingly simple.
This is the kind of dessert that looks impressive on the table but is surprisingly easy to pull off on a busy weeknight or before guests arrive.
Ingredients
Method
- Prep the Pan: Lightly grease a 9-inch tart pan with a tiny bit of butter or spray.If using a pie dish, line the bottom with a round of parchment for easier slicing.
- Make the Crust: Pulse the cookies into fine crumbs in a food processor. Add the melted butter, sugar (if using), and a pinch of salt. Pulse until the mixture looks like damp sand and holds together when pressed.
- Press and Chill: Pour the crumb mixture into the pan.Use the bottom of a measuring cup to press it firmly across the base and up the sides. Firm pressure is key so the crust doesn’t crumble later. Chill in the fridge for 20 minutes.
- Soften the Cream Cheese: Make sure your cream cheese is truly room temperature. This prevents lumps and gives you a smooth filling.
- Whip the Cream: In a small bowl, whip the heavy cream to soft peaks.This adds lightness. You can do this by hand with a whisk or with a mixer on medium speed.
- Blend the Base: In a separate bowl, beat the cream cheese until smooth. Add Nutella, vanilla, and a pinch of salt.Beat until completely blended and glossy. Scrape the bowl well.
- Fold Gently: Using a spatula, fold the whipped cream into the Nutella mixture in two additions. Don’t overmix. Stop when no streaks remain and the filling looks airy and uniform.
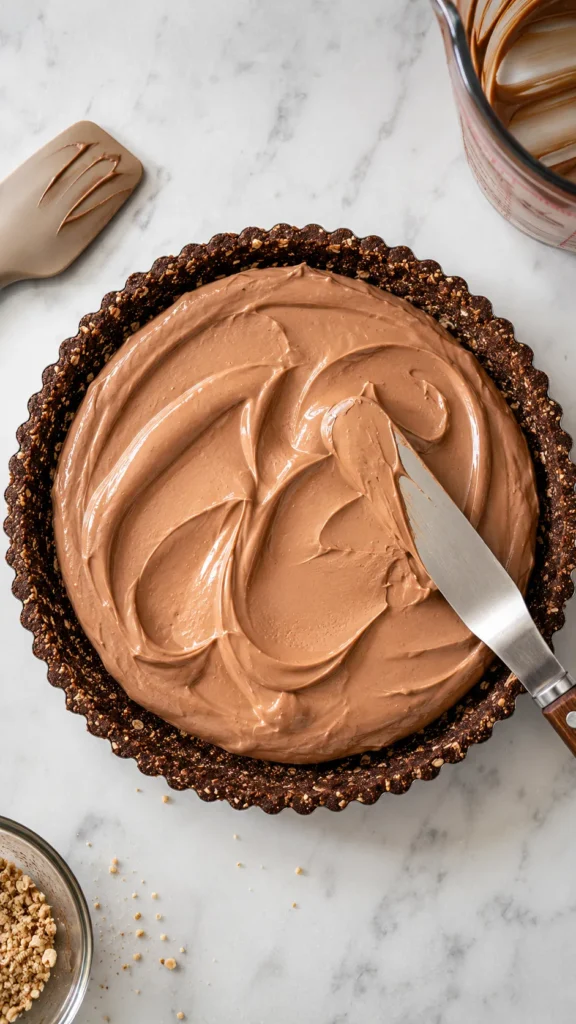
- Fill the Crust: Spoon the filling into the chilled crust.Smooth the top with an offset spatula or the back of a spoon. Tap the pan gently on the counter to release any air bubbles.
- Chill to Set: Refrigerate uncovered for 3–4 hours, or until the tart is firm enough to slice. For the cleanest slices, chill overnight.
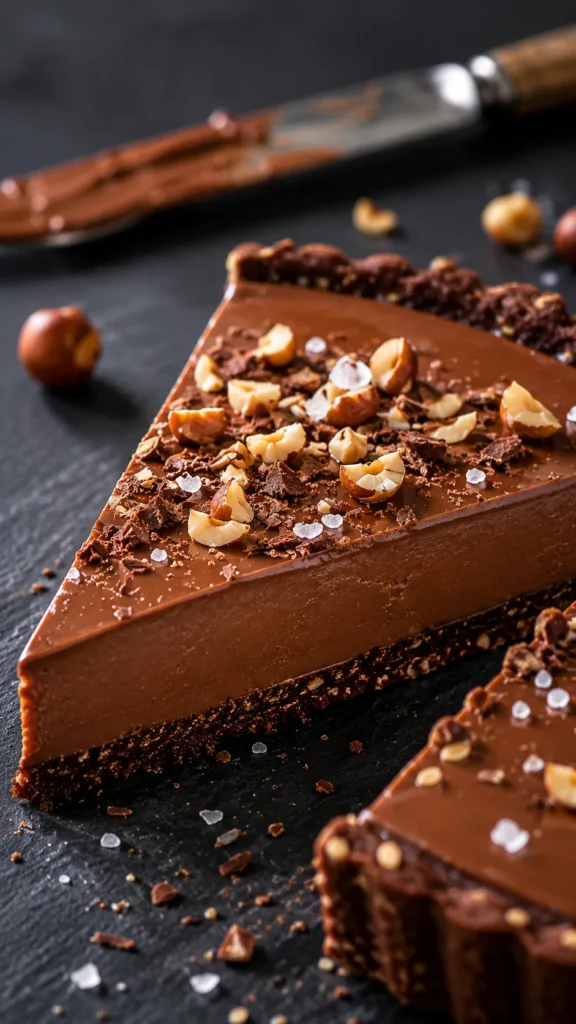
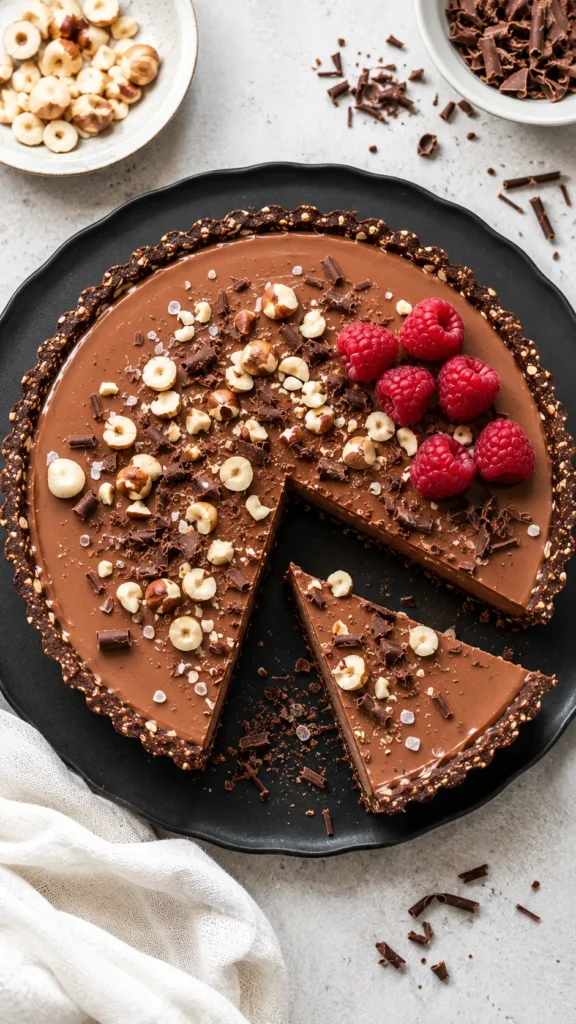
- Add Toppings: Just before serving, garnish with chopped toasted hazelnuts, a sprinkle of sea salt flakes, and chocolate shavings.Berries or a dollop of whipped cream also work well.
- Serve: Lift the tart from the pan if it has a removable bottom. Warm a sharp knife under hot water, wipe it dry, and cut clean slices. Enjoy cold or slightly cool.
What Makes This Special
This tart hits that sweet spot between indulgent and low-effort. The crust comes together with a few pulses in a food processor, and the filling is just a gentle melt-and-stir situation. No gelatin, no eggs, no baking.
Just chill and serve. It’s also a flexible recipe: you can swap the crust, customize the topping, or adjust the richness by tweaking the cream. It sets beautifully, slices cleanly, and tastes like a fancy pastry with almost zero stress.
Shopping List (Ingredients)
- Crust
- 2 cups (about 200 g) chocolate cookie or graham cracker crumbs
- 6 tablespoons (85 g) unsalted butter, melted
- 1 tablespoon granulated sugar (optional, for graham crust)
- Pinch of fine salt
- Filling
- 1 1/4 cups (375 g) Nutella or chocolate-hazelnut spread
- 8 ounces (225 g) cream cheese, softened to room temperature
- 1/2 cup (120 ml) heavy cream
- 1 teaspoon pure vanilla extract
- Pinch of fine salt
- Optional Toppings
- Toasted hazelnuts, chopped
- Sea salt flakes
- Shaved dark chocolate
- Fresh berries
- Whipped cream
- Equipment
- 9-inch tart pan with removable bottom (or a pie dish)
- Food processor or rolling pin and zip-top bag
- Hand mixer or stand mixer (optional, but helpful)
- Rubber spatula
Instructions
- Prep the Pan: Lightly grease a 9-inch tart pan with a tiny bit of butter or spray.
If using a pie dish, line the bottom with a round of parchment for easier slicing.
- Make the Crust: Pulse the cookies into fine crumbs in a food processor. Add the melted butter, sugar (if using), and a pinch of salt. Pulse until the mixture looks like damp sand and holds together when pressed.
- Press and Chill: Pour the crumb mixture into the pan.
Use the bottom of a measuring cup to press it firmly across the base and up the sides. Firm pressure is key so the crust doesn’t crumble later. Chill in the fridge for 20 minutes.
- Soften the Cream Cheese: Make sure your cream cheese is truly room temperature. This prevents lumps and gives you a smooth filling.
- Whip the Cream: In a small bowl, whip the heavy cream to soft peaks.
This adds lightness. You can do this by hand with a whisk or with a mixer on medium speed.
- Blend the Base: In a separate bowl, beat the cream cheese until smooth. Add Nutella, vanilla, and a pinch of salt.
Beat until completely blended and glossy. Scrape the bowl well.
- Fold Gently: Using a spatula, fold the whipped cream into the Nutella mixture in two additions. Don’t overmix. Stop when no streaks remain and the filling looks airy and uniform.
- Fill the Crust: Spoon the filling into the chilled crust.
Smooth the top with an offset spatula or the back of a spoon. Tap the pan gently on the counter to release any air bubbles.
- Chill to Set: Refrigerate uncovered for 3–4 hours, or until the tart is firm enough to slice. For the cleanest slices, chill overnight.
- Add Toppings: Just before serving, garnish with chopped toasted hazelnuts, a sprinkle of sea salt flakes, and chocolate shavings.
Berries or a dollop of whipped cream also work well.
- Serve: Lift the tart from the pan if it has a removable bottom. Warm a sharp knife under hot water, wipe it dry, and cut clean slices. Enjoy cold or slightly cool.
How to Store
Keep the tart covered in the refrigerator for up to 4 days.
If you’ve added berries, place them right before serving to keep them fresh. For longer storage, freeze the tart (without fresh fruit) for up to 2 months. Wrap tightly in plastic, then foil.
Thaw overnight in the fridge before serving.
Why This is Good for You
This tart is a treat, but it has a few bright spots. Hazelnuts bring healthy fats and a bit of fiber, and dark chocolate shavings add antioxidants. A small slice can satisfy a sweet craving without going overboard. You control the toppings and portion size, so it can fit into a balanced way of eating.
Pitfalls to Watch Out For
- Crumbly crust: If the crust falls apart, it likely needs more butter or firmer packing.
It should feel slightly moist and press together easily.
- Lumpy filling: Cold cream cheese is the usual culprit. Let it sit at room temp for 30–45 minutes and beat until smooth before adding Nutella.
- Too soft to slice: The tart needs enough chilling time. If rushed, pop it in the freezer for 20–30 minutes before cutting.
- Overmixing the cream: Stirring too aggressively can deflate the whipped cream and make the filling dense.
Fold gently.
- Greasy crust pool: If butter pools under the crust, the ratio was off. Add a few more crumbs next time and press more firmly.
Alternatives
- Different crusts: Try Oreos (skip the added sugar), Biscoff cookies for a spiced note, or shortbread for a buttery base. Gluten-free cookie crumbs work well too.
- Lighter filling: Swap cream cheese for Neufchâtel (1/3 less fat) and increase whipped cream to 3/4 cup for a softer, mousse-like texture.
- Extra chocolatey: Melt 2–3 ounces of dark chocolate and blend into the filling for deeper cocoa flavor.
- Nut-free version: Use a chocolate spread without nuts and top with berries.
The texture stays similar, and the flavor is still rich.
- Mini tarts: Press crumbs into a muffin tin lined with paper liners and fill for individual desserts. Chill as usual and peel off the liners to serve.
FAQ
Can I make this a day ahead?
Yes. In fact, it slices best after an overnight chill.
Keep it covered in the fridge and add toppings right before serving.
What if I don’t have a tart pan?
A regular 9-inch pie dish works. You won’t get the fluted edges, but it will taste exactly the same. A springform pan also makes removal easy.
Can I reduce the sweetness?
Use a less sweet cookie for the crust (like plain grahams) and add a pinch more salt to the filling.
You can also add 2 tablespoons of unsweetened cocoa to the filling for a darker profile.
How do I toast hazelnuts?
Spread them on a baking sheet and toast at 350°F (175°C) for 8–10 minutes until fragrant. Rub them in a clean towel to remove most skins, then chop.
Will it hold up at room temperature?
It’s best served chilled. At room temperature, it softens after about 45–60 minutes.
For parties, set out slices in small batches and keep the rest refrigerated.
Can I make it dairy-free?
Use dairy-free cream cheese, a coconut-based whipping cream, and a dairy-free chocolate-hazelnut spread. The set will be slightly softer but still delicious.
What’s the best way to get clean slices?
Chill thoroughly, then use a sharp knife warmed under hot water and wiped dry. Clean the blade between cuts.
This prevents drag on the smooth filling.
Wrapping Up
This No Bake Nutella Tart is proof that great desserts don’t need complicated steps or special skills. With a crunchy crust, a creamy chocolate-hazelnut filling, and simple toppings, it feels special without the stress. Keep this recipe in your back pocket for birthdays, potlucks, or any night you want a guaranteed crowd-pleaser.
One slice, and you’ll see why it becomes a repeat favorite.
Printable Recipe Card
Want just the essential recipe details without scrolling through the article? Get our printable recipe card with just the ingredients and instructions.